Overview
The Orby Event Table Management application is an add-on to Microsoft Dynamics 365 – Customer Journey – Insights.
The Event Table Management application allows you connect Tables to Events and Sessions so you can manage who sits at each table.
Getting started
After the Event Table Management application has been installed in your Microsoft environment, it will be available in the Dynamics 365 Application list.
To access this from any Dynamics application:
| Click on the Application Selector in the top left had corner | 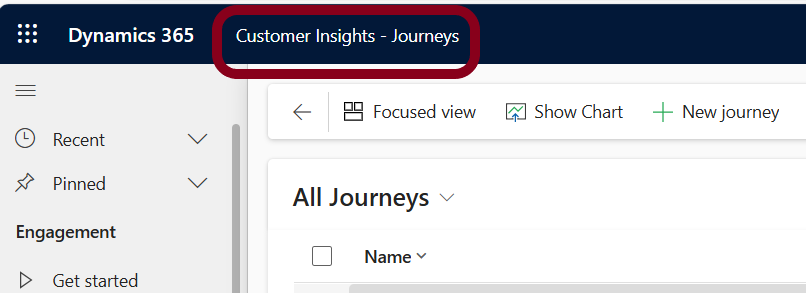 |
|
In the Apps list, click on Event Table Management |
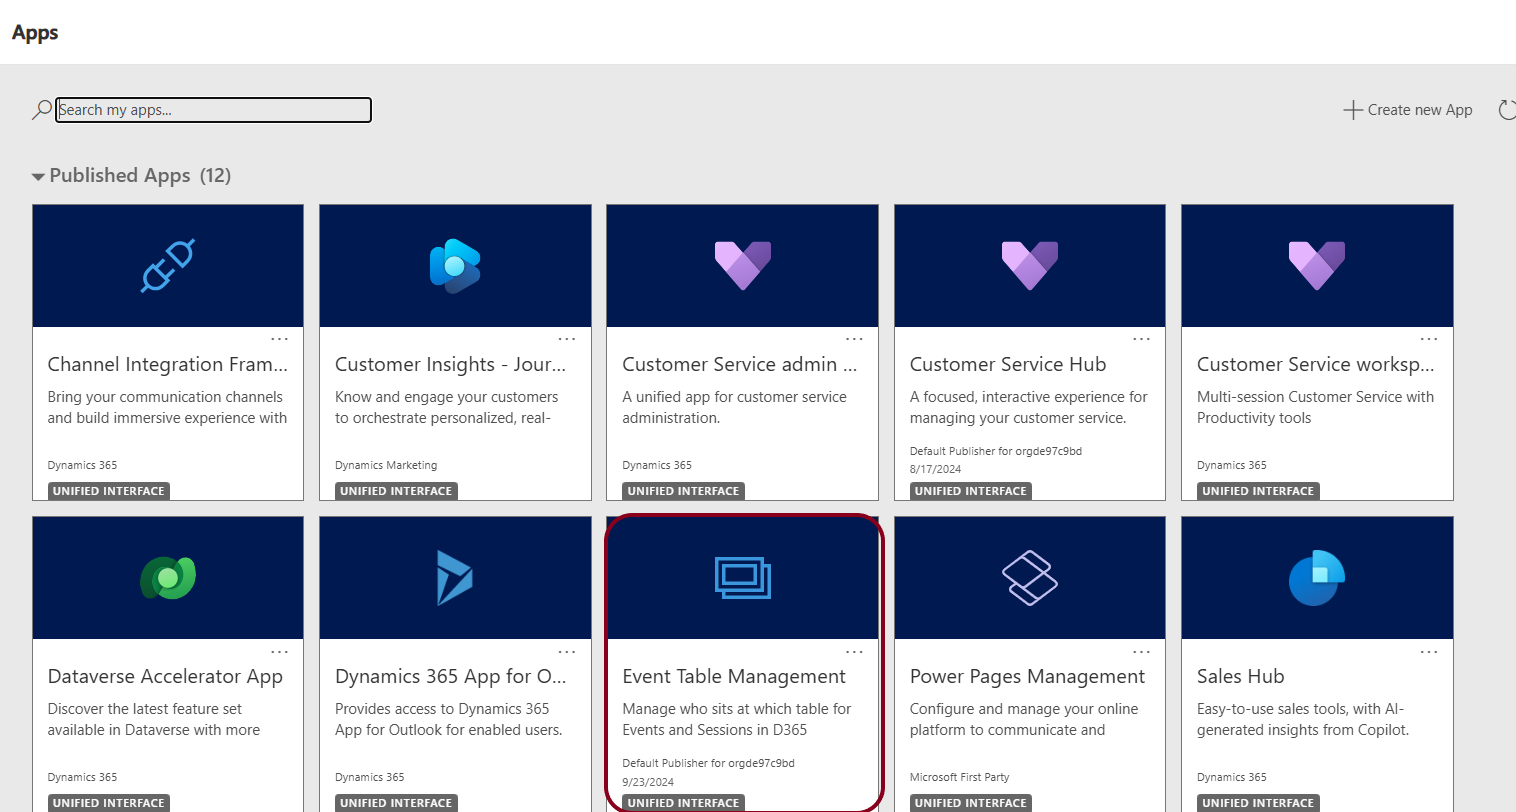 |
| It’s OK to have this running at the same time as Customer Insights – Journeys in a separate window. | 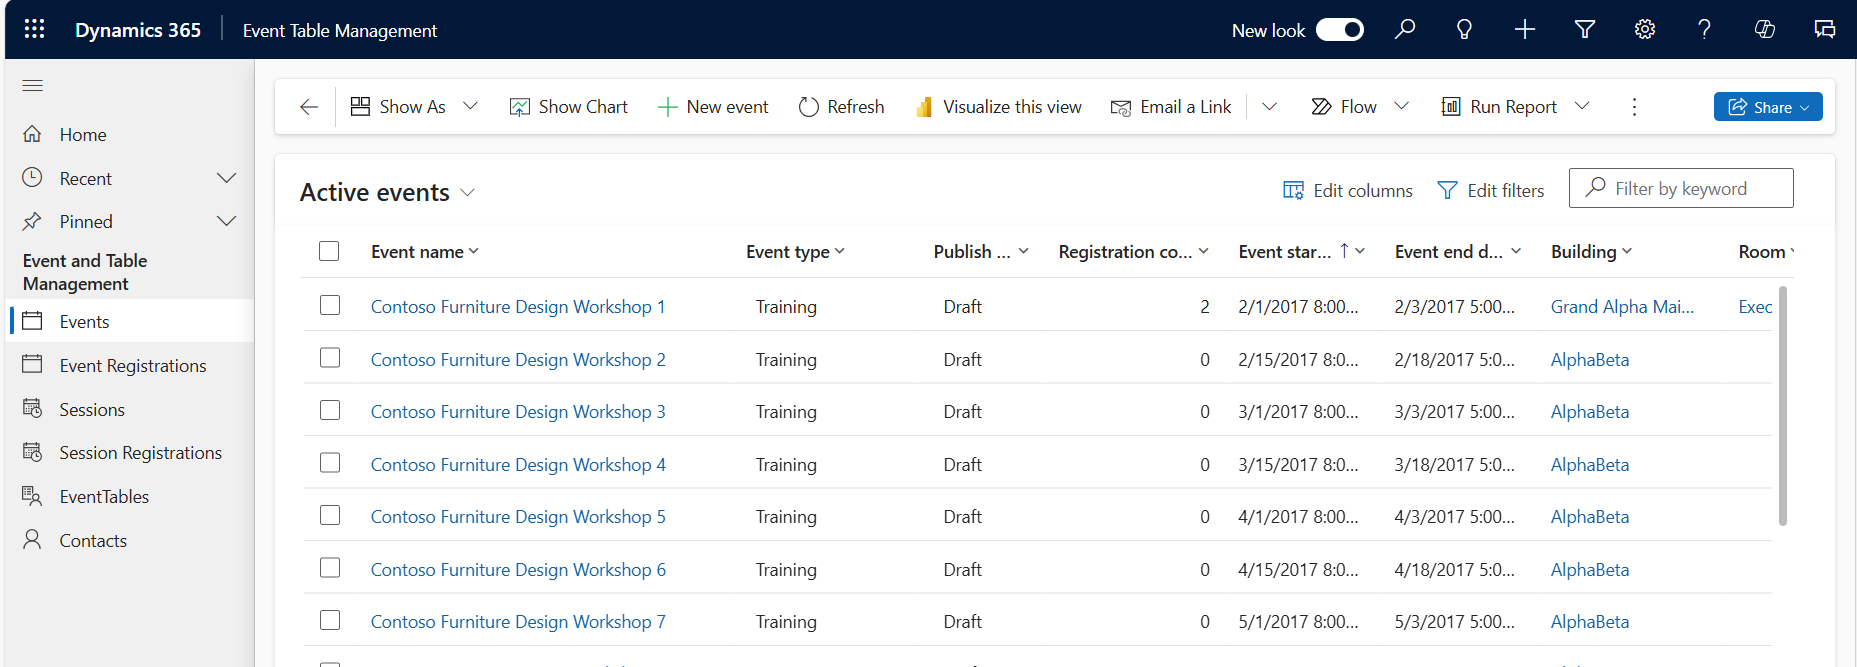 |
Register the Event Tables application
If you have just installed the application in your Microsoft Environment, it will need to be registered for your organisation. This is usually done by registering a ‘Trial’ and then contacting Orby to setup a subscription.
Open the Event Tables application, and from Site Map and click Events.
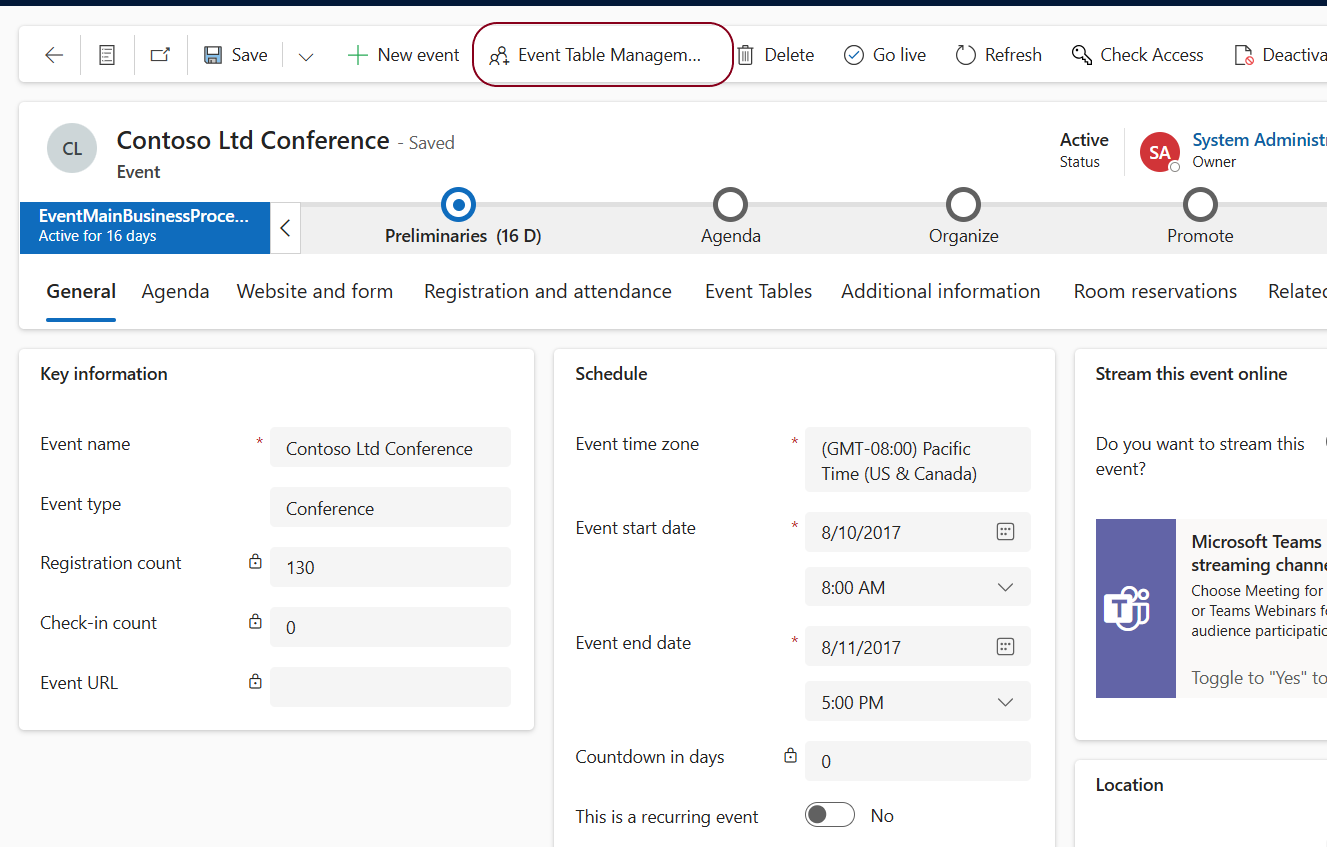
From the Event List, open any Event, and on the Command Bar, click [ Event Table Management ]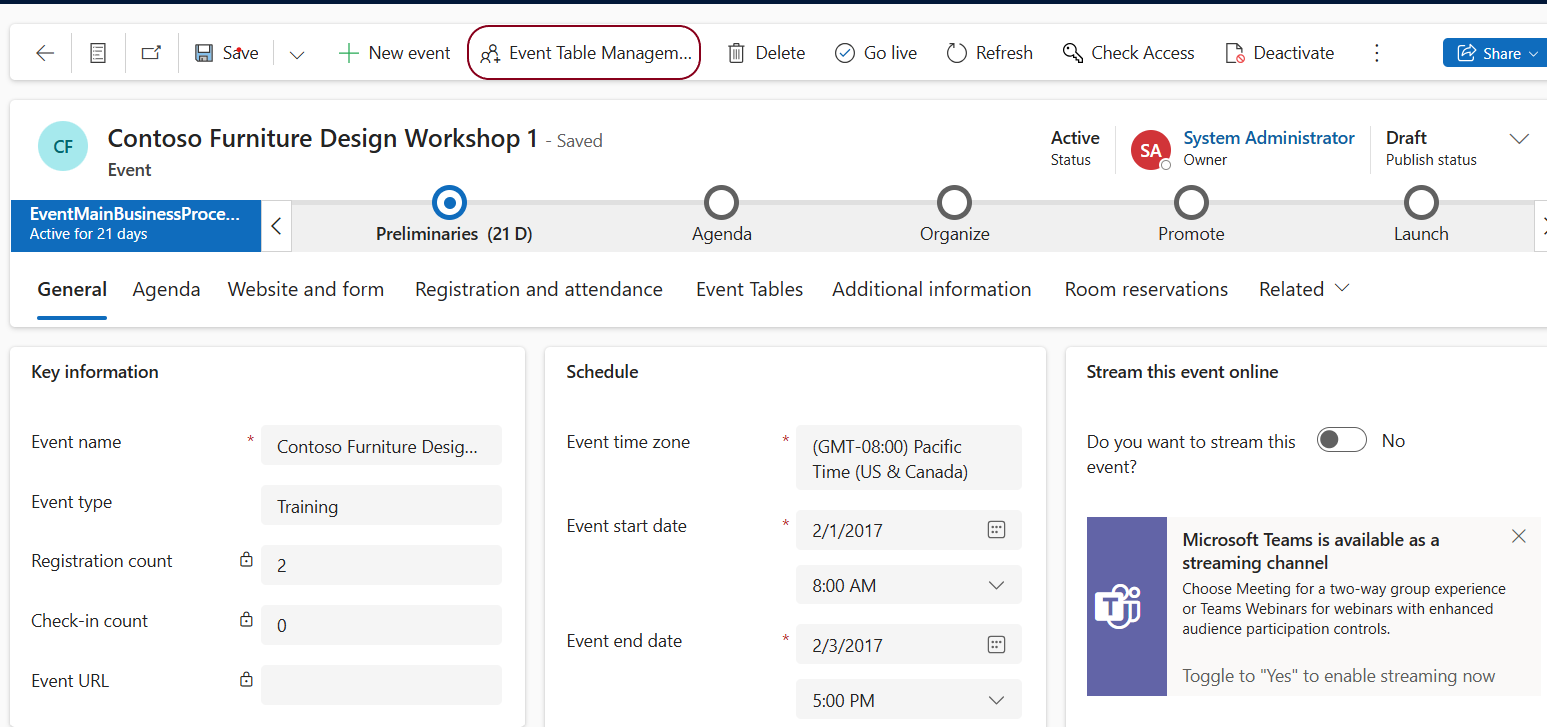
If the application has not been registered for your organisation, the Orby Subscription Notice form will load.
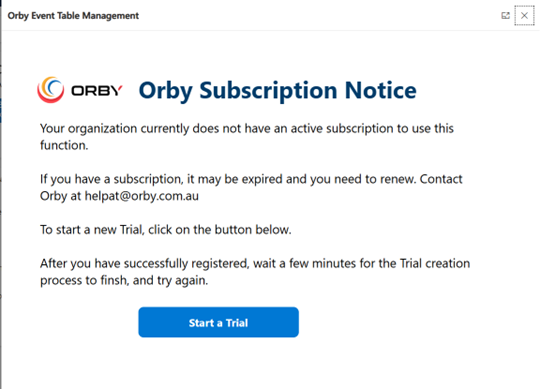
Click on [ Start a Trial ]
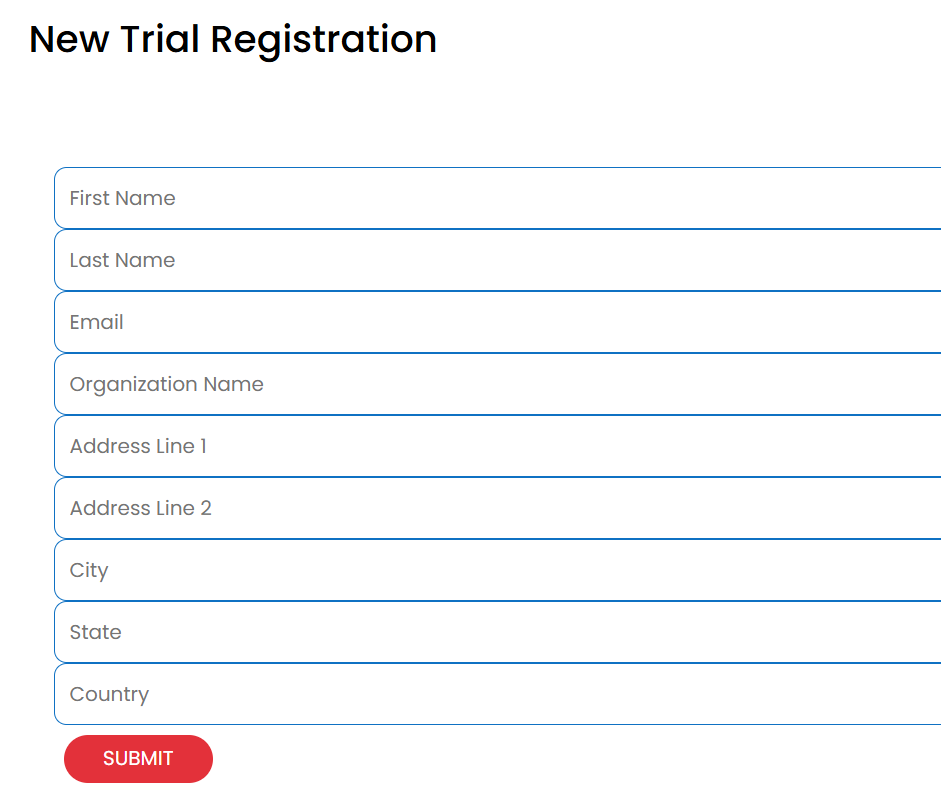
Complete the Registration details for your organisation and click on [ Submit ].
Your registration will be confirmed.
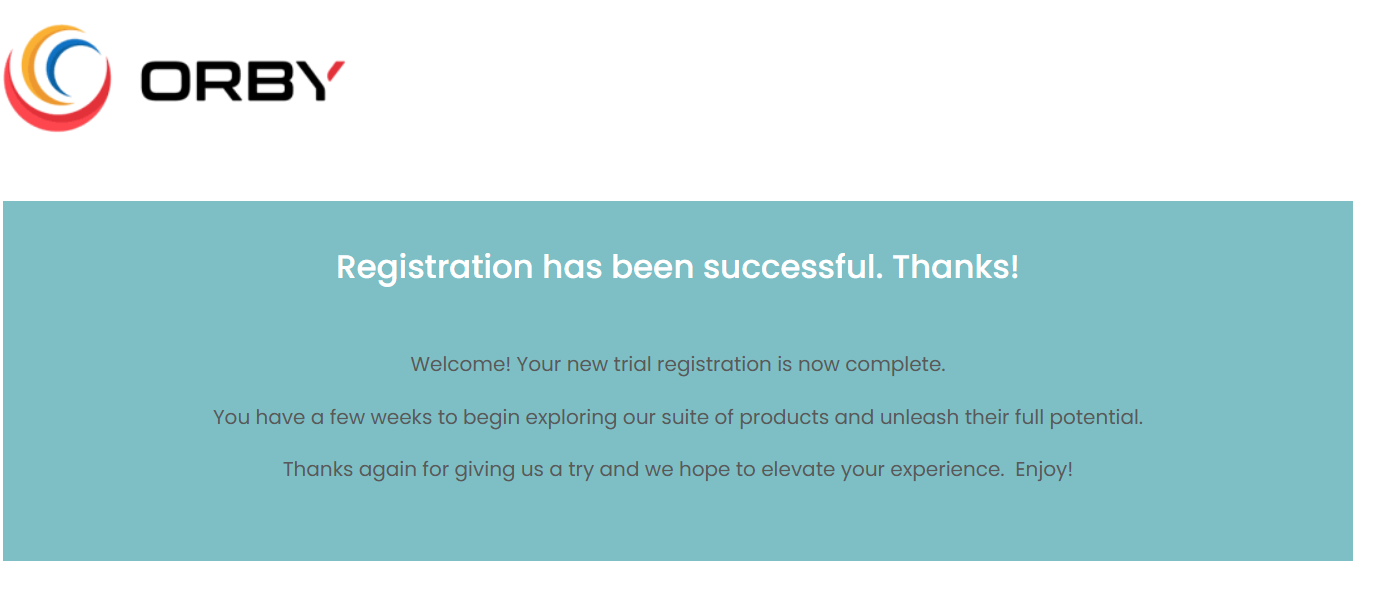
Wait a few minutes to let the back-end processes complete and then anyone in your organisation who has access to Dynamics 365 can use the application.
First Step
Before we can assign attendees to a Table, we need to create the Table and attach it to an Event or Event Session. Every Table record is unique and can only be attached to one Event or Event Session.
Creating Tables
Tables can be created from the EventTable Model Drive app (the application you just started), or through one of the Table Management pages that we will cover shortly.
Creating a Table for an Event from the EventTable Model Driven App
Open the Event you want to create table/s for. Click on the Event Tables tab, then click on + New EventTable in the Tables for this Event section.
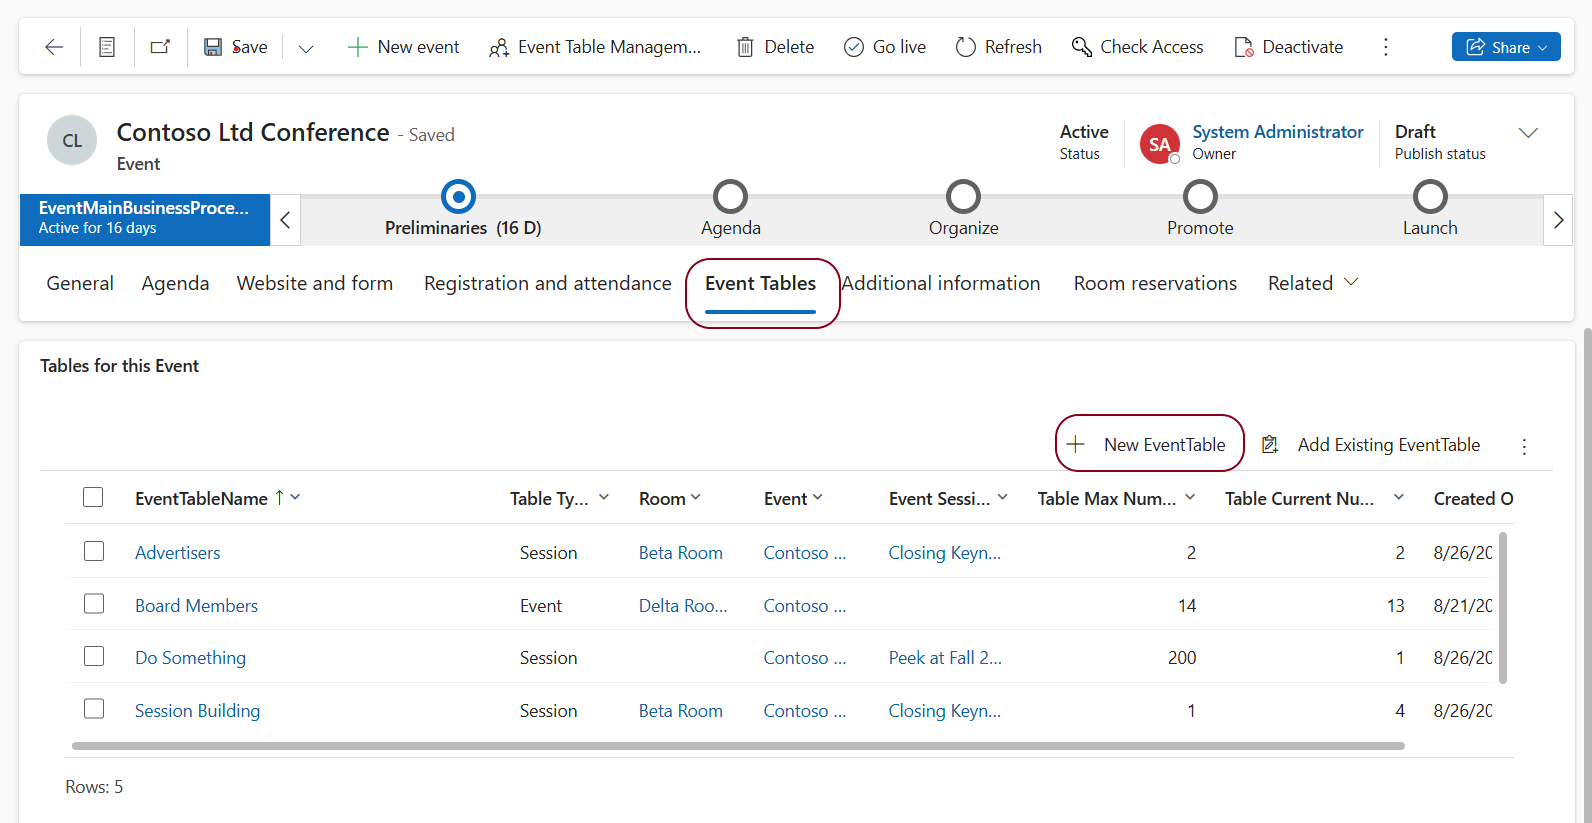
The New EventTable form will load.
Add a meaningful EventTable Name.
Enter the Maximum number of seats that will be available at this table. You can change this later if you need to.
The Building and Room are inherited from the Event and can’t be edited. These fields are not displayed while creating.
The Table Current Number is calculated as attendees are added and removed and can’t be edited. This field is not displayed while creating.
When you have finished, click on Save & Close.
Creating a Table for a Session from the EventTable Model Driven App
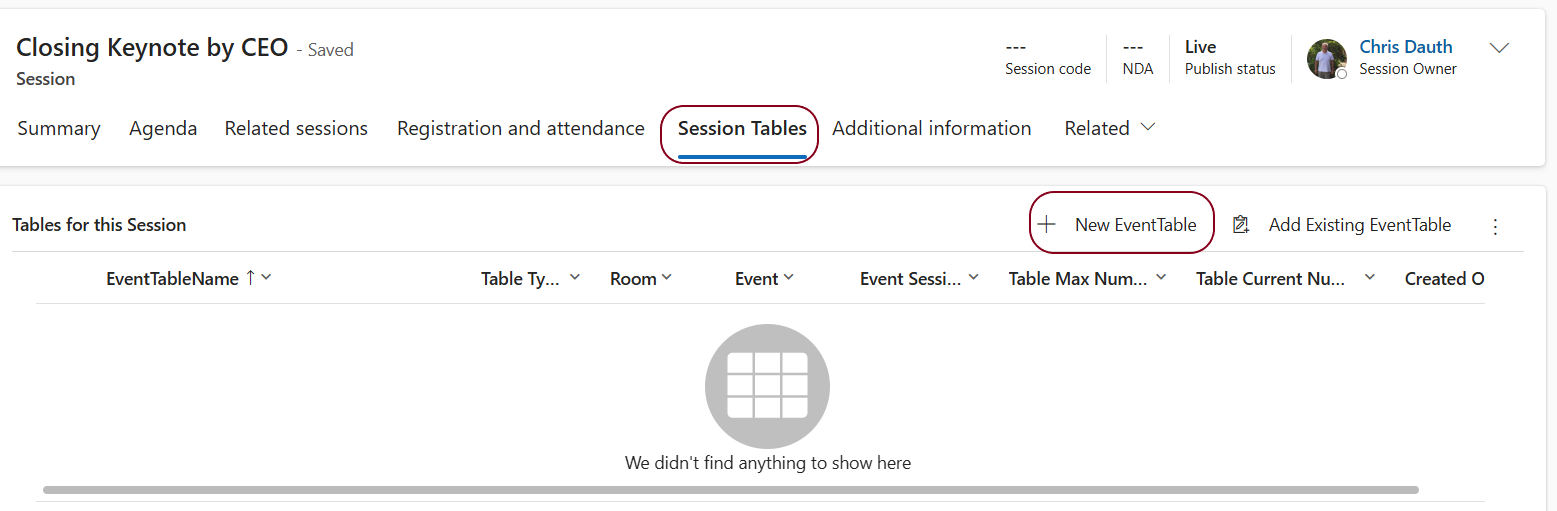
Open the Session you want to create table/s for. Click on the Session Tables tab, then click on + New EventTable in the Tables for this Session section.
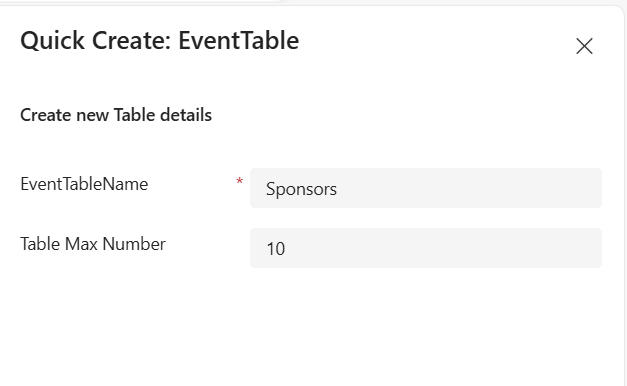
The Quick Create: EventTable form will load.

Add a meaningful EventTable Name.
Enter the Maximum number of seats that will be available at this table. You can change this later if you need to.
The Building and Room are inherited from the Event and can’t be edited. These fields are not displayed while creating.
The Table Current Number is calculated as attendees are added and removed and can’t be edited. This field is not displayed while creating.
When you have finished, click on Save & Close.
Managing who sits at which table for a Session
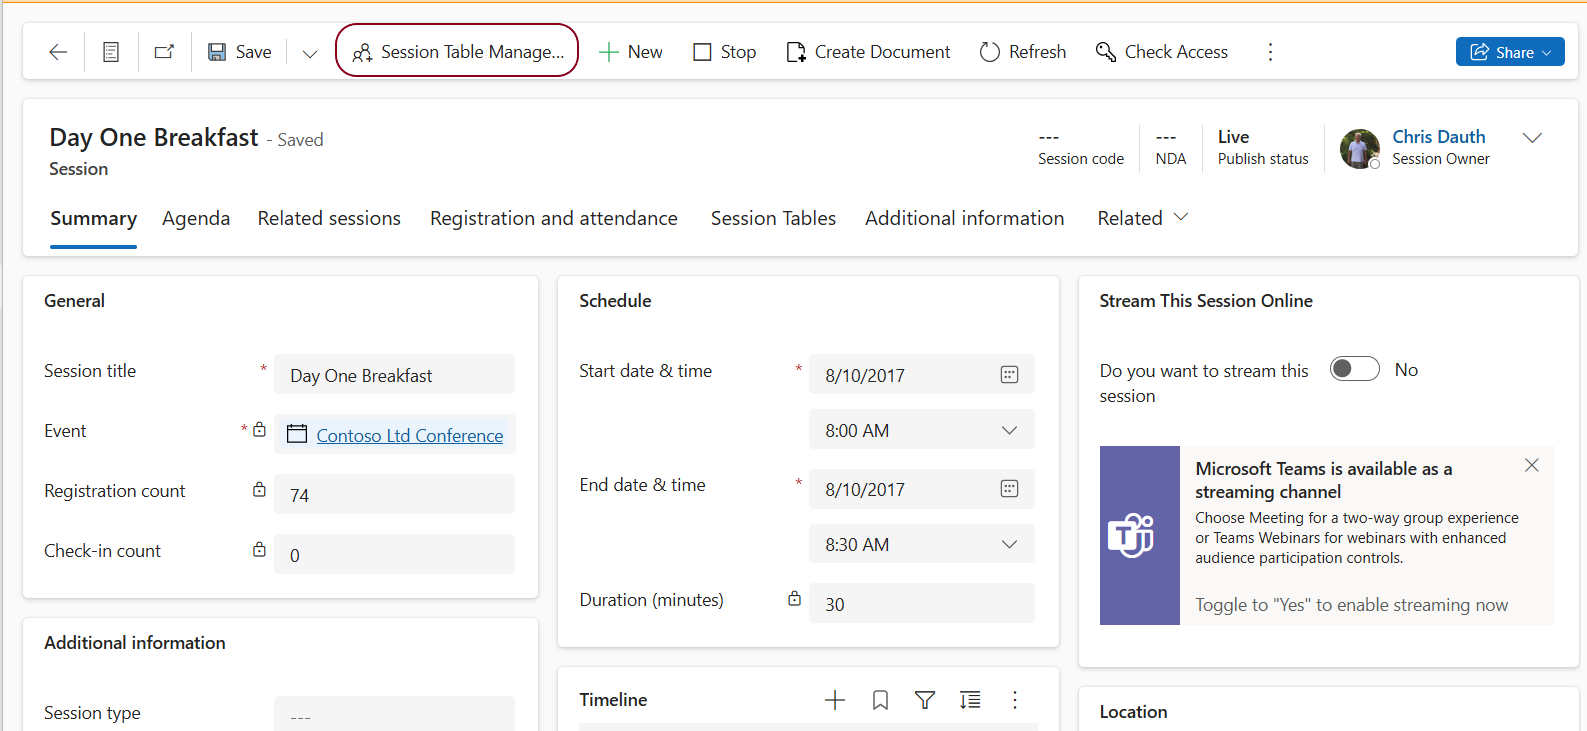
Open the Session you want to manage and click on [ Session Table Management ] on the Command Bar.
The Tables for the Session page will load.
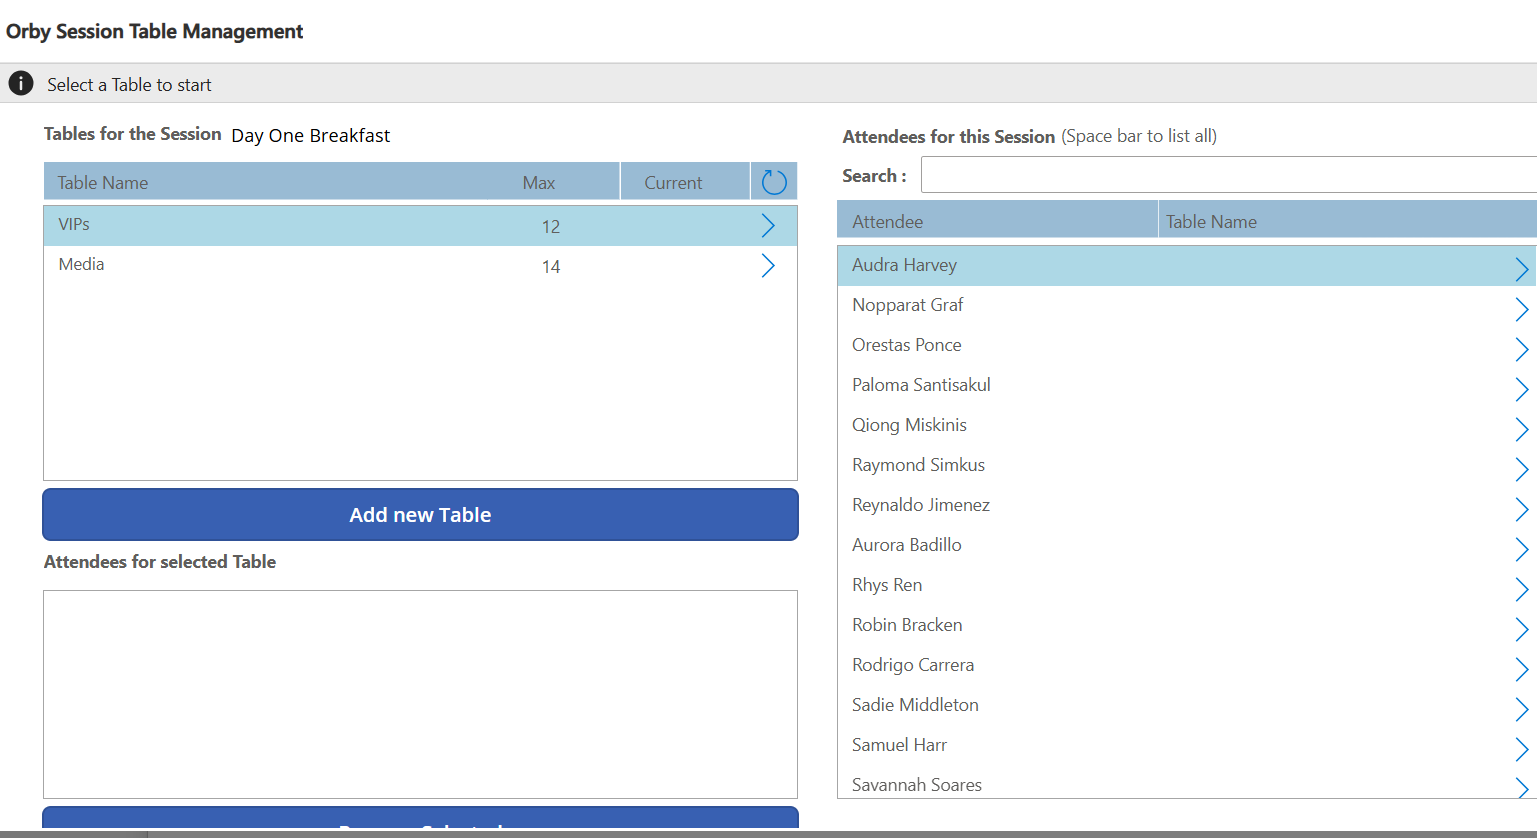
Assigning an Attendee to a Table
Select the Table you want to assign an Attendee to. The Add Selected Attendee to Selected Table (bottom right hand corner) will be visible.
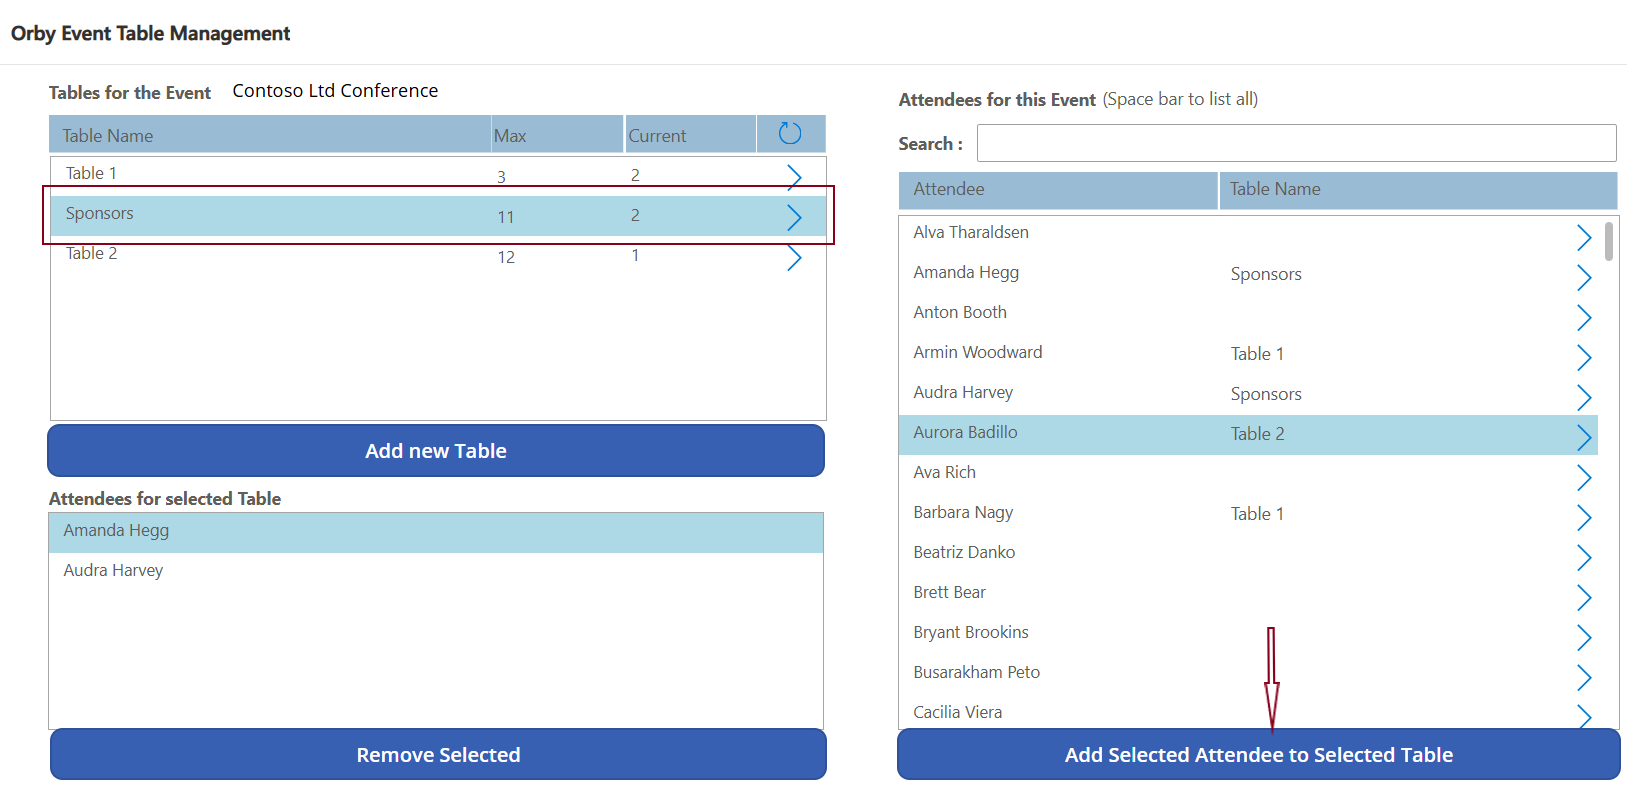
Now select the Attendee and click on Add Selected Attendee to Selected Table. The Attendee will be assigned to the selected Table.
Managing who sits at which table for an Event
Open the Session you want to manage and click on [ Event Table Management ] on the Command Bar.
The rest of this process is the same as adding a Table to a Session
Unassigning an Attendee from a Table
In the Orby Event Table Management page (as per above), select a Table in the top left-hand window (Tables for this Event).
Select the Attendee in the bottom left-hand window (Attendees for selected Table).
Click on Removed Selected.
Managing Event Tables for a Contact
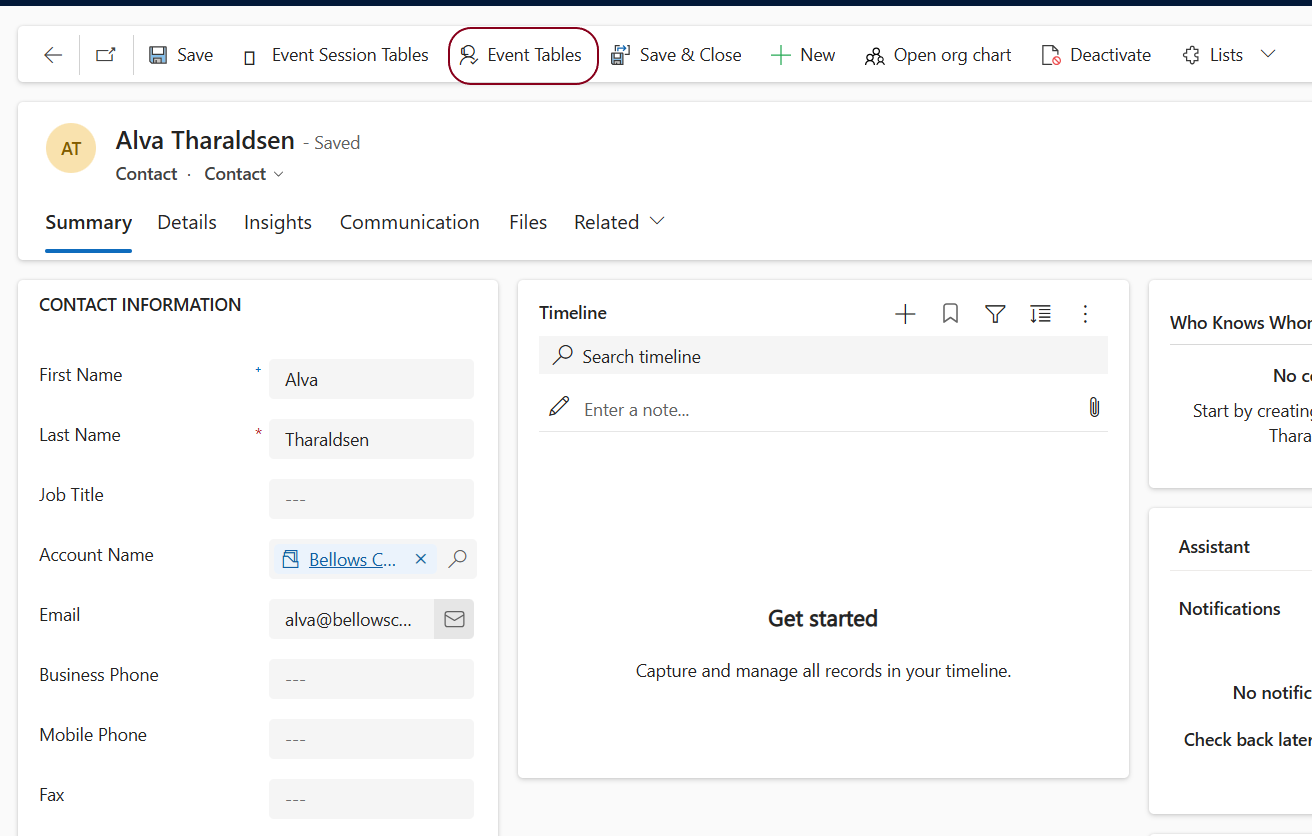
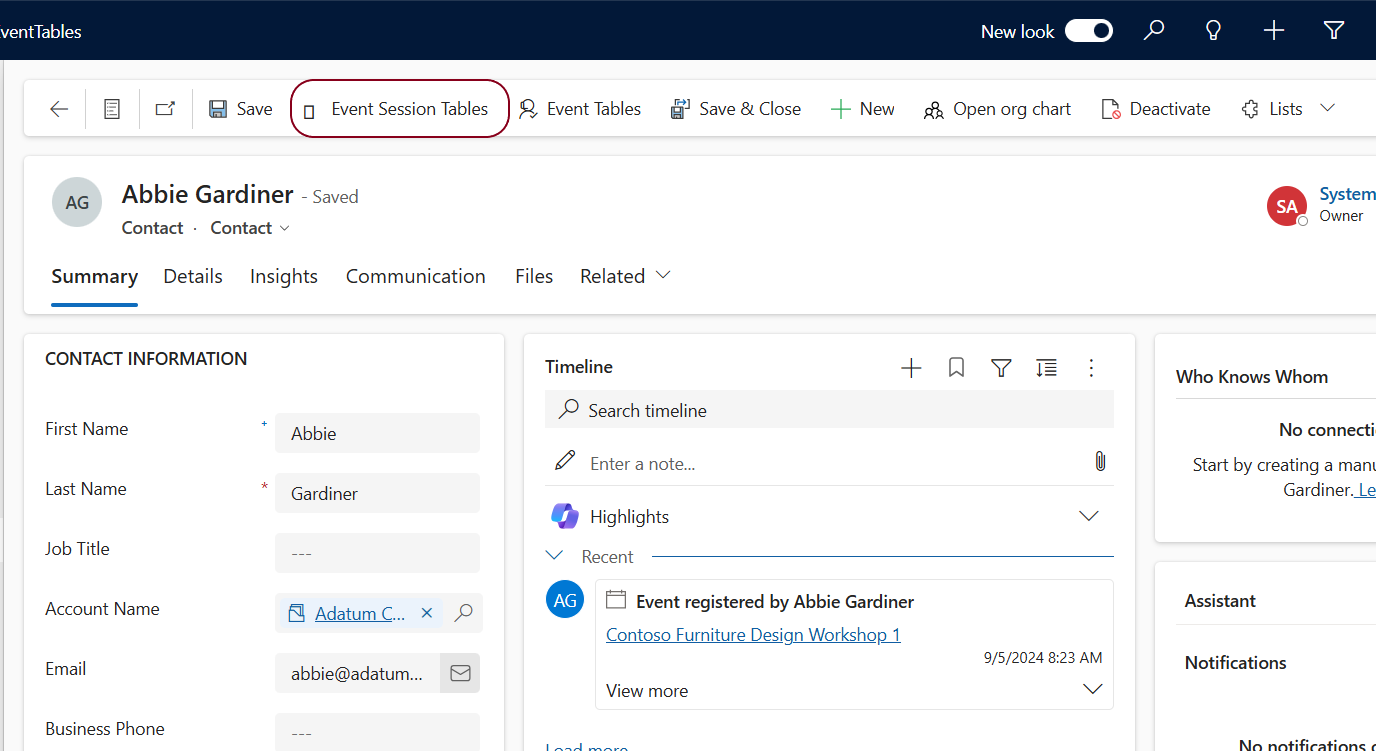
Identify the Contact you want to manage (they should be registered for an Event with Tables). Open the Contact Form.
With the Contact Form open, on the Command Bar, click on Event Tables.
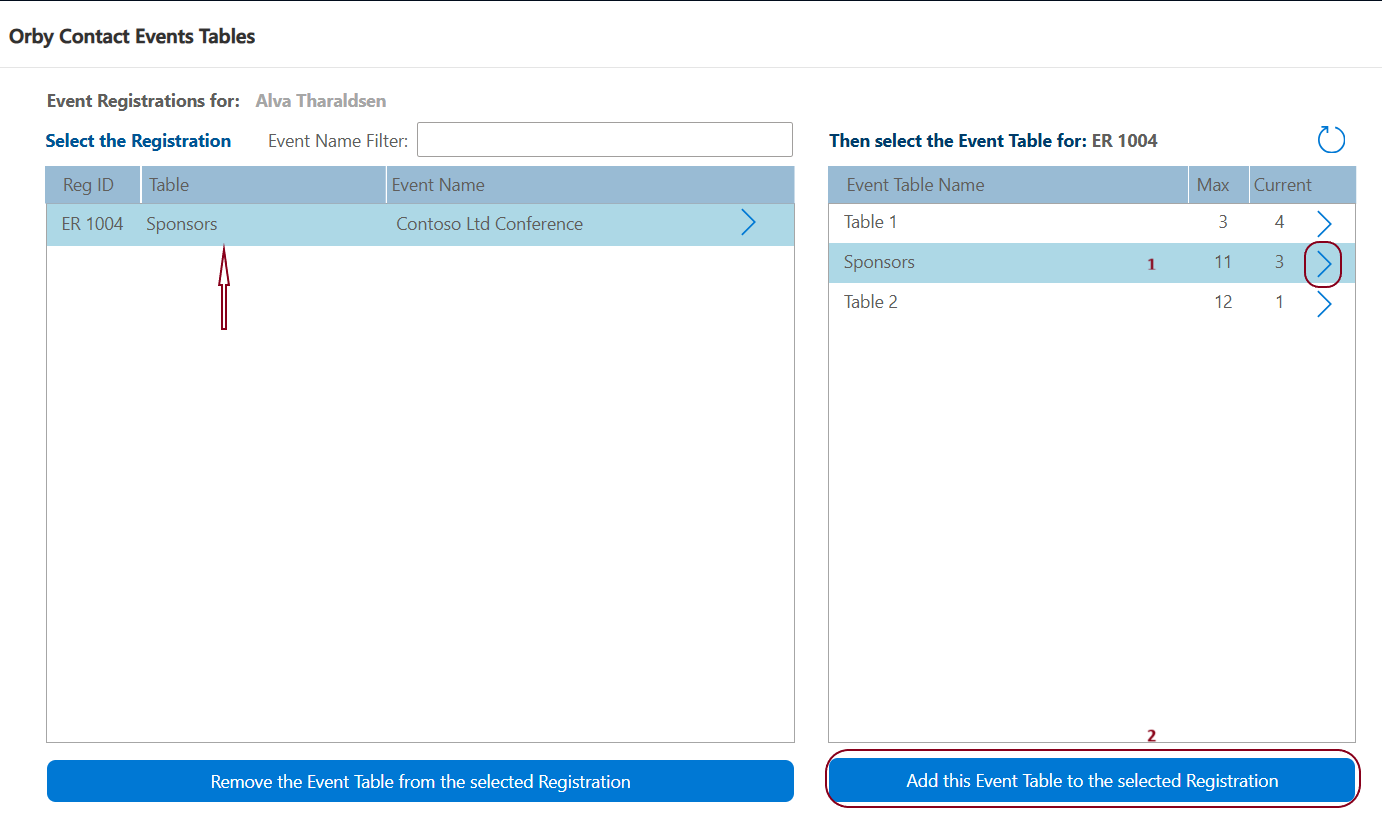
The Orby Contact Events Tables page will load.
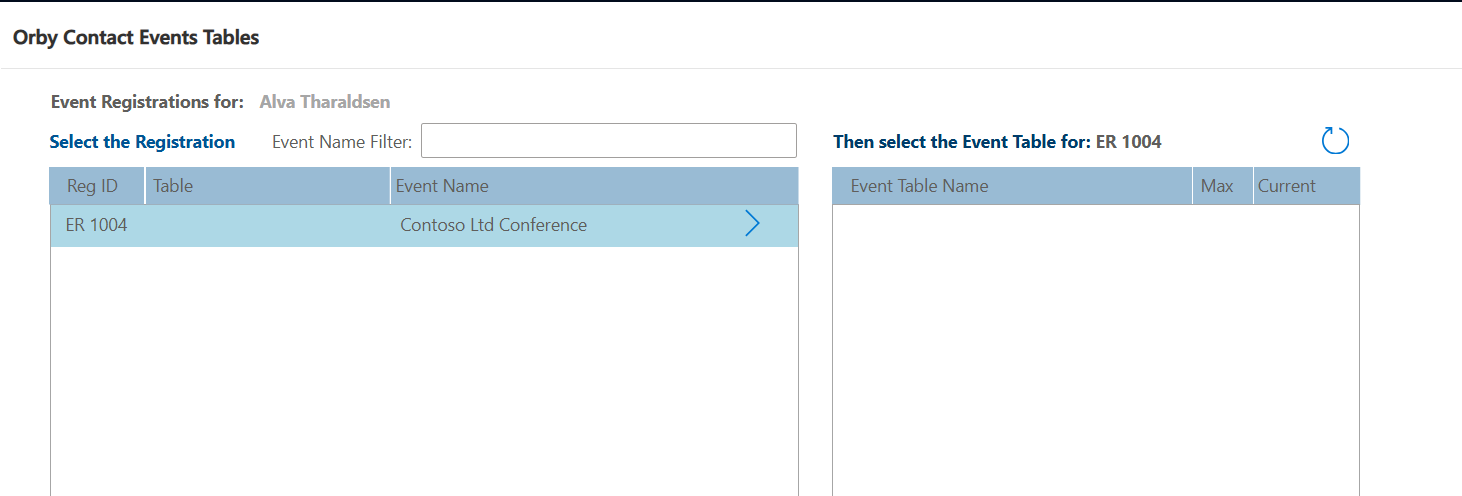
Select a Registration in the left-hand window (Event Registrations for).
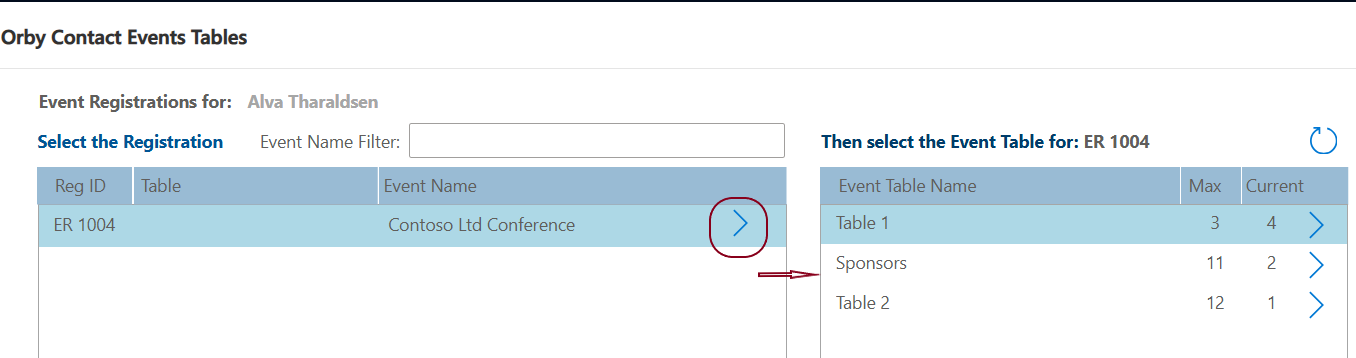
Select an Event Table in the right-hand window (Event Table) and click on [ Add this Event Table to the selected Registration ].
Managing Event Session Tables for a Contact
Identify the Contact you want to manage (they should be registered for an Event with Tables). Open the Contact Form.
With the Contact Form open, on the Command Bar, click on Event Tables.
The Orby Contact Session Tables page will load.
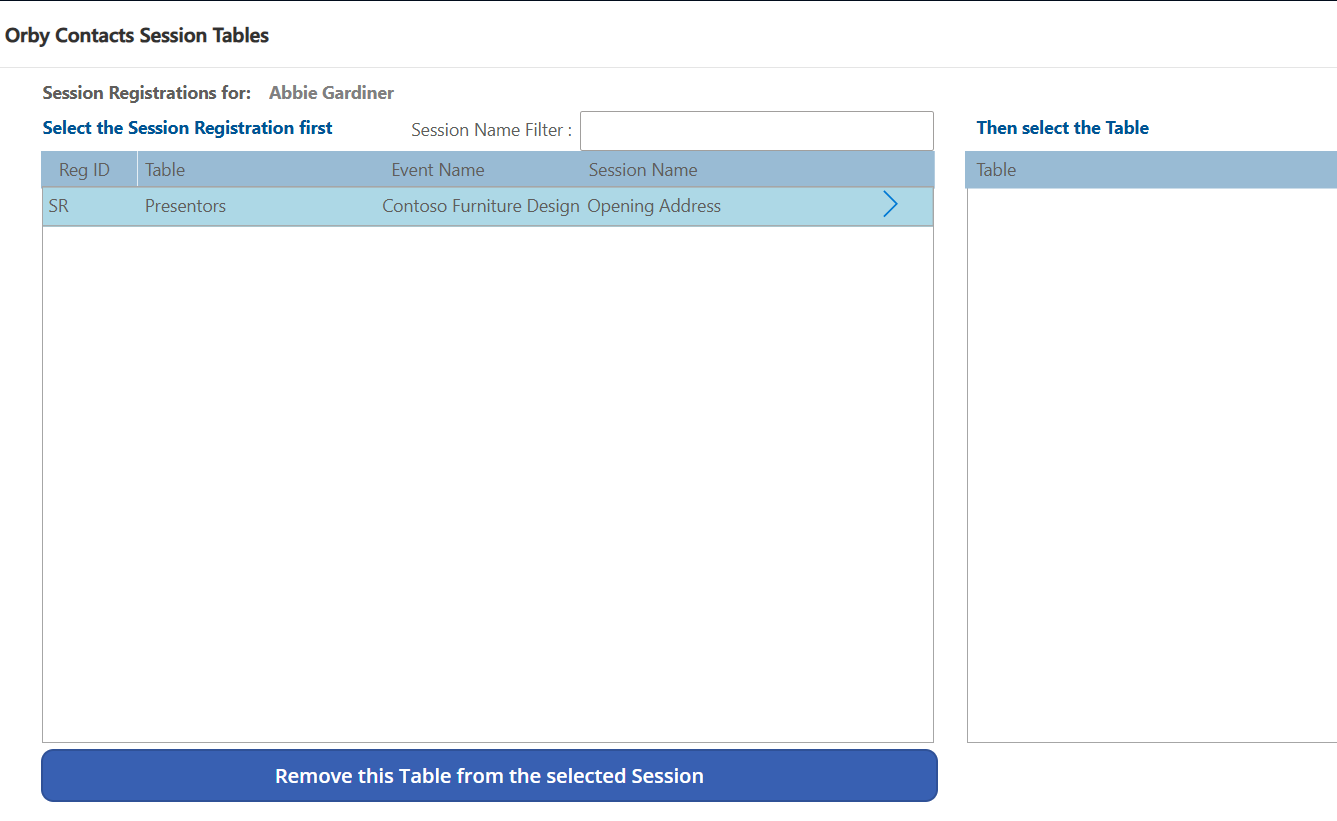
Following the instructions in the previous procedure – Manage Event Tables for a Contact