Introduction
The Inventory Management System facilitates the receiving and processing of orders while effectively monitoring order status, inventory, and stock levels. It streamlines the process of receiving and transferring stock across various warehouses and on-site locations
Key Terms and Concepts
- Sales Order: Represents an active purchase initiated by the customer, indicating their intent to acquire products or services.
- Warehouses: Designates storage facilities utilized to house a diverse range of products, ensuring efficient inventory management.
- Sales Order Products: Encompasses the specific items and quantities included within an active sales order, reflecting the customer’s chosen products.
- Purchase Orders: Formal requests directed towards suppliers, serving to procure fresh stock and replenish inventory levels.
- Accounts/Contacts: Essential repository housing pertinent information regarding organizational entities or individual contacts associated with customer projects.
- Warehouse Products: Signifies the strategic distribution and arrangement of products across multiple warehouse locations, optimizing logistics and fulfillment operations.
MAIN ENTITIES AND FUNCTIONS
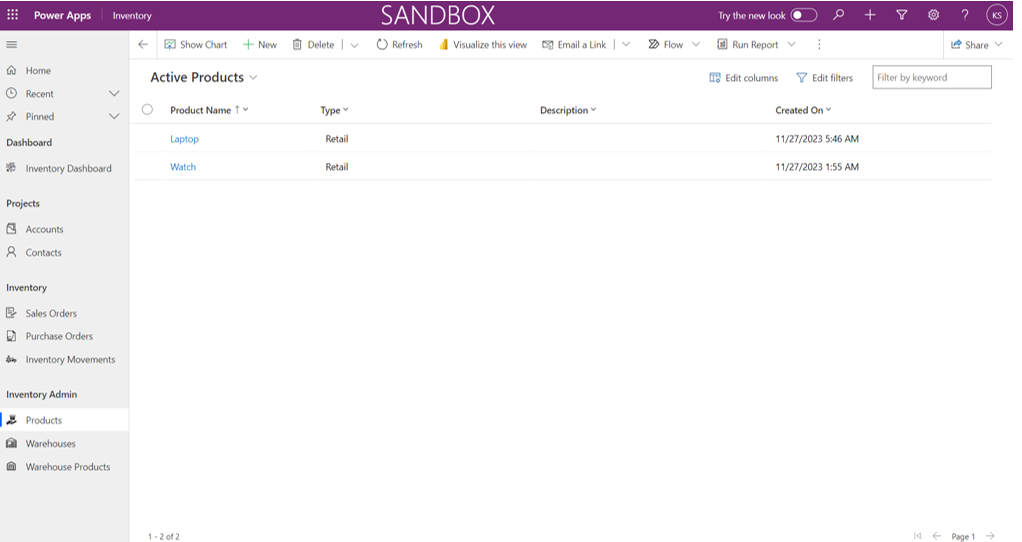
Products
When users open the application, Products can be found on the left navigation bar under Inventory admin. There are different views available for Products records. Users can set their default view by selecting the view and clicking on “Set as my default view”. Users can see the important details about the Product in the view itself such as name, type etc.
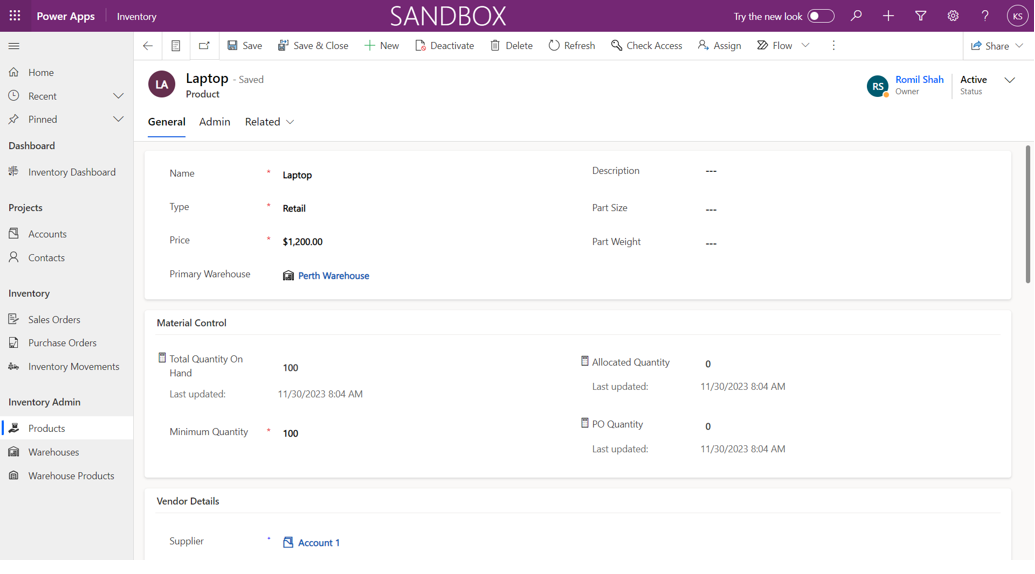
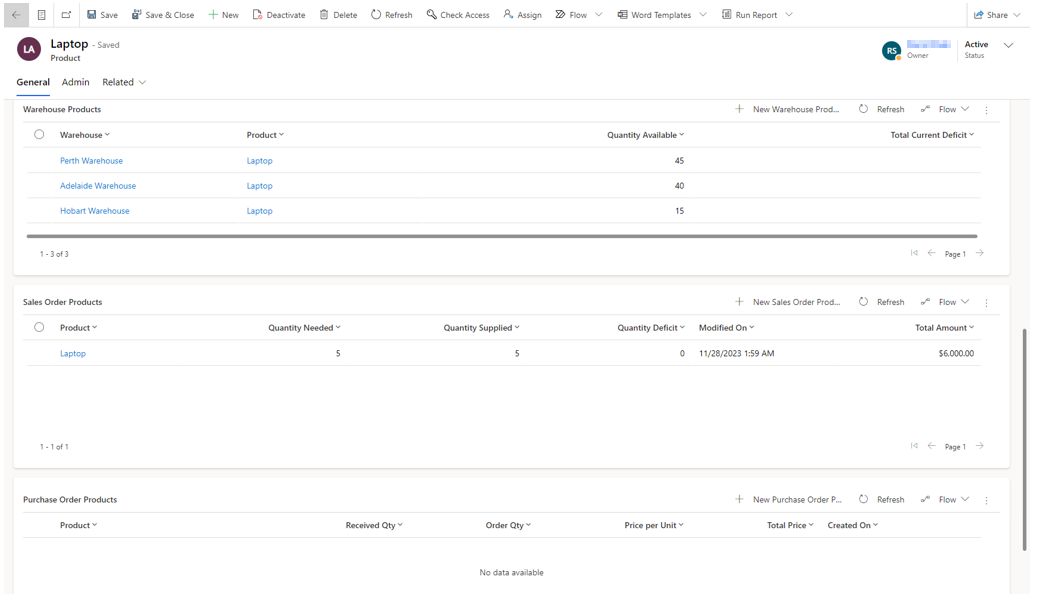
Staff can open products, and all the details will be available on the “General” tab as shown in below image. The information includes Vendor details, Distribution of the warehouse among different warehouses, the orders placed for that order and also the purchase orders related to the product.
Adding new Products
New products can be added by users by clicking on the “+New” button on top on the products page and provide the mandatory details such as
- Name
- Type
- Image


Total quantity on hand, Allocated quantity, Minimum quantity and PO quantity can be seen on the product page as well. If the total quantity on hand is less than the minimum quantity, then an automated email will be sent to the supplier.
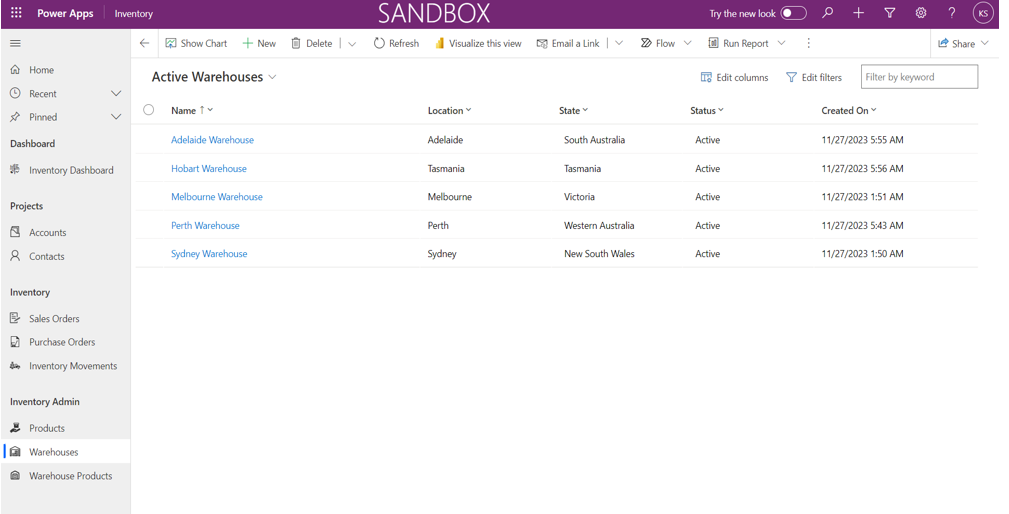
Warehouse
When users open the application, Warehouses can be found on the left navigation bar. Warehouse entity is used to store information regarding different warehouses. There are different views available for Warehouses. Users can set their default view by selecting the view and clicking on “Set as my default view”. Users can see the important details about the warehouse in the view itself such as name, location, state and status etc.
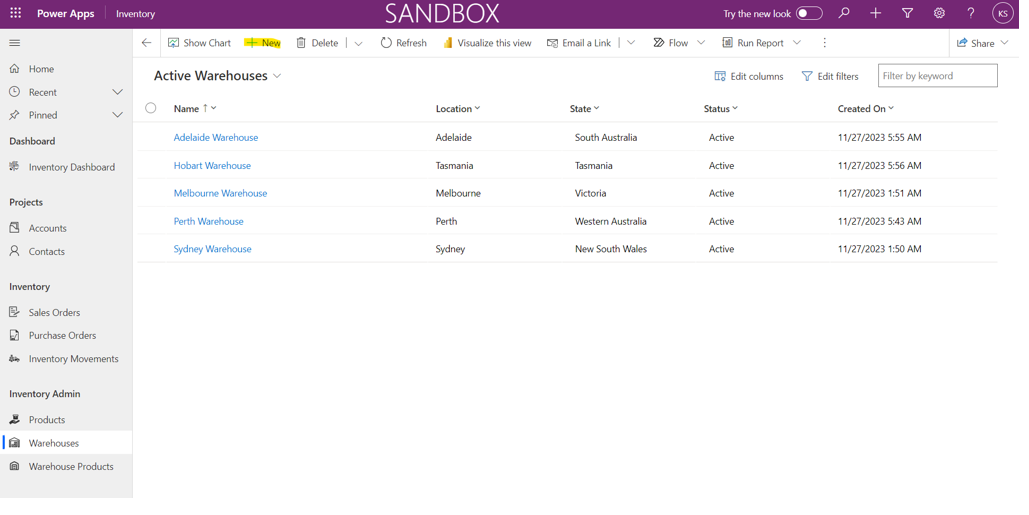
Adding New Warehouse
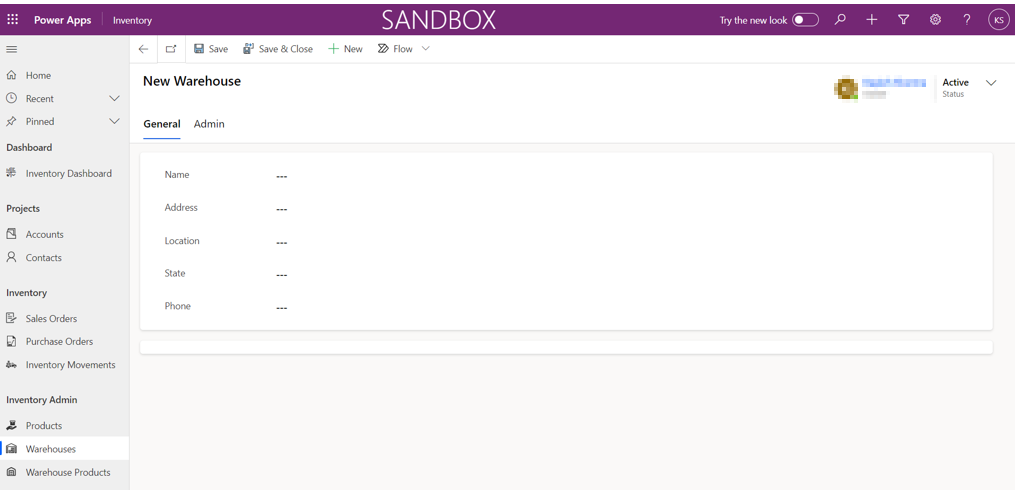
New warehouses can be added by users by clicking on the “+New” button on top on the warehouse page and provide the mandatory details such as
- Name
- Location
- State
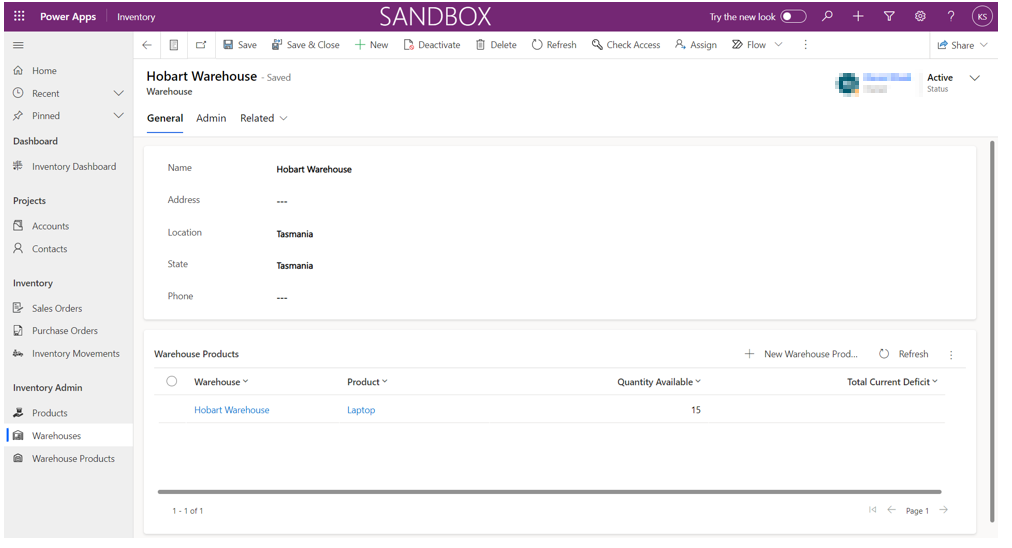
After adding the warehouse, users can add warehouse product information. Warehouse products is the distribution of the product in different warehouses.
Users can also see the details of the warehouse and the distribution of the products across different warehouses by clicking on the warehouses in the list.
Sales Order
When users open the application, Sales Order can be found on the left navigation bar. There are different views available regarding Sales Orders. Users can set their default view by selecting the view and clicking on “Set as my default view”. Users can see the important details about the sales orders in the view itself such as name, primary contact and supplying warehouse etc.
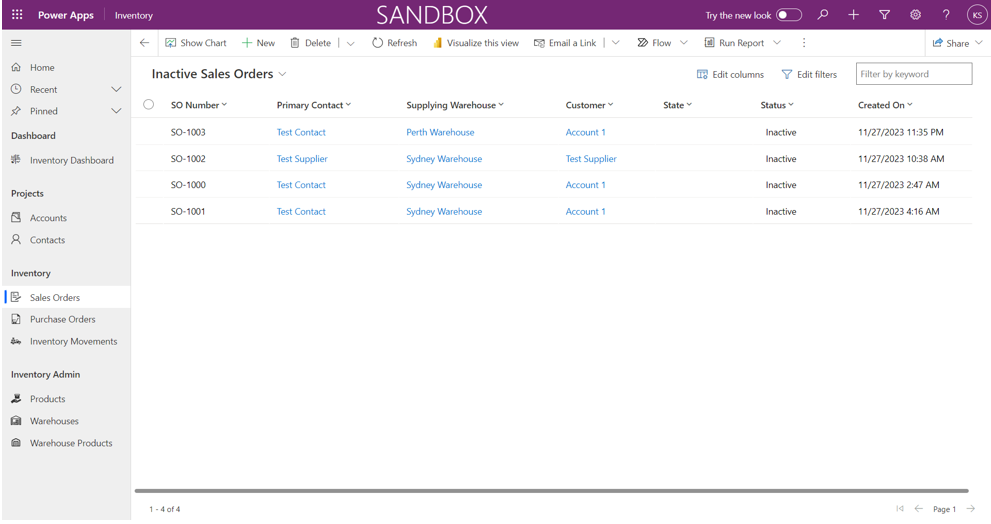
A sales order is a business process, and the information can be filled in at different stages. The status of the order changes as per the stage of the process. Users can click on any sales order to view further details such as Project and Customer details. The timeline and sales order products details can also be seen on the details page.
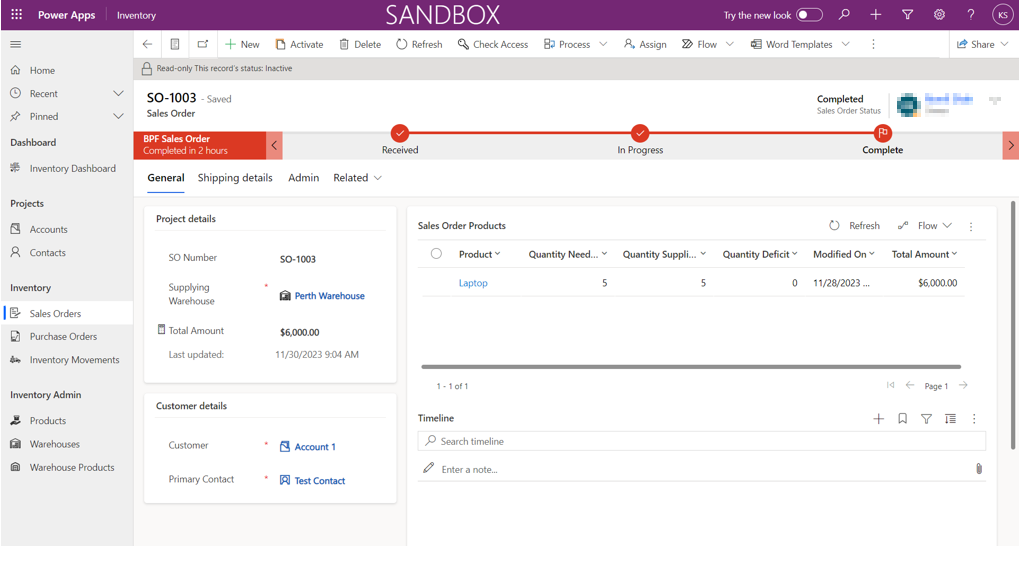
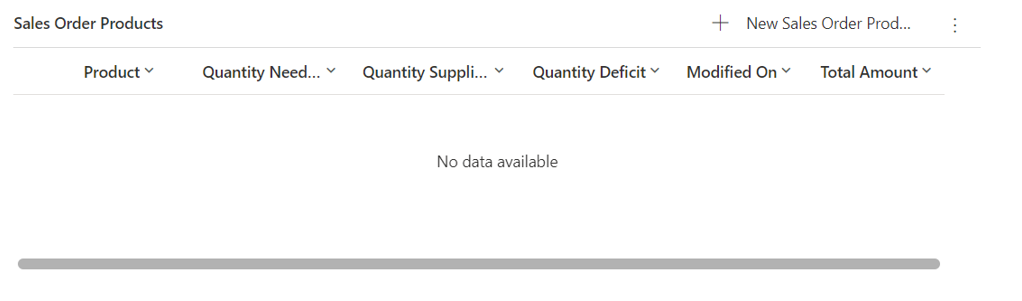
Users will be able to see all the Products related to sales order. The details shown will be Product, Quantity needed, Quantity Supplied, Quantity Deficit (Difference of Quantity needed and Quantity used) and modified on.
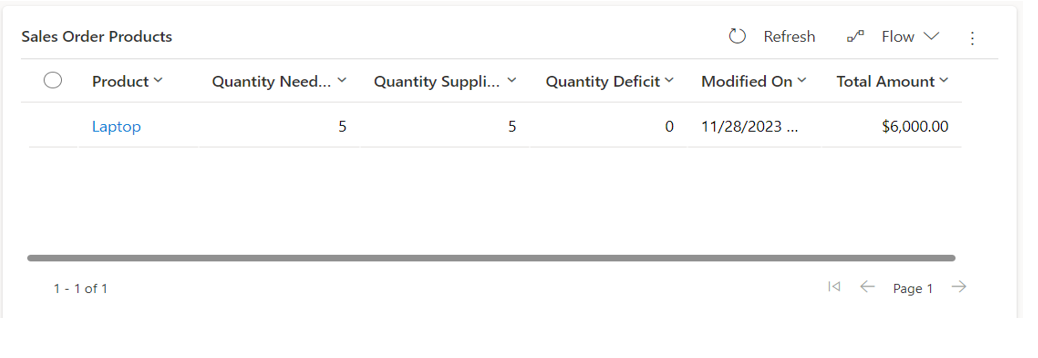
Users will be able to add products to the sales order from the sub grid by clicking on the “+New” sales order product button. The information needed to add products will be Product and Quantity needed. Project name, supplying warehouse and price per unit is auto populated.

Purchase Orders
When users open the application, Purchase orders can be found on the left navigation bar. There are different views available for purchase orders. Users can set their default view by selecting the view and clicking on “Set as my default view”. Users can see the important details about the purchase orders in the view itself such as name, po number, target warehouse, status and delivery date etc.
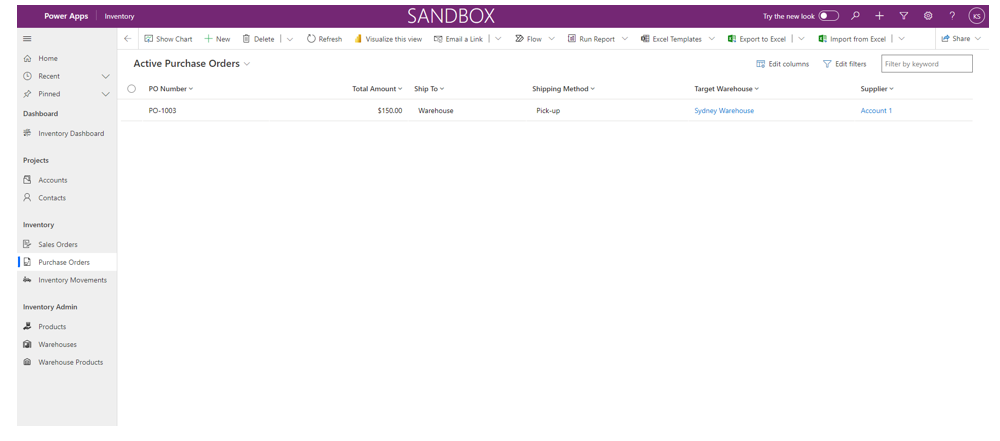
The user needs to click on the purchase orders in the list where they can see the details related to the order.
Users can see email the emails to and from the supplier in the timeline.
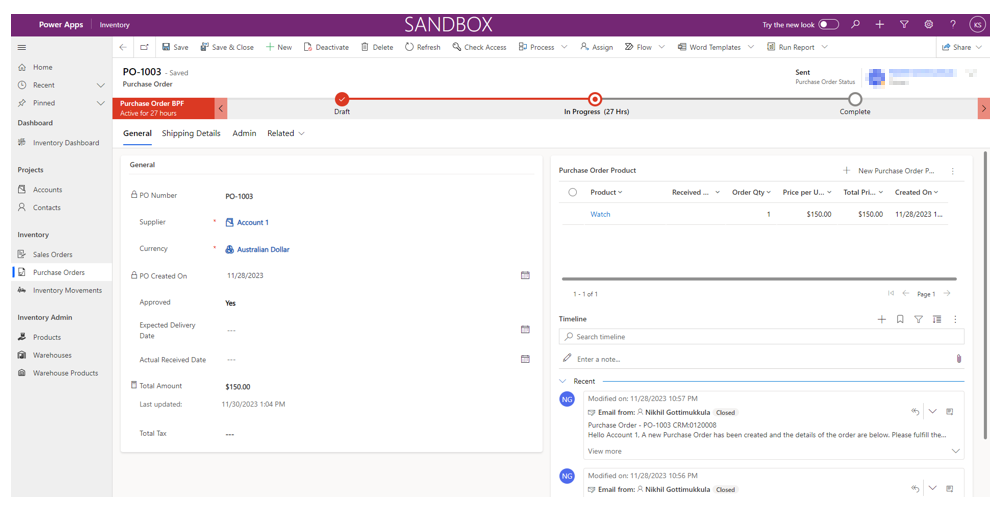
The purchase orders are also a business process and information can be recorded in stages. The status of the purchase orders changes at each stage automatically.
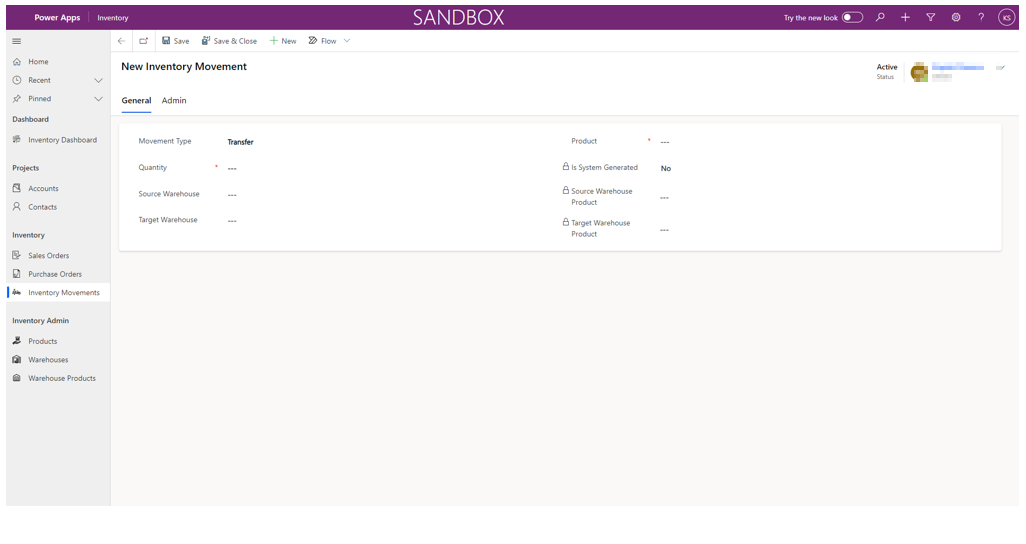
Inventory Movements
When users open the application, inventory movements can be found on the left navigation bar. There are different views available for inventory movements. Users can set their default view by selecting the view and clicking on “Set as my default view”. Users can see the important details about the inventory movements in the view itself such as product, quantity, movement type, target warehouse etc.
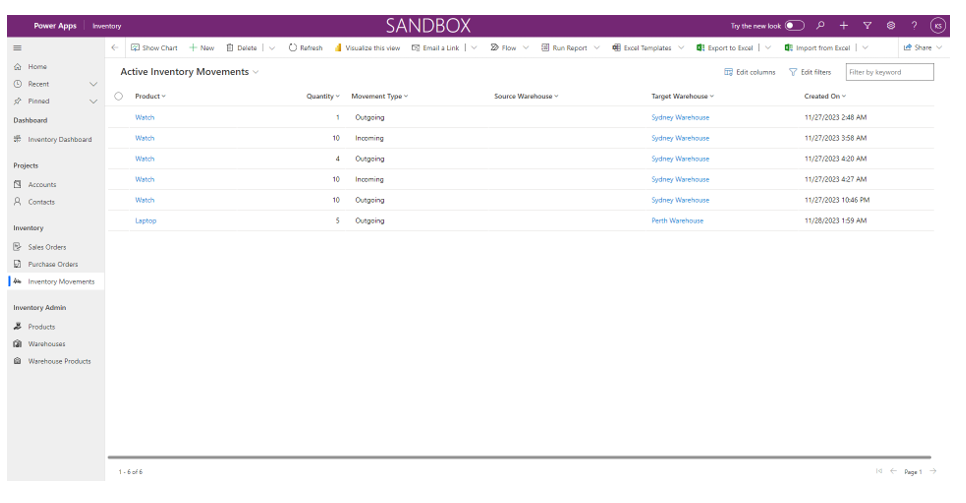
User needs to click on the inventory movement in the list where they can see the details related to the movement. Users can see all the relevant information about the movement such as the Type, Target Warehouse, Product, Quantity, Project etc.
There are 3 types of movements in the inventory movements –
- Outgoing – Stock moving out for customer projects to the site will be marked as outgoing. outgoing product stock quantity will automatically be deducted from the targeted warehouse.
- Transfer – Internal transfer of stock from one warehouse to another will be marked as transfer. Product stock will automatically get deducted from the supplying warehouse and will be added to the stock quantity of product in target warehouse.
- Incoming – Stock moving in from suppliers to the warehouse will be marked as incoming stock. Incoming stock will automatically be added to the target warehouse.
If the movement is created by the system, then it will be marked as Yes in is System Generated field otherwise it will be marked as No.
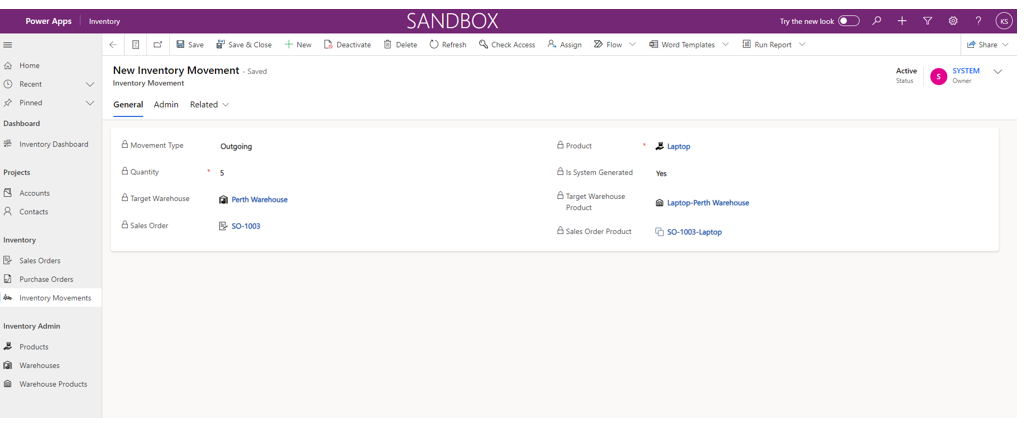
The user can create a new Inventory movement by clicking on the New Button and then adding all the relevant information about the movement such as the Type, Target Warehouse, Product, Quantity, Project etc.
NOTE: Users can only create Inventory movement type of transfer, Outgoing and Incoming inventory movement are automatically generated by the system.
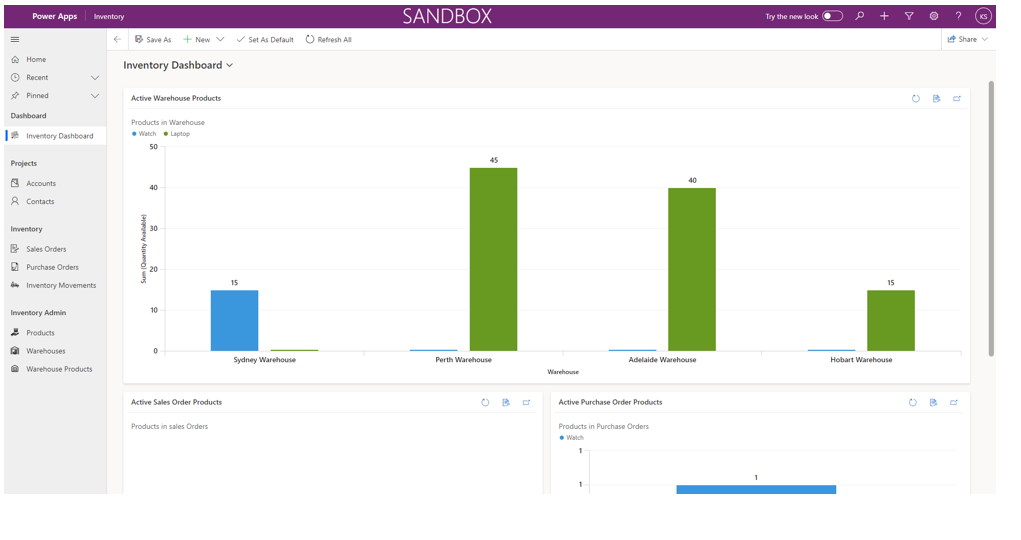
Dashboards
Inventory Dashboard
When users open the application, inventory dashboard can be found on the left navigation bar. Users can see all the statistics related to product sales order, purchase order products and warehouses products. All the statistics show active data.