Introduction
Notification Unleashed is your comprehensive solution for managing notifications in model-driven apps, offering a range of innovative features to keep your users informed and connected.
The app introduces Record and Table notifications, allowing you to easily highlight information for specific records or for entire tables using Fetch XML queries. Your users will receive these notifications or dialogs based on these conditions as soon as they open a record. This feature ensures it is super simple to highlight important information and stay updated without manual checks. Record Notifications streamline communication by sending out notifications based on specific record actions or criteria, enhancing collaboration and workflow efficiency.
Additionally, User notifications enable you to send updates and notification to individuals, teams, or entire business units. You can choose from various notification types, including Bar notifications and Dialog notifications, and even set timed notifications that indicate the duration for which the notification stays on the screen.
Looking ahead, Notification Unleashed is continuously evolving to bring you even more advanced features. In the pipeline, we’re working on a new capability that will allow users to see who has viewed notifications, enhancing transparency and collaboration within teams.
Notification Unleashed is designed as a model-driven app, allowing you to easily configure and tailor your notification experience to suit your business’ needs and ensuring you’re your users receive timely updates and alerts tailored to your preferences.
Features Overview
Prerequisite to use the Notification Unleashed features.
Enable notifications on the model-driven app for which you would like to receive user notifications by following below steps:
- From make.powerapps.com, navigate to the ‘Apps’ section.
- Click on the ellipsis and click on the ‘Edit’ button to edit the app.
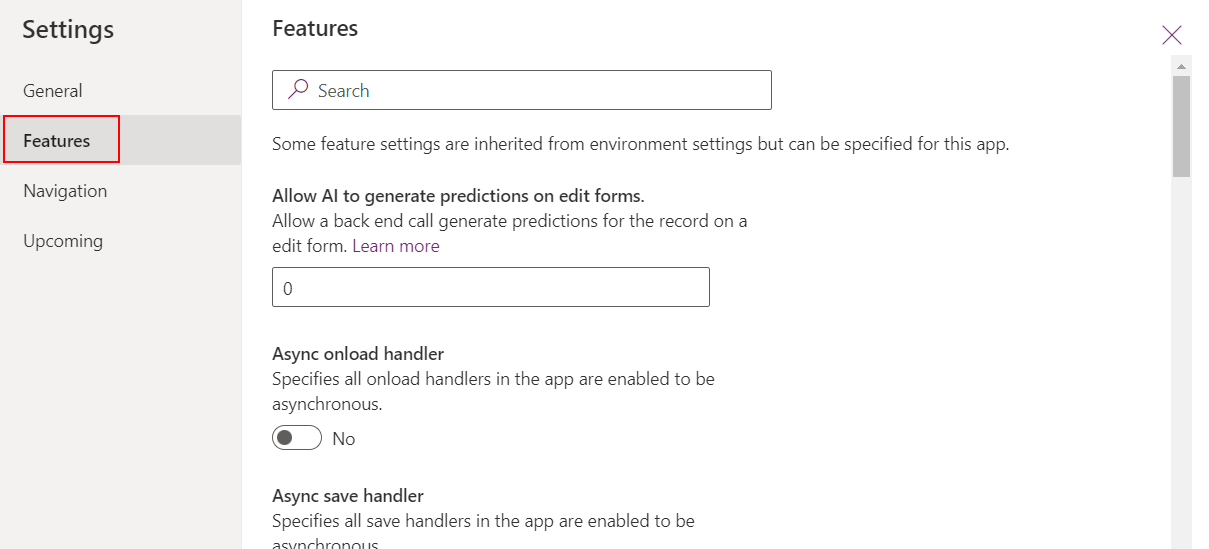
- Click the ‘Settings’ button, navigate to ‘Features’ tab.
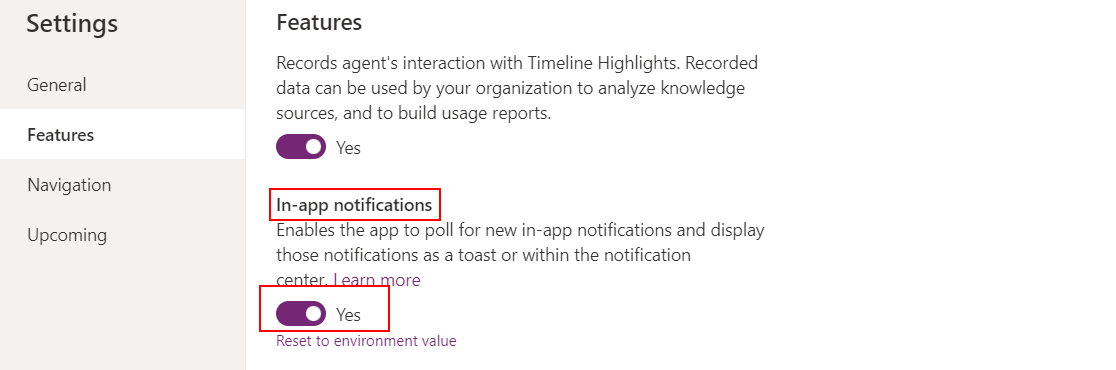
- Scroll and look for ‘In-app notifications’ and change the toggle button to ‘Yes’.
- Click ‘Save’ to exit the settings page.
- Click ‘Publish’ to make the changes on the app.
Before configuring Record Notifications, ensure that you have added a function to the onload event of the form for the table you want to receive record notifications. The function is notificationAlert.formLoad.
To add this function:
- From make.powerapps.com, navigate to the table for which you want to receive record notifications.
- Edit the form associated with the table.
- Go to the Events section of the form.
- Click on “+Add Library” and search for ‘loadnot_’.
- Select the library as shown in the screenshot below.
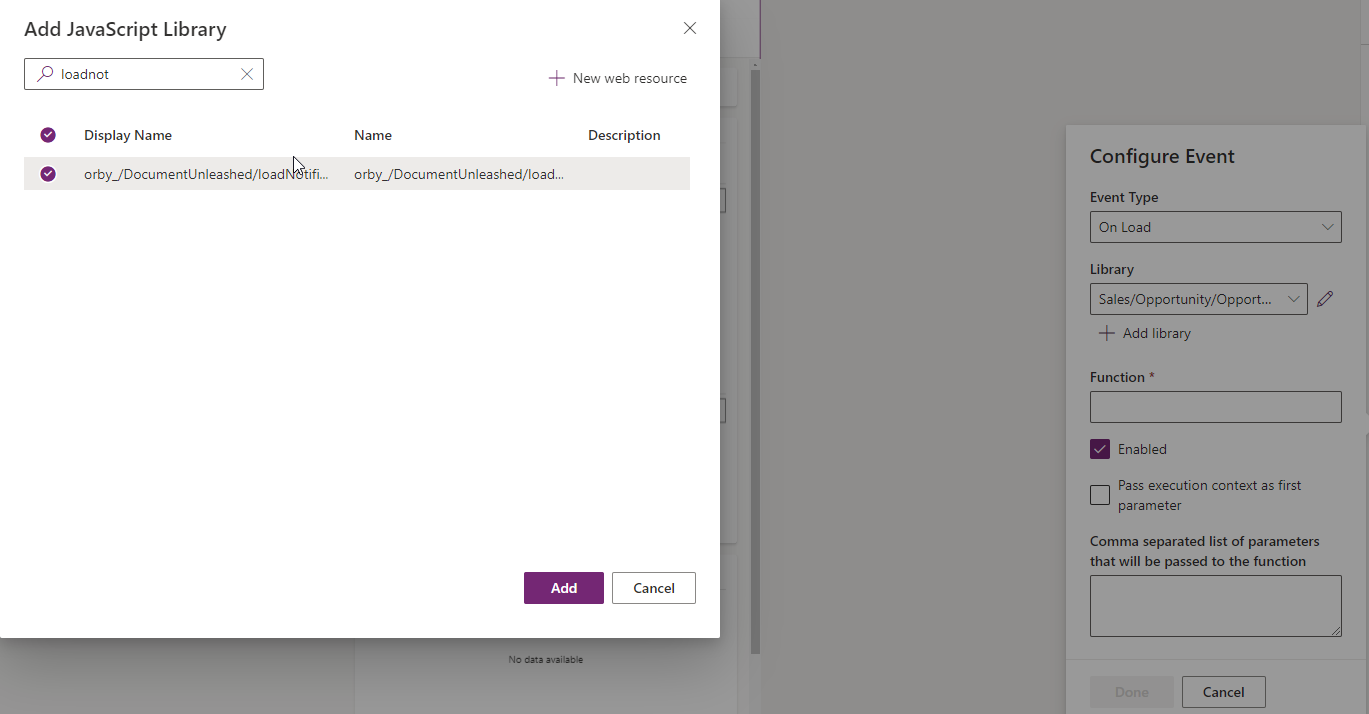
- Enter ‘notificationAlret.formLoad’ under the Function Name field and select the ‘Library’ from the drop down as shown in the screenshot below.
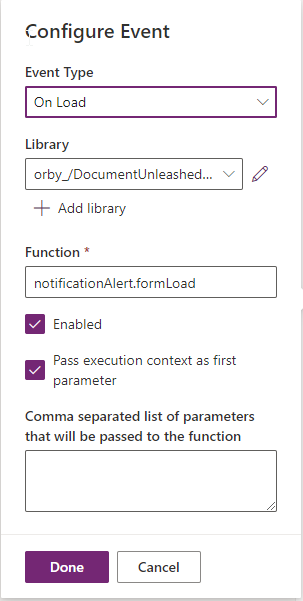
- Click Done to save the event handler.
- Save and publish the changes to the form.
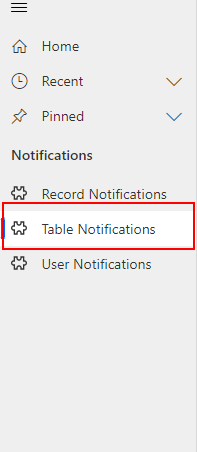
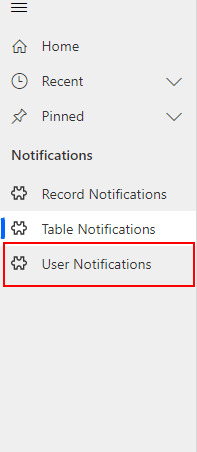
Table Notifications
Table Notification allows you to highlight information for entire tables using Fetch XML queries. These notifications are delivered automatically when users open relevant records. Note that Table Notification is the only feature supporting Fetch XML queries and offers two types of notifications: Bar notification and Dialog notification.
Steps to configure Table Notification
- Navigate to the Table Notification section in Notification Unleashed.
- Click on “+New” to create a new Table Notification.
- Enter the Fetch XML query to define the criteria for the notification. The Fetch XML needs to be correct based on the entity selected on the from; otherwise, it will throw an error.
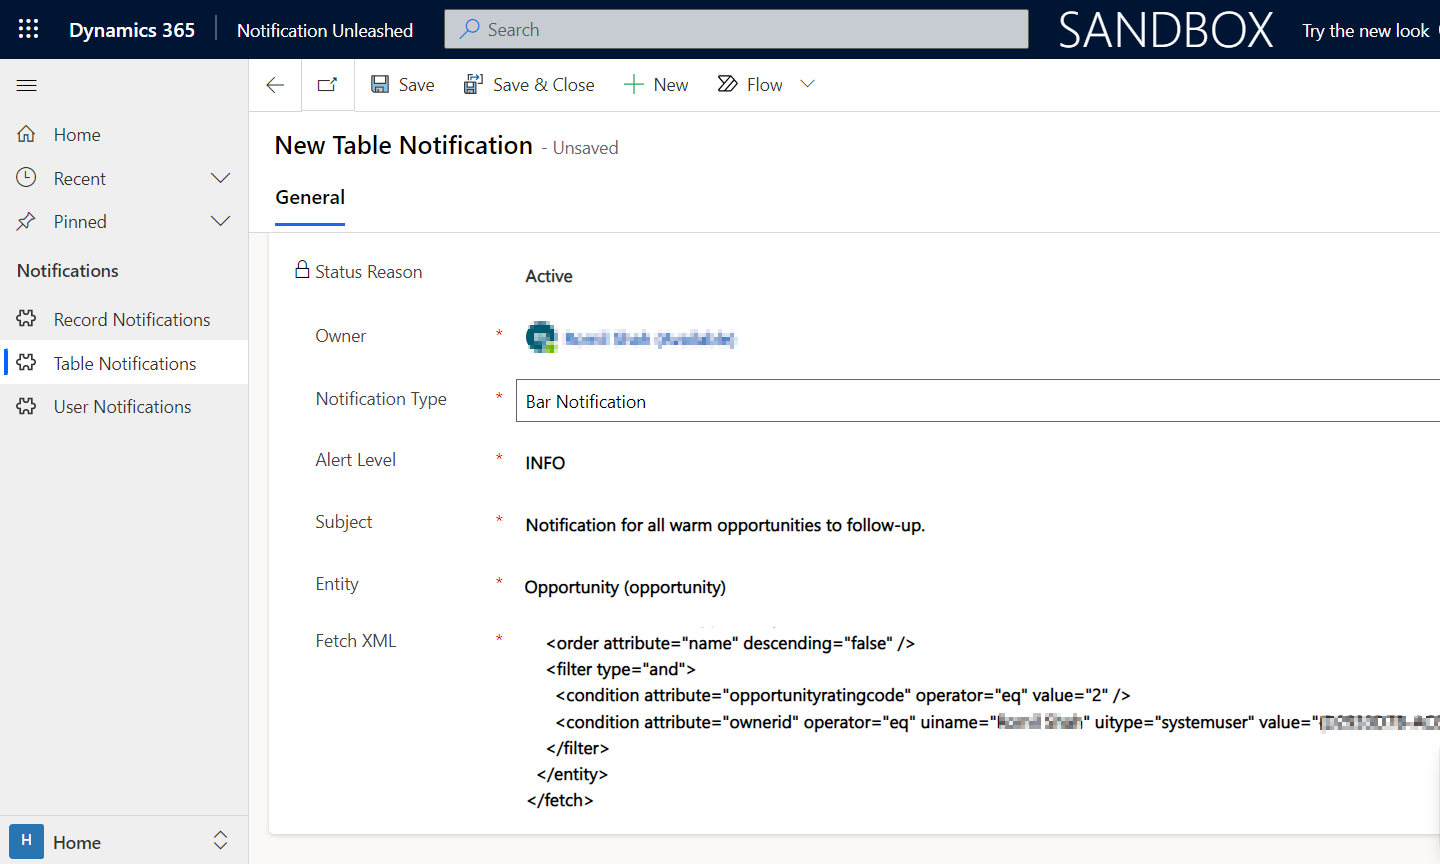
- Choose between Bar notification and Dialog notification based on your preferences.
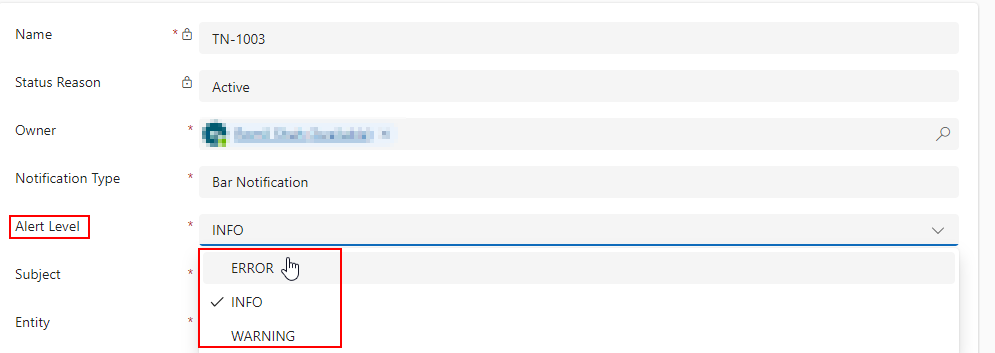
- If notification type is Bar notification, it will show different alert levels such as Error, Info, and Warning.
- If the notification type is Dialog, it will show a description instead.
- Customise the message and save the record.
- The message will display on the records based on the Fetch XML and notification type selected.
- Bar notification will be displayed as per below screenshot.

- Dialog notification will be displayed as per below screenshot.
To remove the notification, simply click on ‘Deactivate’ and notification will no longer appear.
Record Notifications
Record Notification sends notifications based on specific record actions or criteria, enhancing collaboration and workflow efficiency.
Proceed with configuring Record Notifications using the following steps:
- Click on the “+” icon in the timeline and look for ‘Record Notification’, it will open a new record notification window.
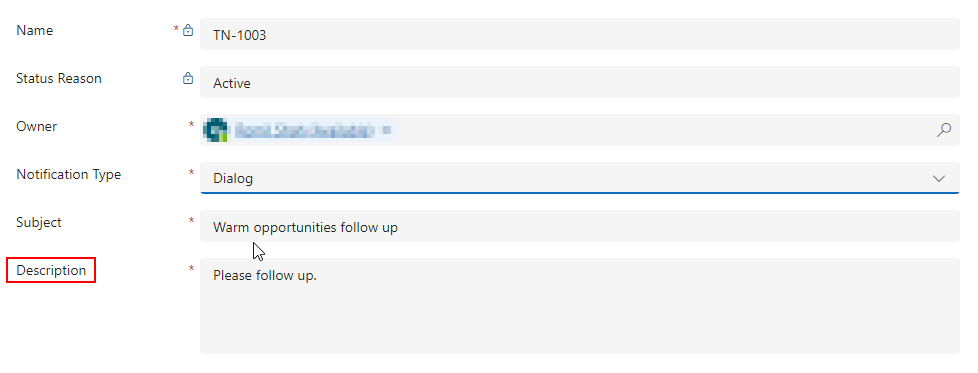
- Select the notification type (Bar or Dialog), and enter the following details.
- For Bar Notification, enter Subject, Alert Level and Due Date.
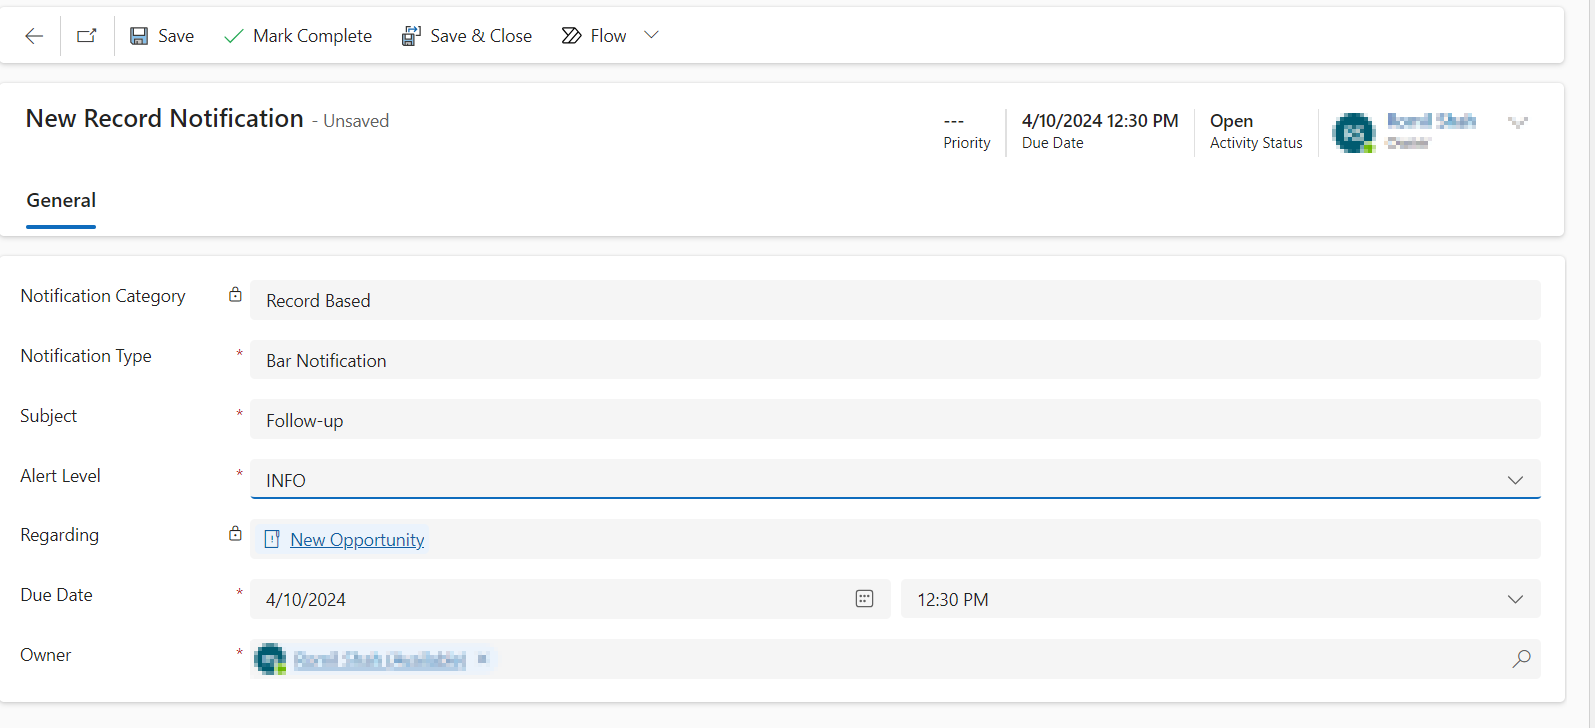
-
- For Dialog Notification, enter Subject, Description and Due Date.
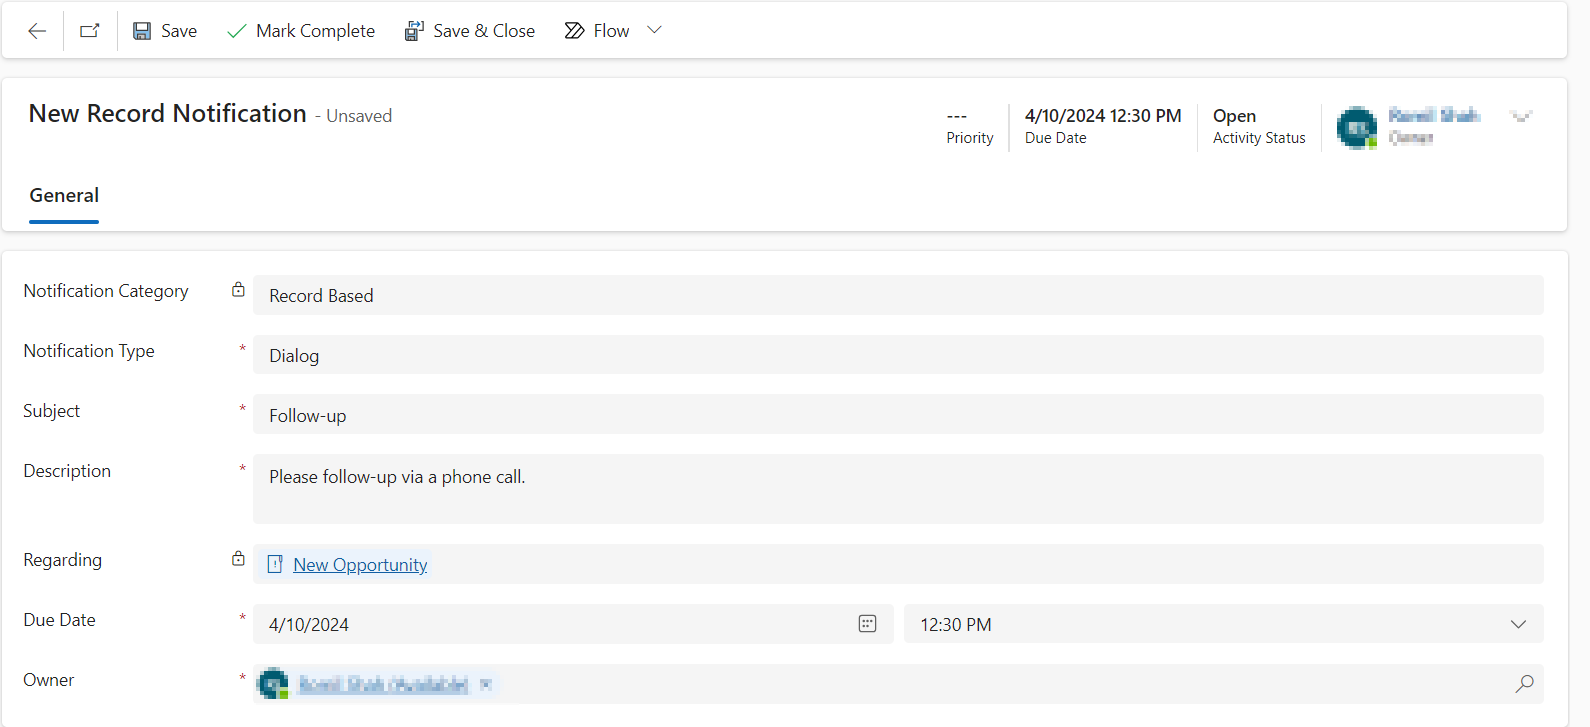
-
- Save and close the record notification window.
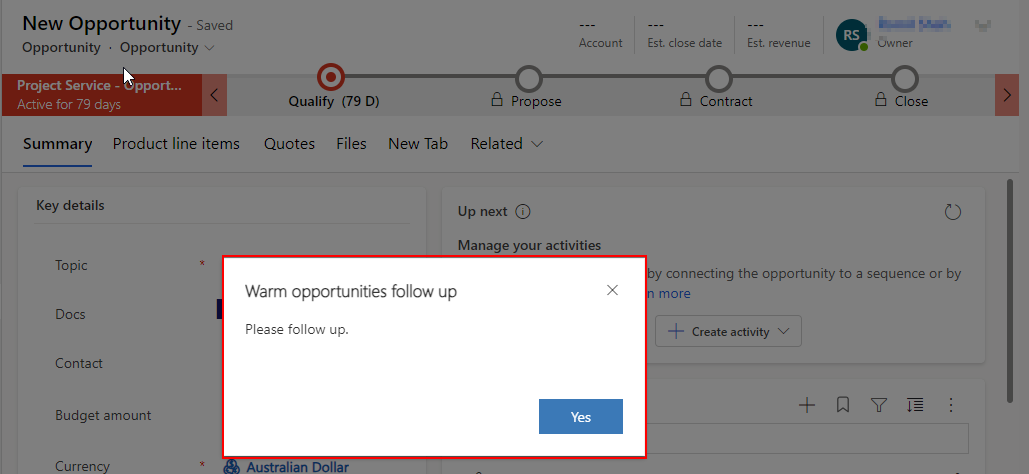
- The user will receive notification in the form of the record as per below screenshot:
- Dialog Notificaion

-
- Bar Notification

Note: The notifications will appear until the Due Date and Time has passed.
User Notifications
User Notification enables you to send updates to individuals, teams, or entire business units with various notification types and timing options.
Steps to configure User Notifications
- Go to the User Notification tab within Notification Unleashed.
- Enter the following fields:
- Title
- Description
- Recipient (can be a Business Unit, Teams or Users)
- Priority (Normal or High)
- Toast type (Timed or Hidden)
Timed – The notification appears for a brief duration (the default is four seconds) and then disappears.
Hidden – The notification appears only in the notification centre and not as a toast notification.
- Icon type (Info, Success, Failure, Warning and Mention)
- Expiry (in Seconds)
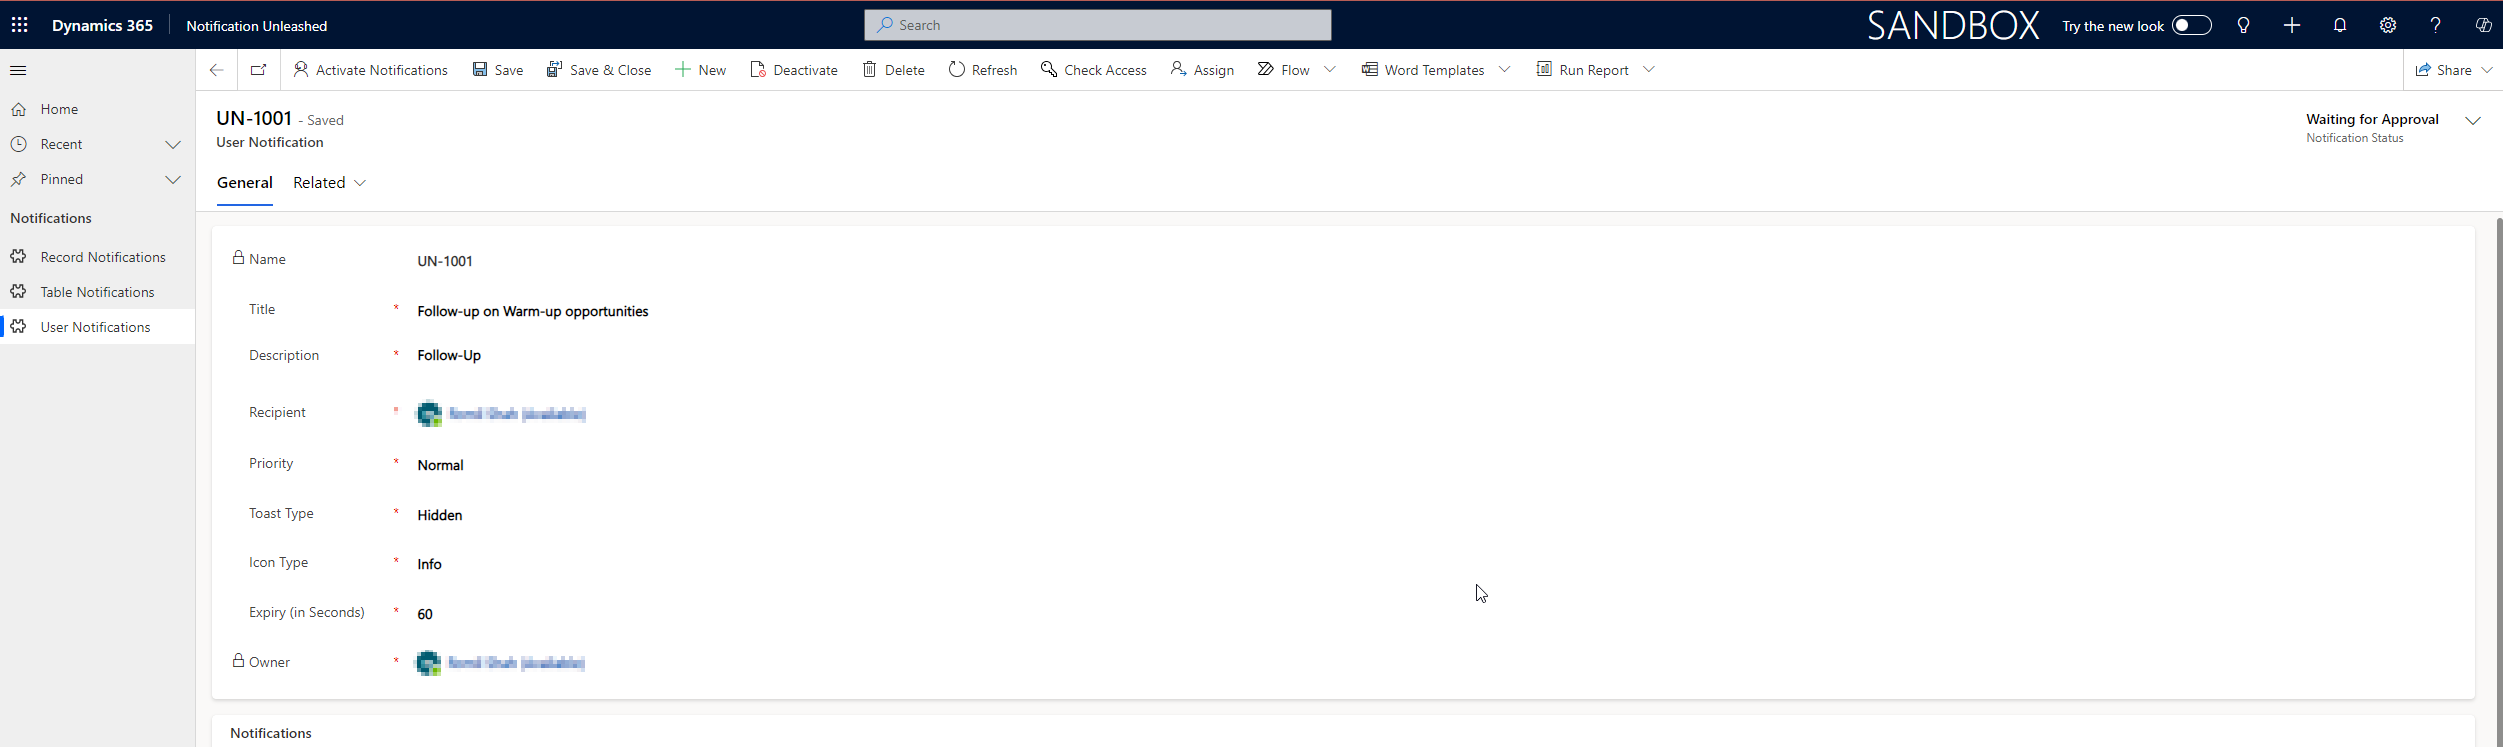
- Save the record.
- After saving the user notification, the status changes to “waiting for approval”
- To activate the notifications and send updates, click on “Activate Notifications.” Note that a new record notification is created automatically when the “Activate Notifications” button is clicked. There’s no need to create a new record notification separately.

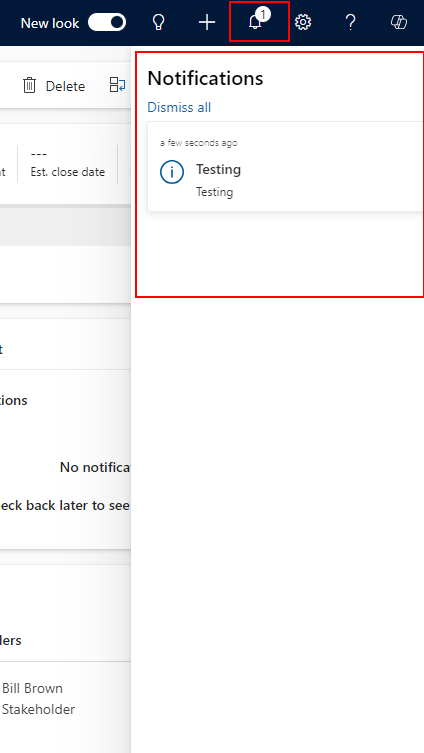
- Notification will be displayed as per below screenshot on the Notification section.