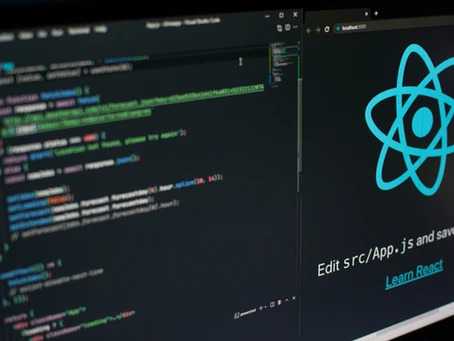
In this article, we are going to learn how to create a simple react code component using the Power Apps CLI and PCF library. As you may know, the code component allows us to create custom UI controls to customise the way users interact with the user interface in model-driven apps, canvas apps or even portals. The target of this article is model-driven apps and portals, but sample code can also be used for canvas apps.
Why React code components?
React is a well-known JavaScript library that offers many useful features such as one-way binding, template rendering (JSX) and great performance. Moreover, the library has built-in support from Power Apps which makes it the best library for code components compared to other libraries. Power Apps CLI also can generate a project template for React code components which makes the development of React components much easier and faster.
Power Apps CLI installation
Power Apps CLI can be installed either by installing the Power Platform extension for Visual Studio Code or separately as a standalone CLI by downloading it from the Microsoft website. Since we are going to develop a UI component inside the VS Code environment, this article utilises the first method of installation.
To install the Power Platform extension for VS Code, we need to click on the extensions tab in the VS Code and then search for the Power Platform extension as shown in the following screenshot:

Creating the React project using the Power Apps CLI
As mentioned in the previous sections, one of the advantages of using the React library is the built-in support by the Power Platform. Power Apps CLI is one of the tools of the Power Apps that has built-in support for React.
To create an empty project for creating a React code component, the following command needs to be used in the Power Apps CLI:
As can be seen from the command usage and arguments, the framework can be either none or react. The following sample command shows how to use the react value in the above command:
pac pcf init -ns OrbyComponents -n TestComponent -t field -fw react -npm
After executing the above command, the generated main component class would look like the following screenshot:
If we execute the same command without the framework option, the generated main class would like the following image:
As shown in the above screenshots, the React component class implements the ComponentFramework.ReactControl interface and the updateView method returns the “React.createElement” output instead of returning void.
Please note that there are many React code components on GitHub or other public code repositories that do not take advantage of the PCF template for React. Those components use the “ReactDOM.render” method to render the react element inside the container. However, the generated code for React library returns the React element to the framework and delegates the responsibility of calling the ReactDOM.render method to the PCF framework.
How to build and publish the control?
There are two ways for building and publishing a code component to an environment. The easiest way is using the CLI to build and publish the control as an unmanaged solution and then adding the control to other solutions if necessary. The CLI follows the following naming convention for the solution that it creates:
PowerApps_[Publisher Prefix]
The publisher prefix is passed to the CLI as an argument to the publish (push) command. Here is the screenshot of the PCF publish(push) command:

As can be seen in the above image, the publisher prefix is an argument of the command. For example, the following command execution publishes the control with the “orby” prefix:
pac pcf push -pp orby
The name of the solution that the above command execution creates is: PowerApps_orby
We can then create another solution in the environment with our preferred name and add the control to that solution.
You may wonder how the CLI knows to which environment to connect and publish the control. The next section explains the Power Apps CLI command that can be used to create and select an environment before publishing the control or performing other actions on an environment.
How to connect to an environment using Power Apps CLI?
The Power Apps CLI has some commands that can be used to create a connection to an environment or select the active connection from the list of existing connections. The following image shows the CLI command that can be used to create a connection to an environment:

As the image shows, the command has many arguments, but the most important argument is the URL of the environment. The CLI will ask the user to provide the credentials before creating the connection so we can leave the username and password from the command execution. For example, the following command will ask the user to provide the credentials of the environment and then creates a connection with the provided URL:
To view the list of existing connections and the active connection the following command can be executed:

The active connection is marked by a “*” character as shown in the above screenshot.
The active connection can also be changed by passing the connection index from the above list to the following command:

For example, the above command activates the connection with the index “1” from the list of connections.
The following screenshot shows the list of all commands that are available under the “pac auth”:
