In this article we will discuss how to filter a List in Microsoft Dynamics Power Pages so the currently logged in user only sees records that are allocated to them.
Scenario:
- Our company creates quotes for products and services in the Dynamics 365 Quote module.
- We want the recipients of the quote to be able to login to a portal and approve the quote.
- To keep licensing costs to a minimum, the recipients of the quotes will NOT need an Azure AD account.
- Access to the portal for external users should be protected by a Username and Password.
Note: It is possible to extend access to quotes, to all approved members of the organisation that the quote recipient belongs to. This is covered in a separate article.
Overview of steps
- Create a Quote in Dynamics 365/Power Apps
- Create a Contact that the Quote will be assigned to.
- Set the Contact as the Potential Customer for the Quote.
- Create a Power Pages Site.
- Create at least one Web Role.
- Assign permissions to the Web Role.
- Assign the Contact in our Dynamics system to at least one Web Role.
- Modify the filter of the Power Page list.
Process – Dynamics 365 / Model Driven App
Create a Quote record
In Dynamics 365 or Power Apps, create a Quote.
Create a Contact record
From Dynamics 365 or Power Apps, identify or create a Contact record.
The Contact can belong to a Company, but this is not required for this scenario.
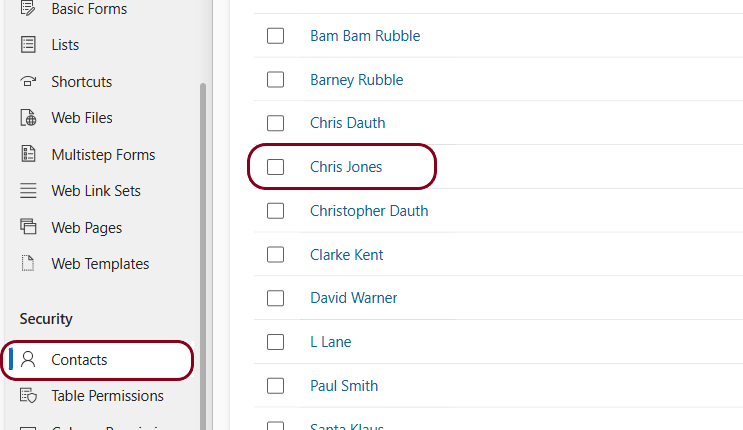
We assume that you know how to create a Contact in Dynamics 365/Power Apps so this process is not covered in this article. In this example, we will use the contact – Chris Jones.
Assign the Contact to the Quote
For at least one quote, assign the Contact as the Potential Customer
Create a View in the Quote Table for the Power Pages Site
The List in the Power Pages Site that displays Quotes should only include key columns. Typically, you should create a separate View with limited columns, and name the view so it can be easily recognised. For this example, we have named it Portal Quotes.
Creating Views in Dynamics 365 or Power Apps is not covered in this article.
Pages
Create a Power Page site.
Open https://make.powerpages.microsoft.com.au
We assume that you know how to create a Power Page Site so this process is not covered in this article.
Design Studio
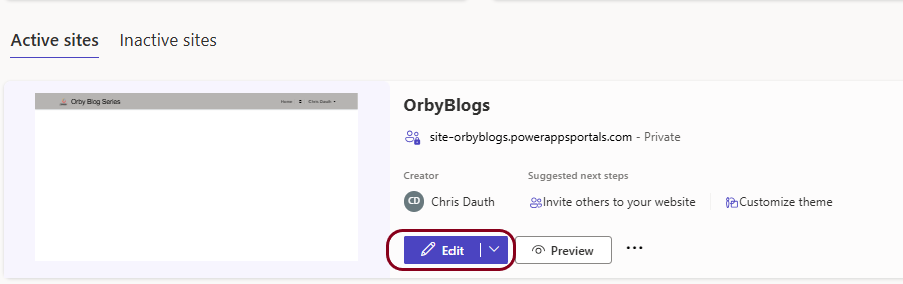
Open the Power Pages Site in Design Studio.
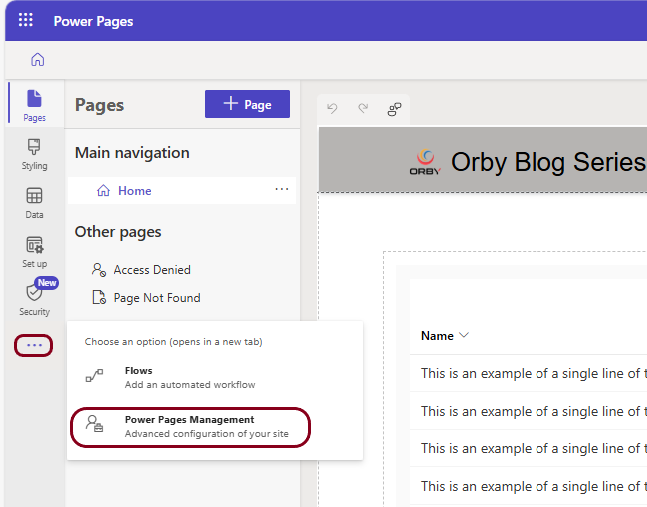
Power Pages Management
From the Design Studio, open the Power Pages Management Model Driven app.
Create a Web Role
Web Roles are security roles specific to Power Pages portals. They are used to:
- Control access to webpages, forms, lists, and other portal components
- Manage permissions to view, create, edit, or delete data
- Determine user experience based on their role
They are not the same as Dataverse (Dynamics 365) security roles, though they can be used together.
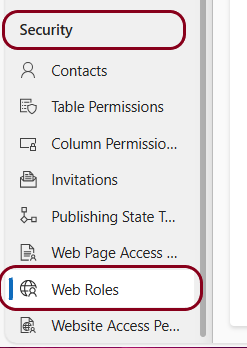
From Power Pages Management Home, scroll down to Security and click on Web Roles
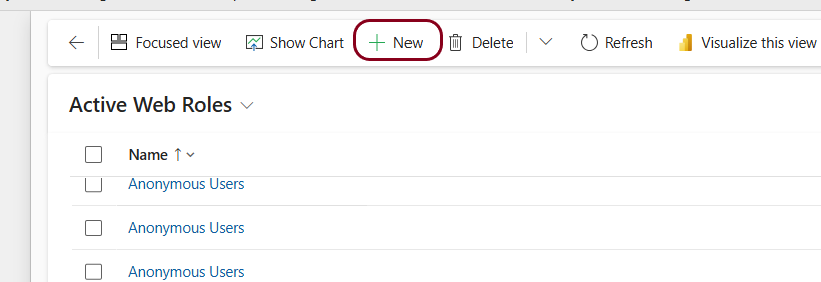
From the Command Ribbon click on + New.
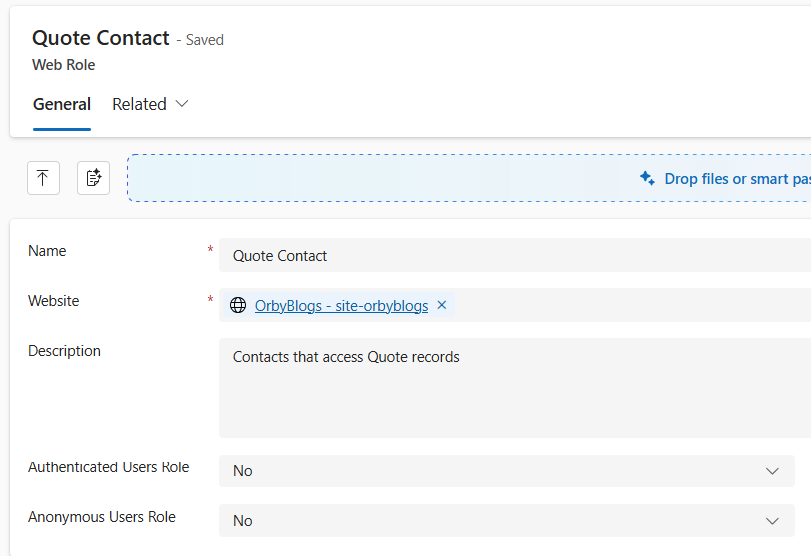
- Enter a name for the Role. For this example, we are creating Quote Contact.
- Select the Website that you are working with.
- The Description is not mandatory but may be useful later.
- It is important to leave Authenticated Users Role and Anonymous Users Role set to
Save & Close
Assign the Web Role to a Contact
Now we need to assign at least one Web Role to the Contact.
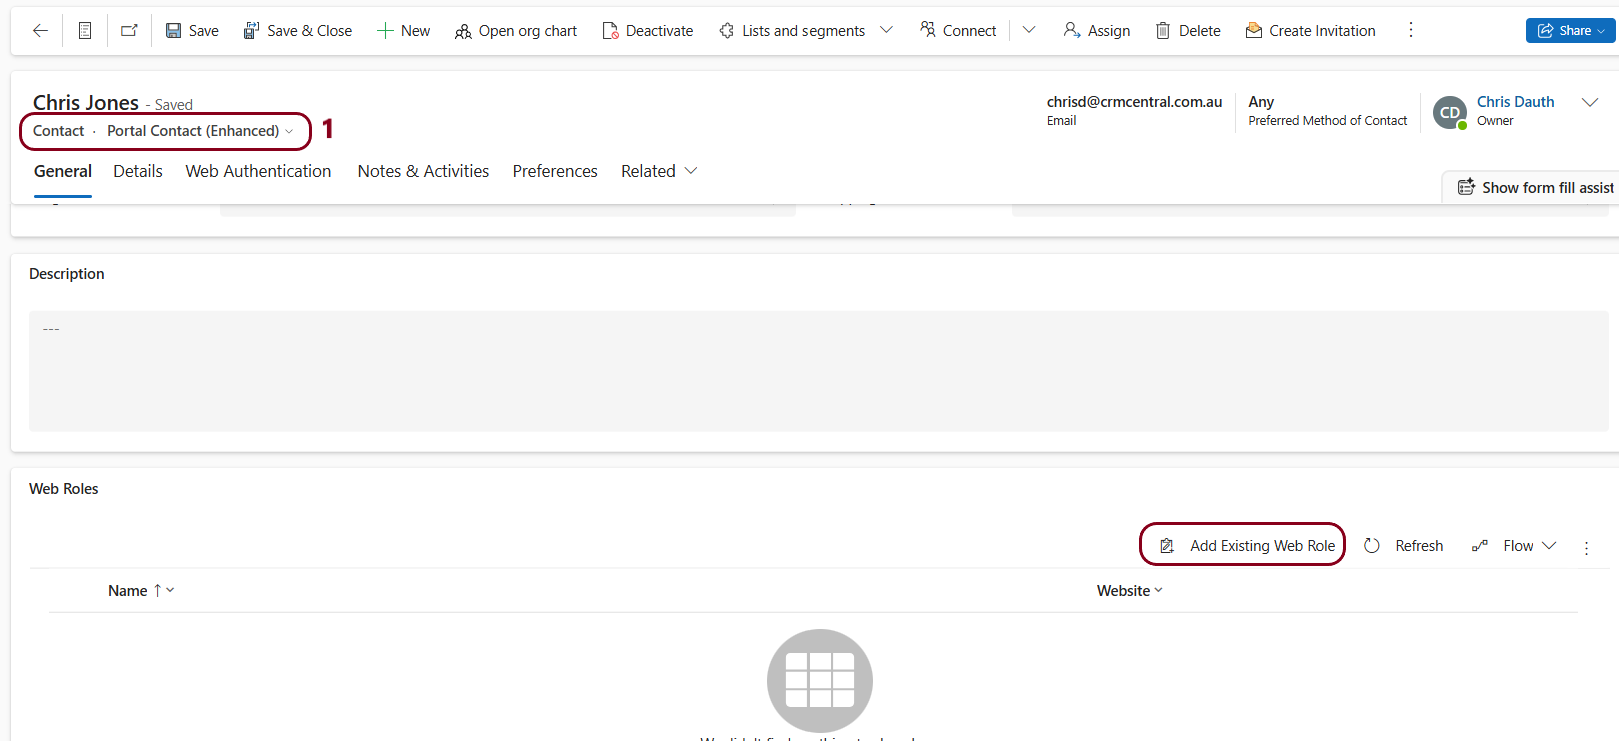
Under Security select Contacts and the Contact you want to edit.
- Select the appropriate This is usually the Portal Contact Form but may be different in your environment.
- Scroll down to the Web Roles section and click on Add Existing Web Role
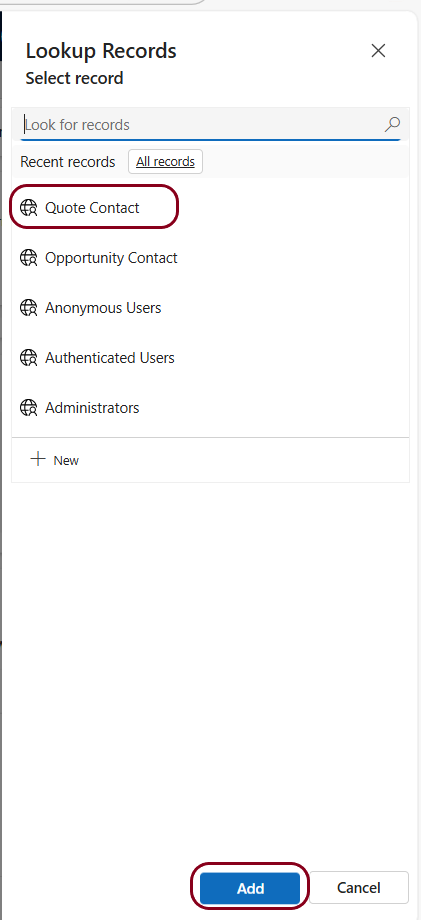
Select the Web Role created earlier and click on Add
Set a Power Pages Username and Password for the Contact
You can allow the external Contact to setup their own Username and Password by sending them an Invitation. This is covered in a different article so for now we will set this Contact up manually.
Select the appropriate Form. This is usually the Portal Contact Form but may be different in your environment.
Click on Web Authentication
Enter a Username and New Password Input.
Save the record.
Add a Power Pages List
Overview
It is important to understand the difference between a List and a View. This can be confusing because in Dynamics 365 or a Power App, we use Views to List records.
In Power Pages sites, we use the Views from our Model Driven App to set the Columns we want displayed in Power Pages List.
We can use the Filters in a View to perform some initial filtering. An example of this is only listing Active quotes.
In Power Pages, a View is added to a List that displays the data. A List can have multiple Views that the user can choose from.
Power Pages provides a range of additional dynamic filtering options to further filter the records displayed in a List. In this scenario, we want to only display Quotes where the Potential Customer is the currently logged in Contact. This means that when the Contact logs into the Site, they will only see Quotes assigned to them.
Creating a List
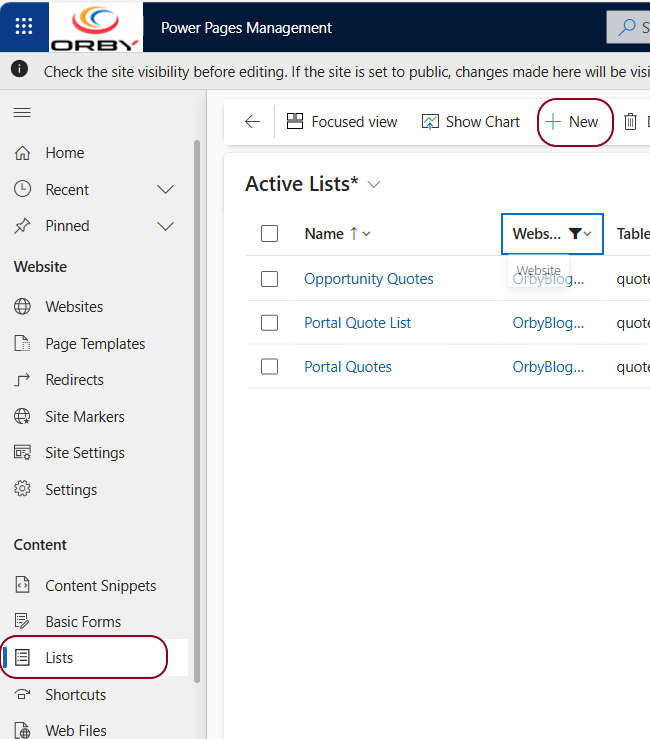
In Power Pages Management, click on Lists then + New.
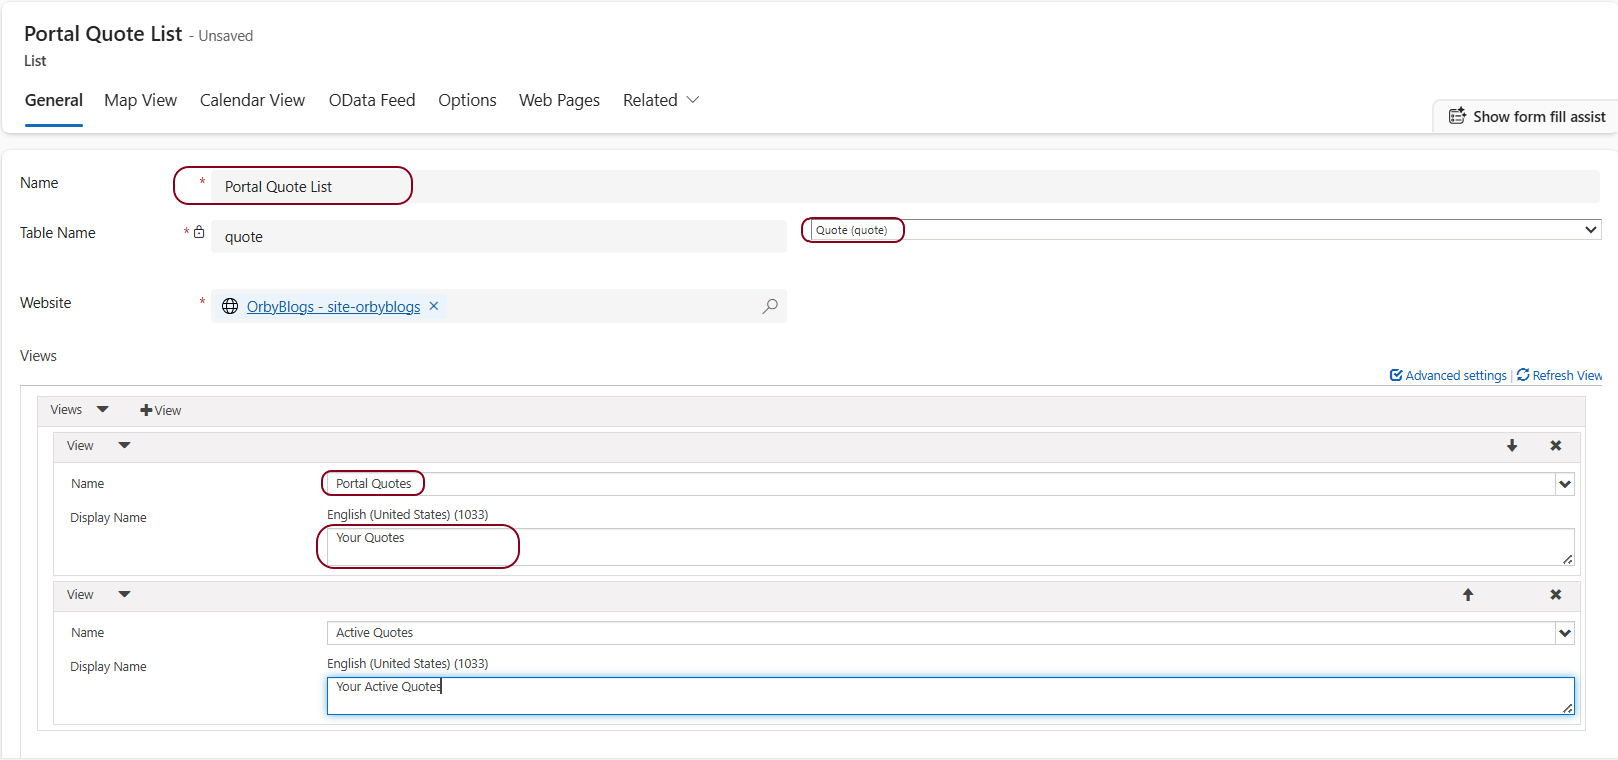
Enter details of List making sure you select the correct Site and View.
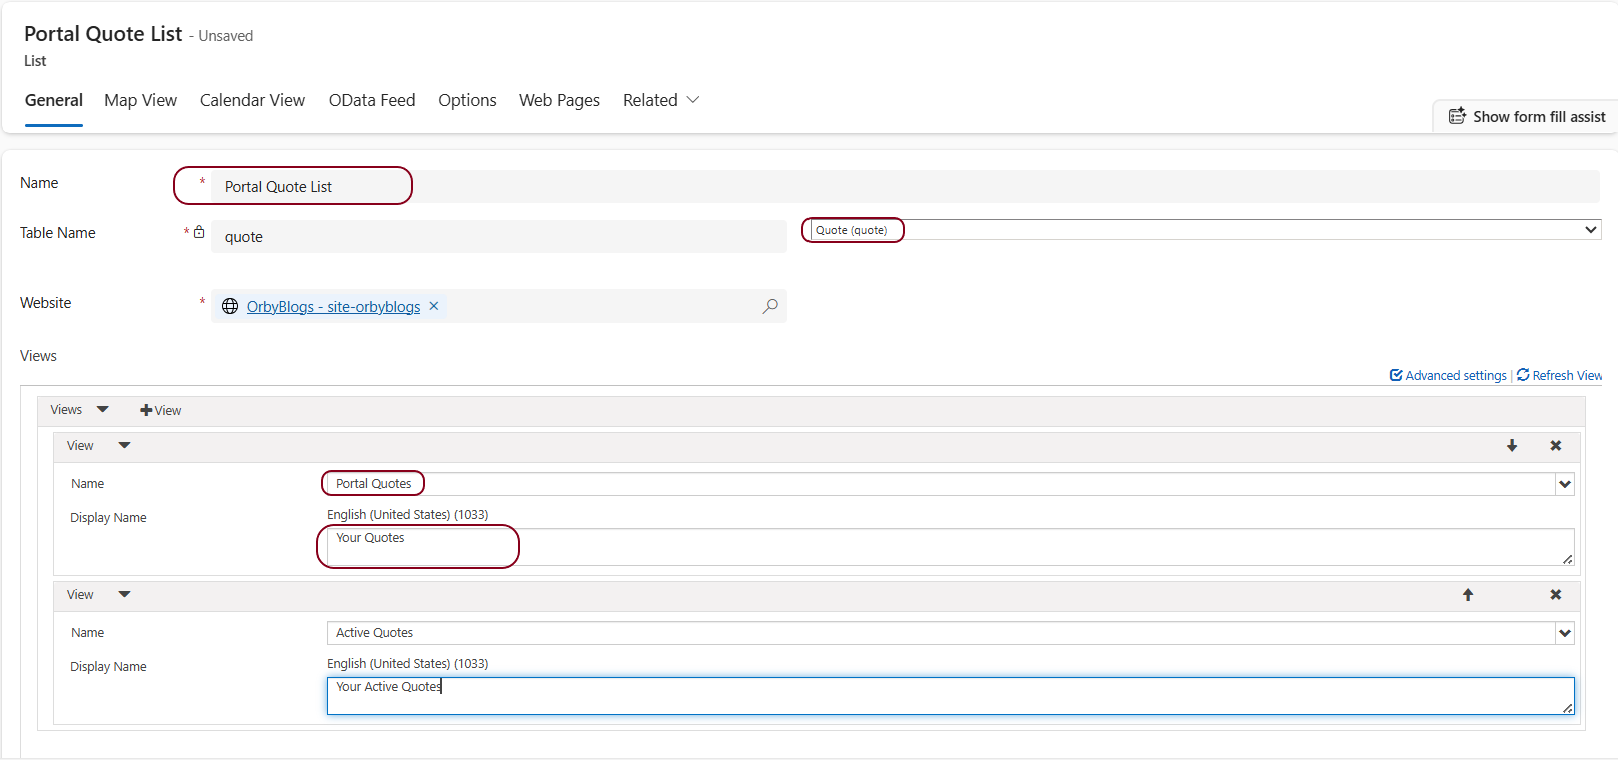
- Give the List a meaningful name.
- Make sure you select the Quote
- Make sure you select the correct Website.
Notes:
You can add more than one View to a List. This gives the User the chance to view data in different ways. Remember that the Views can have inbuilt filters that may change the records that are displayed in the Power Pages List.
You can also change the Display Name of a View.
Click on Save when you have finished.
Adding a List to a Page
Go to the Design Studio.
Create a new Page if required.
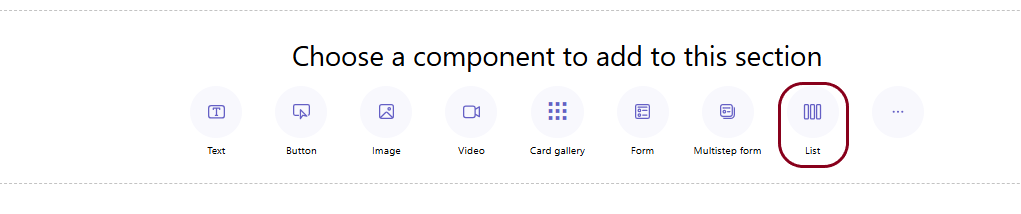
To this Page, add a Section if a blank Section is not available. Now we need to add a List to this Section.
Click on List
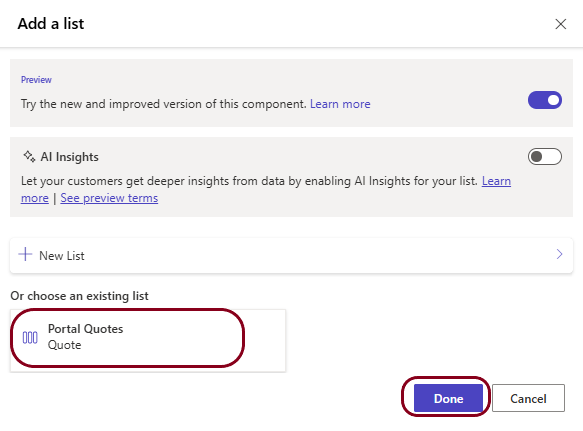
Choose the list you created earlier and click on Done.
Configure Access to the List
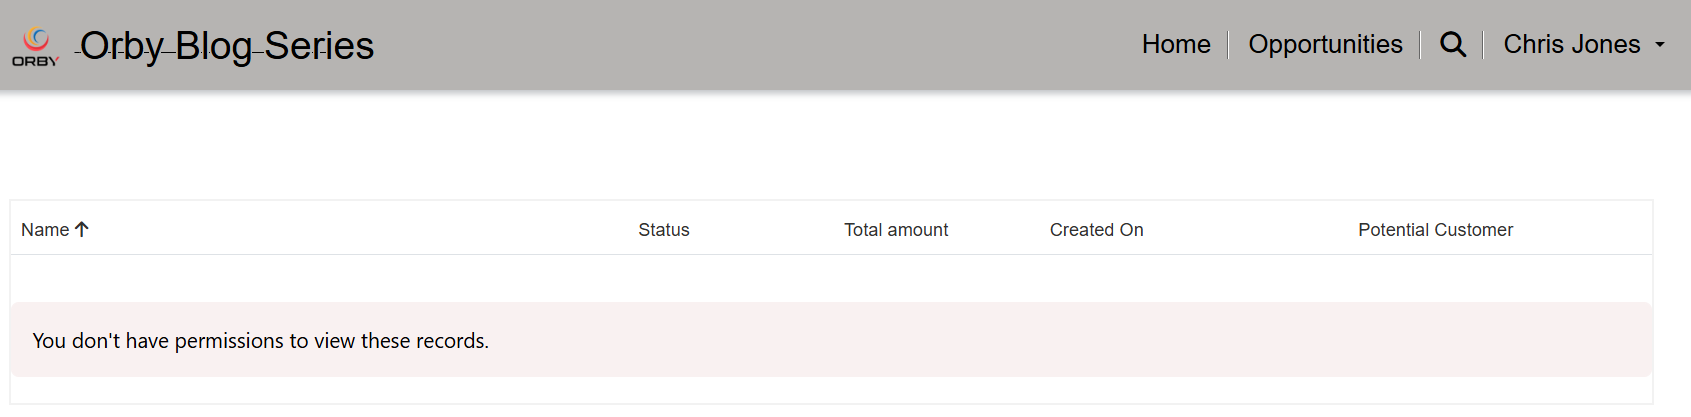
If we opened the page now, the list would be blank and possibly display an error.
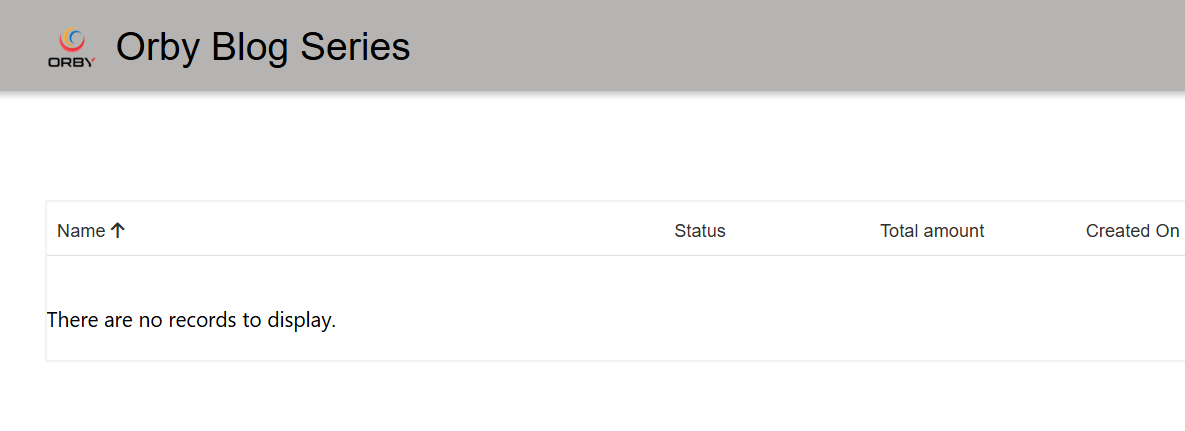
This is normally because we haven’t logged into the Site yet.
Sign In to the Site
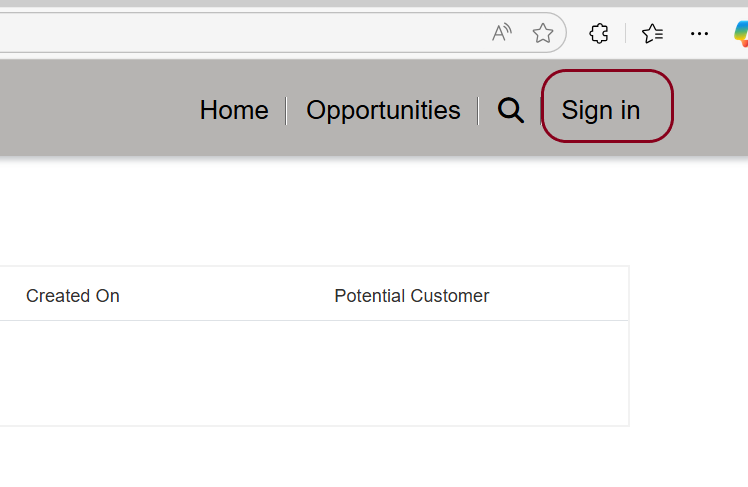
Top right hand corner, click on Sign In
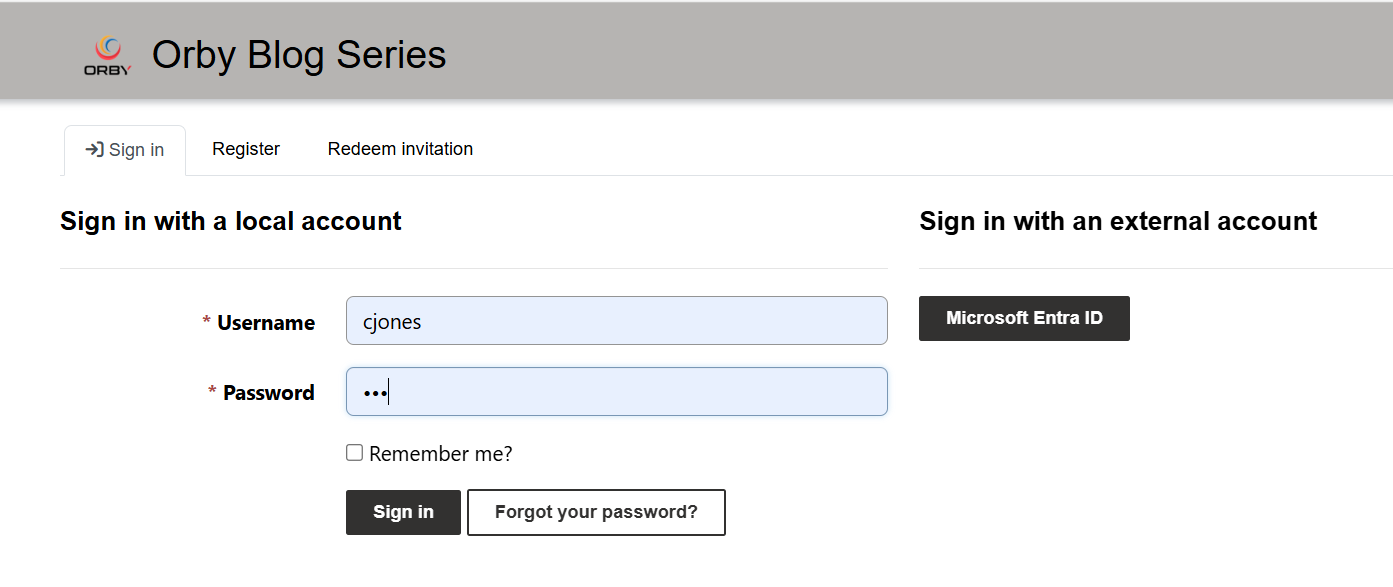
Enter the Username and Password created earlier and click on [ Sign in ]
It is likely we will now get a Permissions warning.
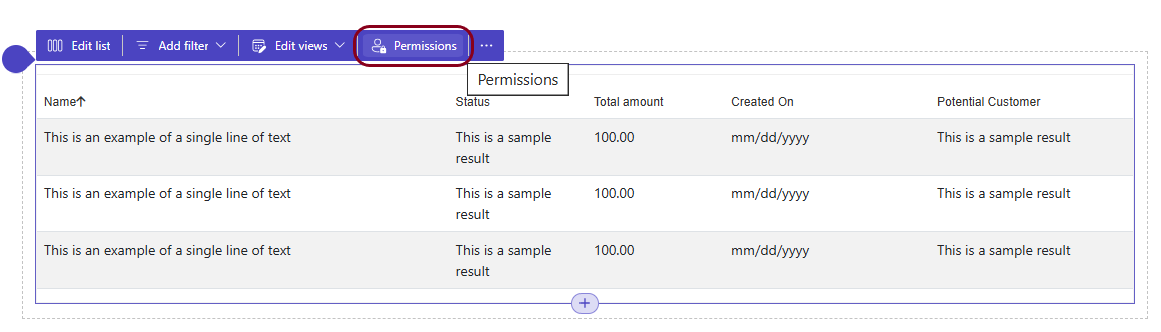
We need to go back to the Design Studio to add a Web Role to the List.
Select the List and click on Permissions
There are no Roles assigned to the List yet so click on [ New table permissions ]
Set at least Read access and click on Add Roles
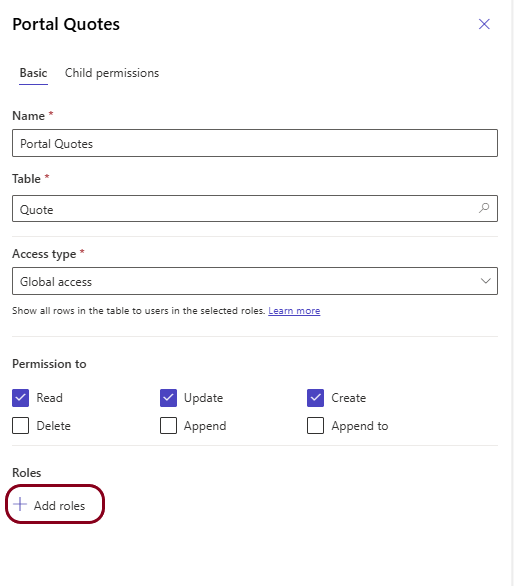
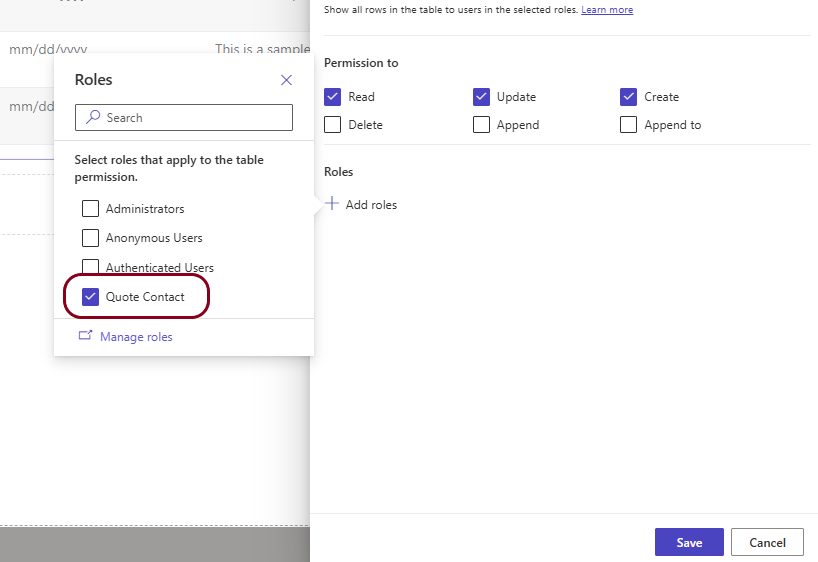
Select the Role created earlier and Save
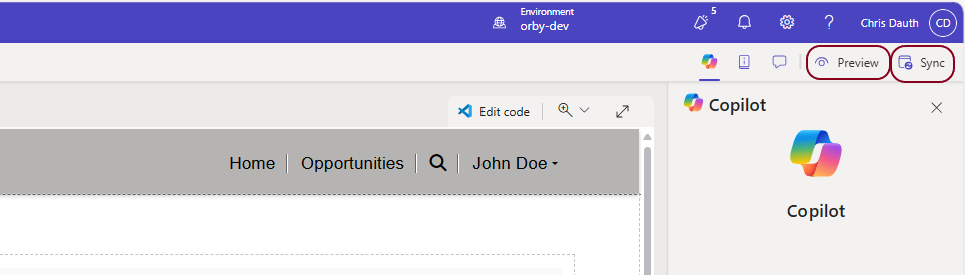
In Design Studio, Sync and Preview the page.
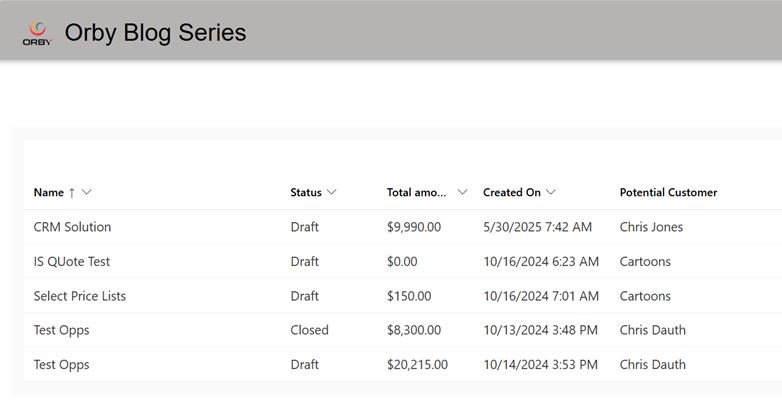
You should now see the full list of Quotes.
Filtering the List
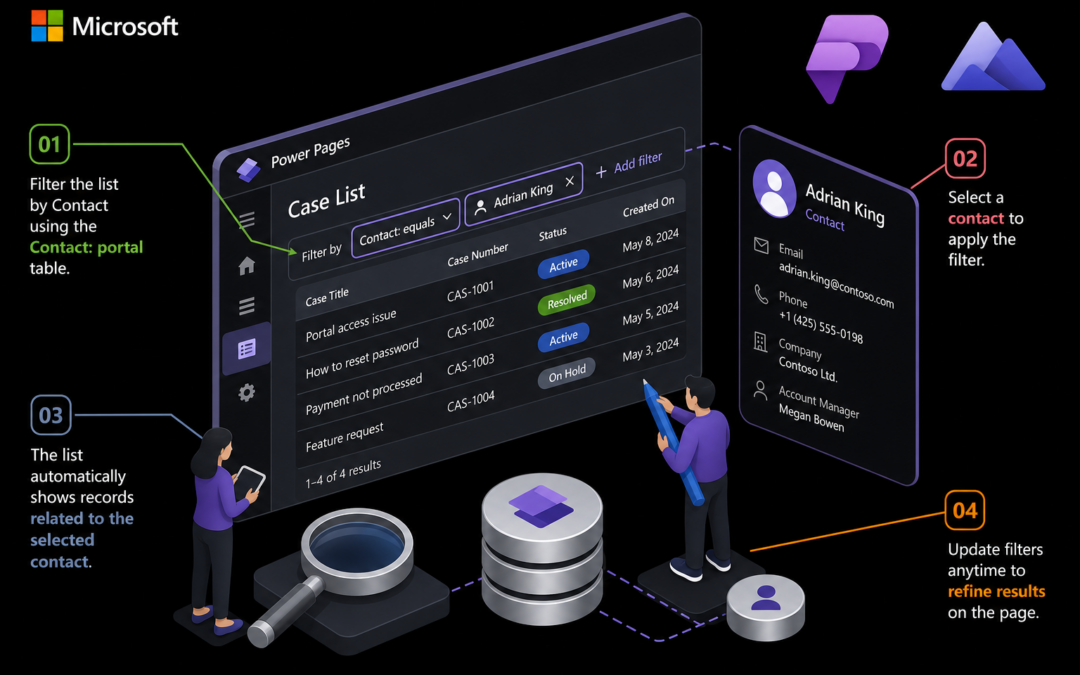
In the list above, we are seeing Quotes for multiple Potential Customers. Now we need to Filter the List so it only displays Quotes where the Potential Customer equals the Current User.
Open the List we created earlier.
Scroll down to Filter Conditions
For Portal User Attribute, select Contact (contactid )
Save & Close this window.
Review the Filtered List
Go back the Design Studio
Click on Sync, the Preview. The list should now only include Quotes where the Potential Customer is Chris Jones.
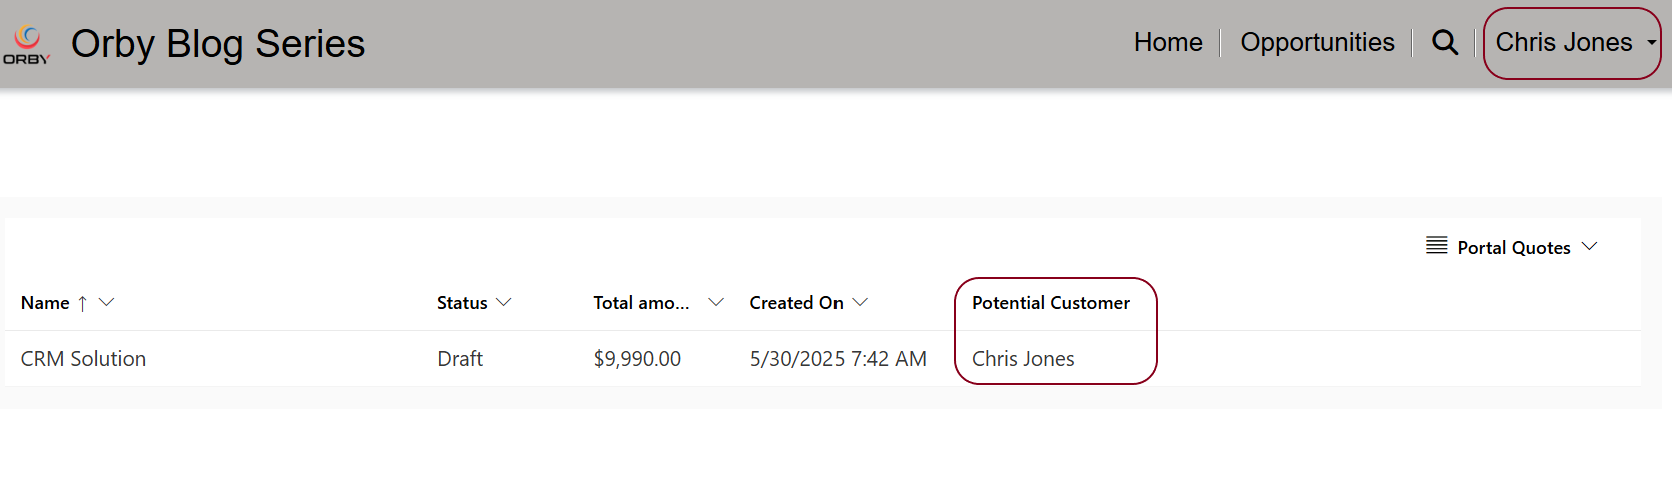
Note: Sometimes you need to synch multiple times and/or wait a while for the filter to become active.
Summary
Filters in Views, and Filter Conditions in Lists, control what can be seen by a Power Pages User when they login.
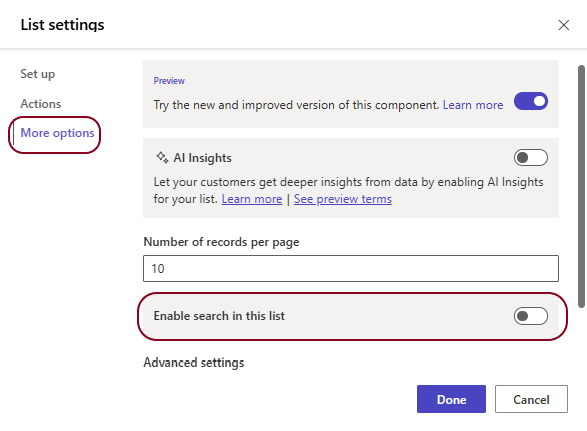
We can provide additional User controlled filtering by adding a Search option to a Power Pages List.