Creating Email Templates that merge with Microsoft Dynamics 365 and Power Apps
If you send Emails that have similar text and images, templates are a great way to improve productivity and ensure your corporate image is maintained.
To improve productivity even more, we can add dynamic merge fields to a template that retrieve information from the current Dynamics 365 record.
In this article, we will outline the process of creating and using Email Templates with Dynamics 365 and Microsoft Model Driven Apps. The process is the same for both Dynamics 365 and Microsoft Model Driven Apps, so in this document we will use the term ‘Dynamics’.
The templates we create can be used to send single emails from the Timeline, or when using Quick Campaigns.
Unlike Word Templates, the process of creating and saving Email Templates occurs entirely in the Dynamics system. The Email Template editor opens inside the Dynamics Advanced Settings module and the templates are saved directly into Dynamics.
The Email Template editor does not directly support adding raw HTML content. This editor is designed to simplify template creation for users who may not have HTML expertise.
More details about this editor are included below.
Creating an Email Template
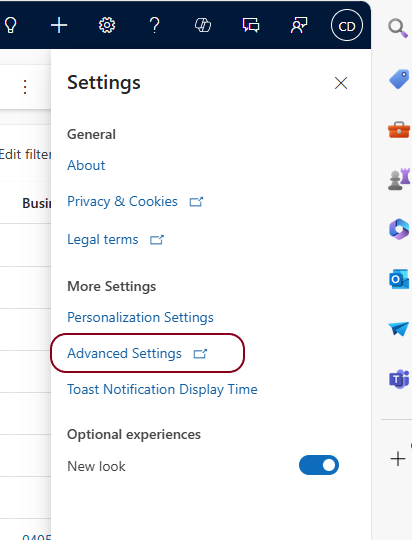
From the Cog icon in the top right hand corner of Dynamics 365 or a Model Driven App, click on Advanced Settings.
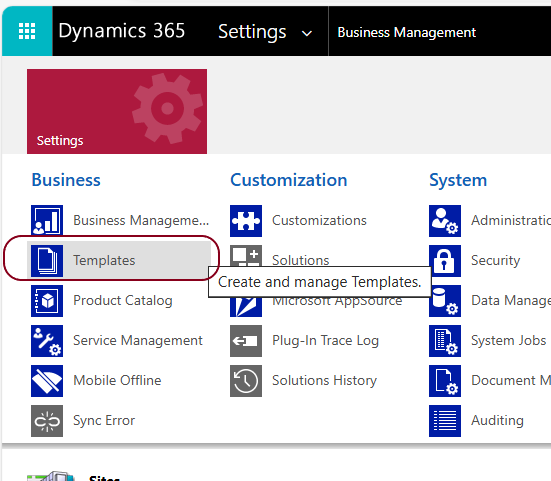
Then click on the Settings v and select Templates.
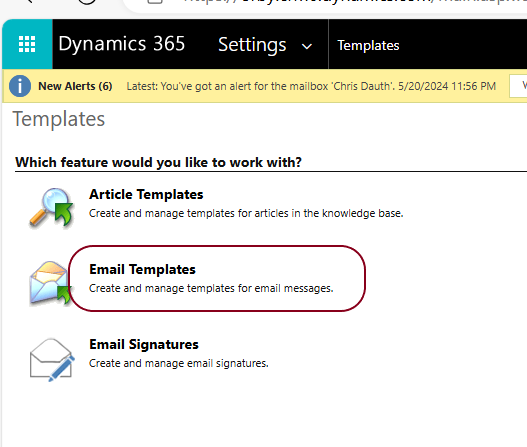
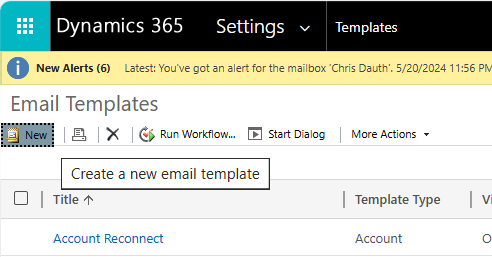
We have choice of what type of templates we want to create. In this example we want to create an Email Template, so click on Email Templates.
To create a new Email Template, click on + New.
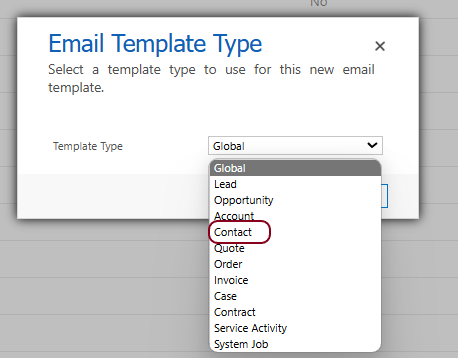
From the Template Type drop down list, we need to select the Entity (Table) that we want to base the merge fields in the Template on. We can only connect to the Core entities (Account, Contact, Opportunity etc) NOT Custom entities (the tables you create yourself).
All Template Types allow you link information about the Entity selected, the Account entity, the Contact entity, and the currently logged in User.
Global is not an entity and only links to User information.
Because Contact is an Entity, Contact Type allows you to include fields from the Contact, Account and User tables.
For this example, we will select ‘Contact’, because in this template, we want to merge fields from a Dynamics Contact record into our Word template. By selecting the Contact entity, we can also include details from the Account that the Contact is linked to, and the current Dynamics User.
Click [ OK ]
The email creation form will open. Fields with an asterisk are Mandatory
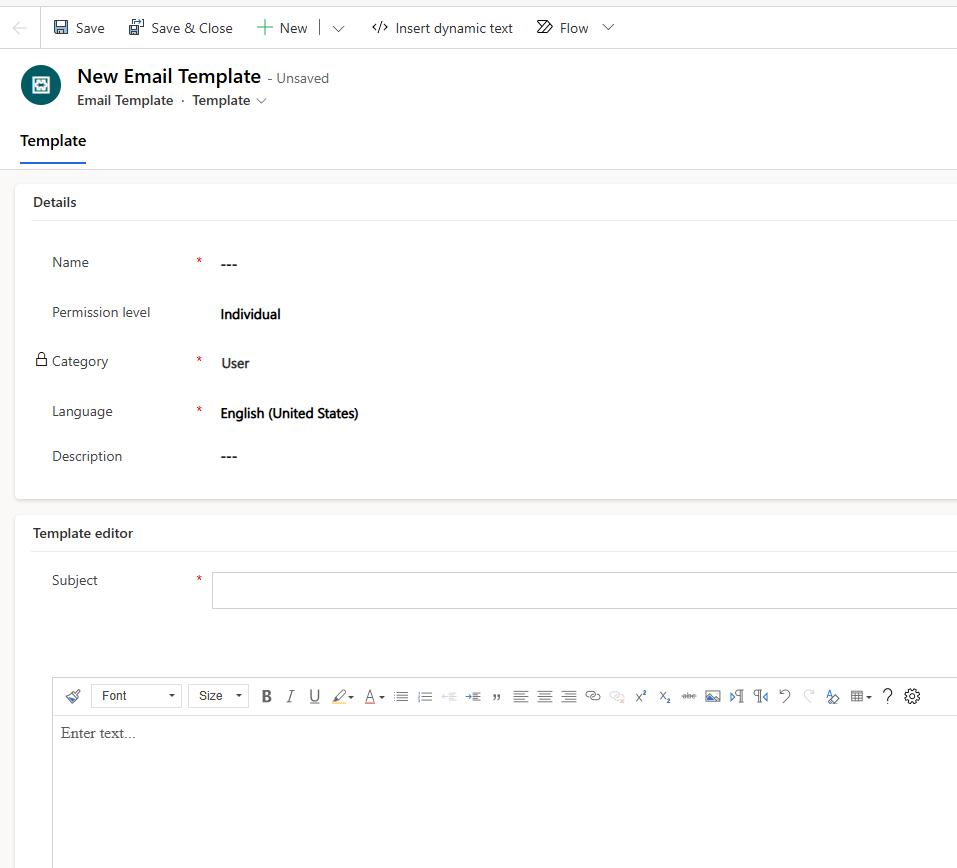
The Name is mandatory and will appear in a drop-down list when selecting templates, so make it descriptive but brief.
The Description is optional but useful when searching for which template to use.
The Subject is mandatory and will appear as the Subject of the email when it is sent. Dynamic text can be inserted into the Subject but the text can’t be formatted. An example of Dynamic text in the subject would the Industry Type that a company belongs to:
“Great news all companies in the Industry Type” – where Industry Type is a list field in the Account table.
or the Job Title of the contact.
“Important information for all Job Title” – where Job Title is a field in the Contacts table
We can change the Subject during the Send process but it is important to get this right now.
The Body area is a Rich Text Editor where you can add.
- Rich Text Elements: The enhanced email editor allows you to add text elements to your email templates. These text elements can be styled using various formatting options, such as font size, color, and alignment. While it’s not exactly HTML, you can create visually appealing content by combining different text elements.
- Tables and Lists: You can create tables and lists within the email editor.
- Images and Hyperlinks: The editor lets you insert images and hyperlinks. While not HTML image tags or anchor tags, you can still include visuals and clickable links in your emails.
- Dynamic Content: You can insert dynamic content placeholders (such as fields, attributes, or tokens) into your email templates. These placeholders are replaced with actual data when the email is sent. They allow you to personalize your emails based on recipient information.
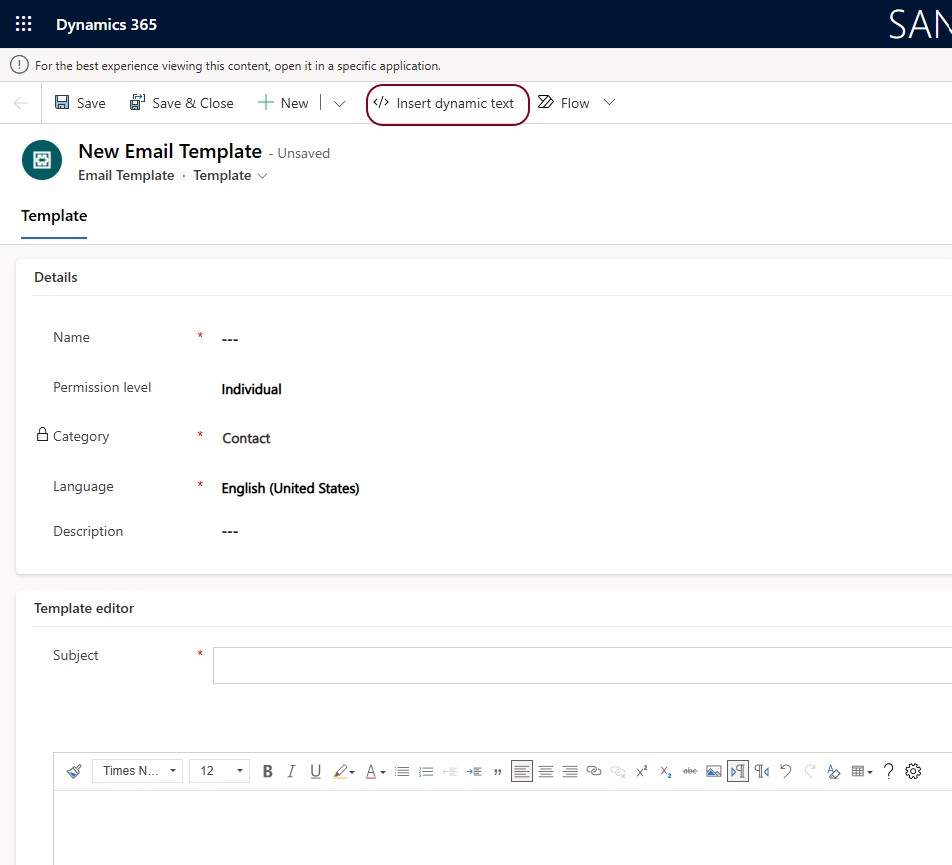
Merge Fields are add by placing the cursor where you want the content, and clicking on the </> Insert dynamic text which is located on the command bar at the top of the screen.
For example, to insert a Salutation/Greeting:
In the body of editor. Type “Dear :” then a space.
Click on </> Insert dynamic text. The select Contact from the Record type

Then select First Name from the Field name drop down list.
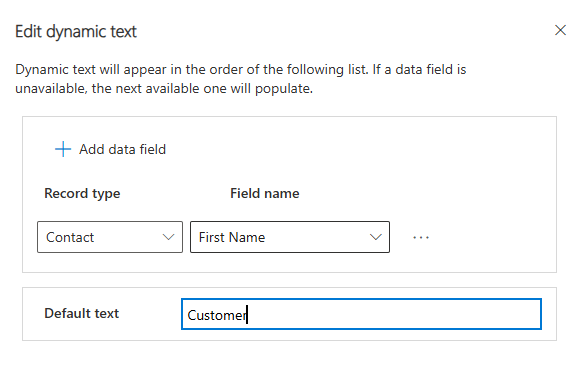
The Default text will appear in the email if no information exists in the selected Field name field. It would be unusual if a Contact didn’t have a first name, but if they don’t, the text – Customer – would appear after Dear:
The Dynamic (Merge) field will appear in the template body like this:

You can add as many Dynamic fields as you need into the body.
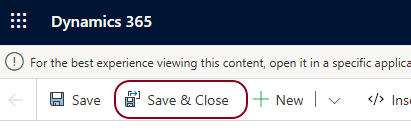
Now add text, images, links etc and click on Save & Close
The Template will be saved in the System Template list and ready for use by everyone in the system.
Email templates can be edited from the Advanced Settings/Settings/Templates/Email Templates.
Note: We can’t add attachments to an email template. Attachments need to be added after we open the template in the Send Email process (as outlined below).
Using the template when sending an email from the Timeline
For this example, we will send an email to a Contact and use a Template that has been created for the Contact Entity.
From Dynamics, select and open a Contact record.
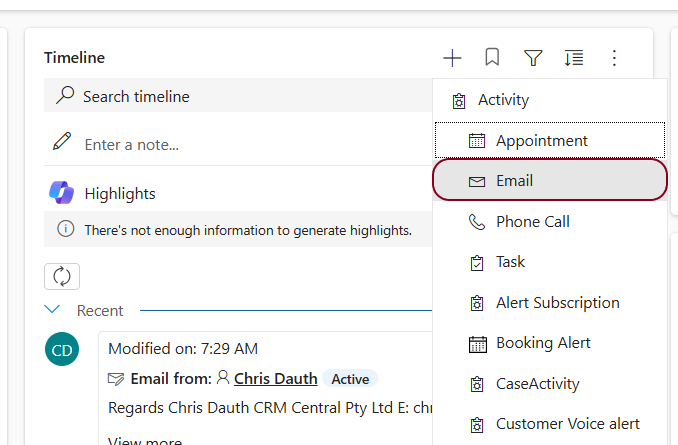
From the Timeline, add an Email
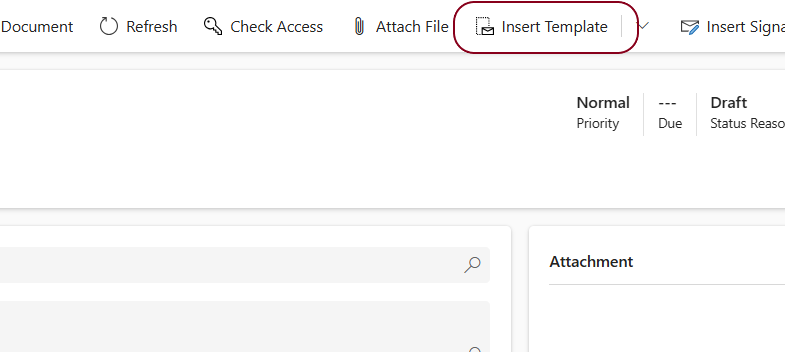
From the Command Bar, click on Insert Template
All the templates listed will relate to Contact because we have initiated this template from a Contact record.
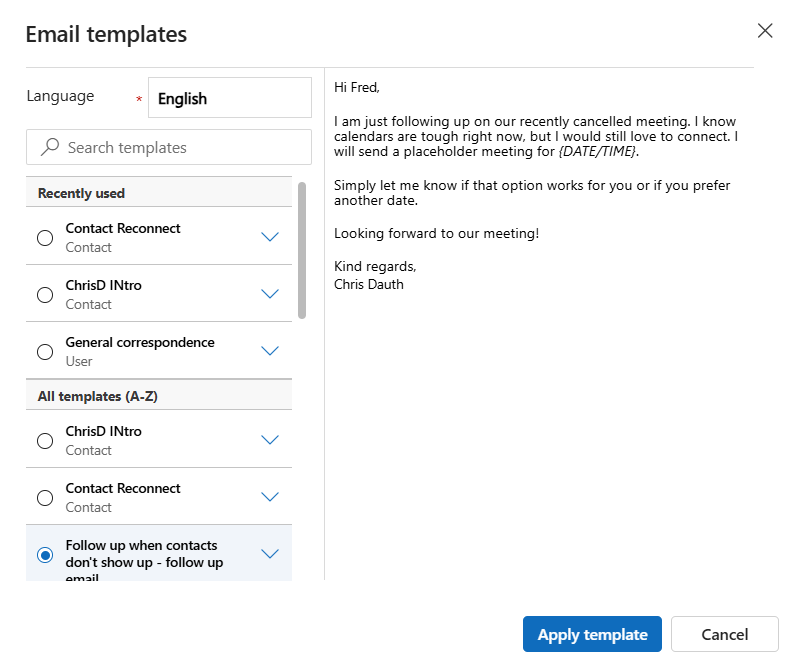
Select a template and notice in the preview that the Contact’s First Name and the Dynamics Username have been added to the message.
Now click on [ Apply template ]. The email composition form will open.
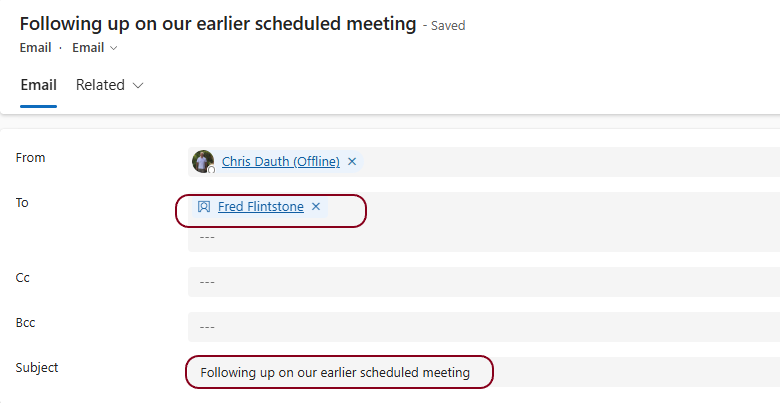
The To field has been updated from the currently selected record.
The Subject has been updated from the Email template
In the body of the email, the first name is a dynamic field that has merged with the first name of the contact.
The sign-off is a dynamic field that has merged with the current Dynamics user.
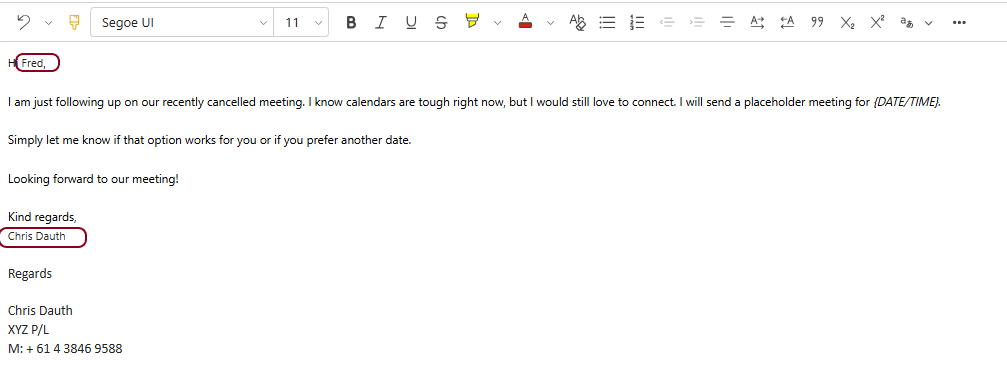
You can modify the text of the subject.
You can also modify the text and formatting of the body.
You can add as many attachments as you need.
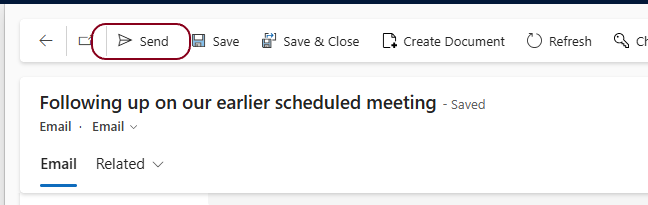
When you have finished modifying the message, click on Send