Creating Word Templates that merge with Microsoft Dynamics 365 and Power Apps
If you create Word Documents that have similar text and images, templates are a great way to improve productivity and ensure your corporate image is maintained.
To improve productivity even more, we can add dynamic merge fields to a template that retrieve information from the current Dynamics 365 record.
In this review, we will outline the process of creating and using Word Templates with Dynamics 365 and Microsoft Model Driven Apps. The process is the same for both Dynamics 365 and Microsoft Model Driven Apps, so in this document we will use the term ‘Dynamics’.
Word documents can be created that are available as Templates to everyone in the Dynamics system. We can also create documents that are accessible only to the user that creates them. Let’s start with a System Template that everyone can use.
Creating a System Word Template
Step 1. Create a blank Word document with connections to the current Microsoft record.
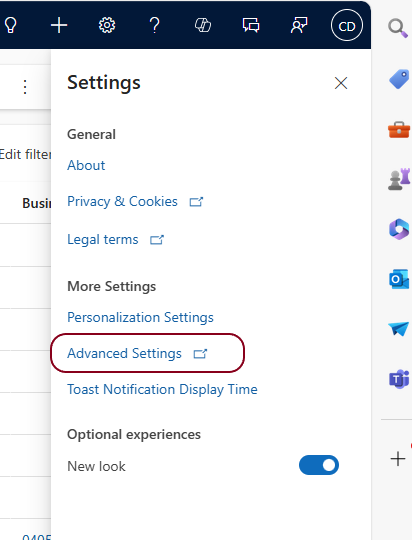
From the Cog icon in the top right hand corner of Dynamics 365 or a Model Driven App, click on Advanced Settings.
Then click on the Settings v and select Templates.
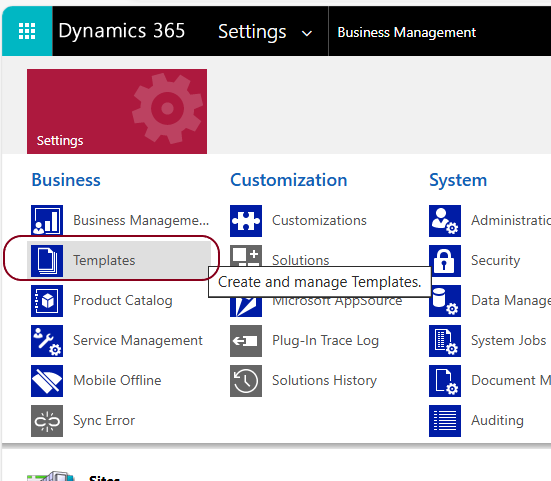
We have choice of what type of templates we want to create, but in this example, we want to create a Document Template.

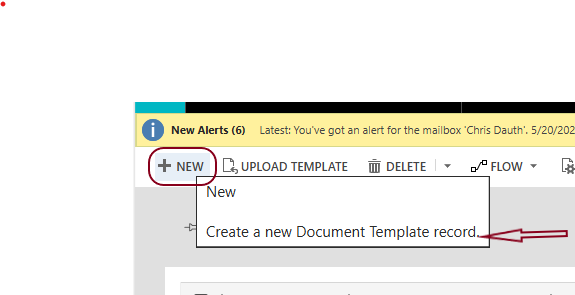
To create a new Document Template, click on + New then Create a new Document Template record.
You can create either an Excel or Word template, here we will select Word Template.
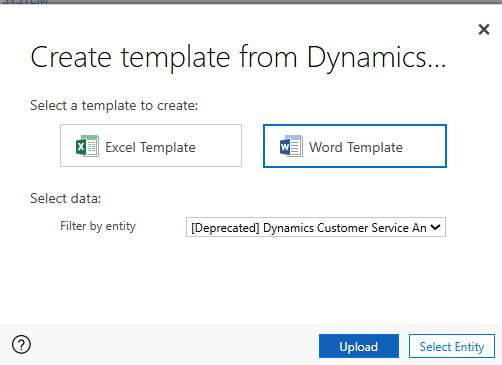
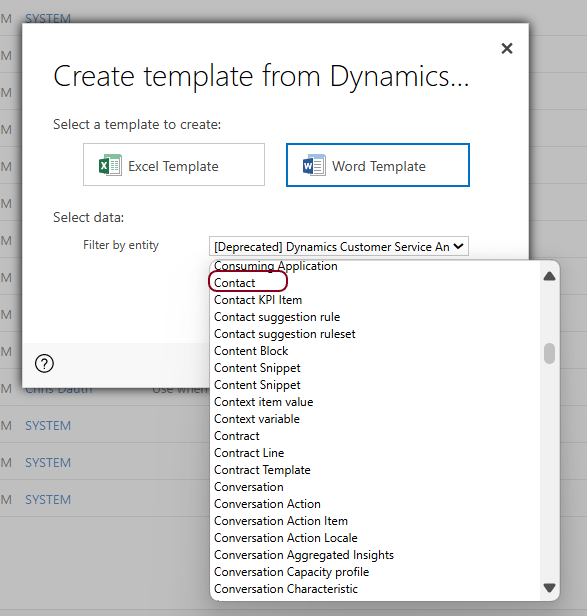
From the Filter by entity drop down list, we need to select the Entity (Table) that we want to base the merge fields in the Template on. We can connect to the Core entities (Account, Contact, Opportunity etc) or Custom entities (the tables you create yourself).
For this example we will select ‘Contact’, because in this template, we want merge fields from a Dynamics Contact record into our Word template.
If you want to Upload a template that you have already created or modified, click on [ Upload ]. We cover this later.
For this example we want to create a new template so click on [ Select Entity ] in the bottom right hand corner of the Create Template screen. This will allow us to include data from other entities in merge fields. An example would be to include details of the Account (Company) that the Contact belongs to.
Because many Contacts be related to one Account, this is a N:1 Relationship.
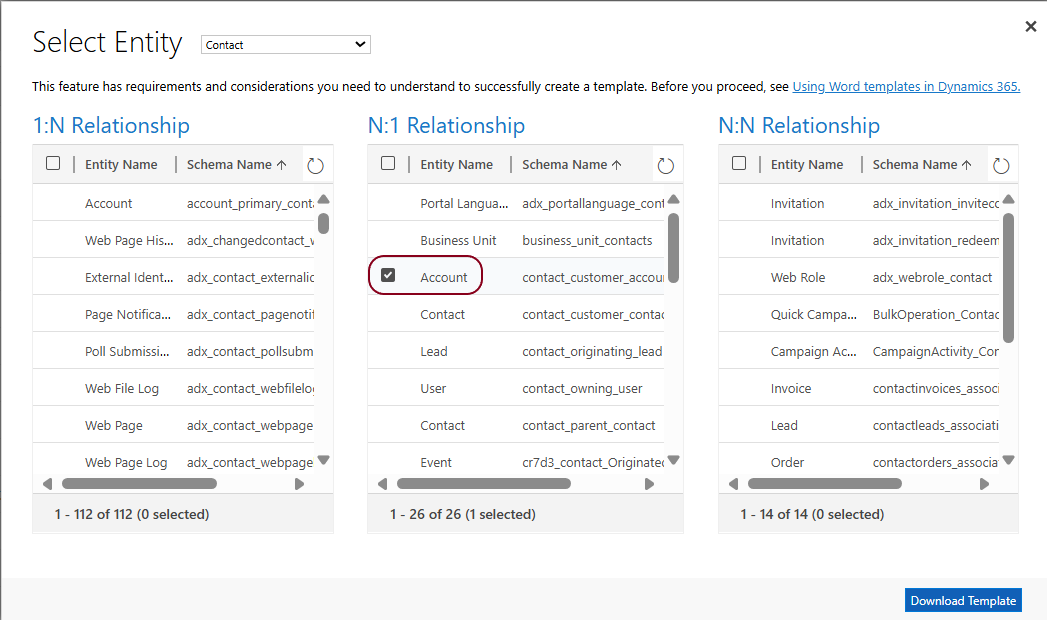
Make the required selections and click on [ Download Template ].
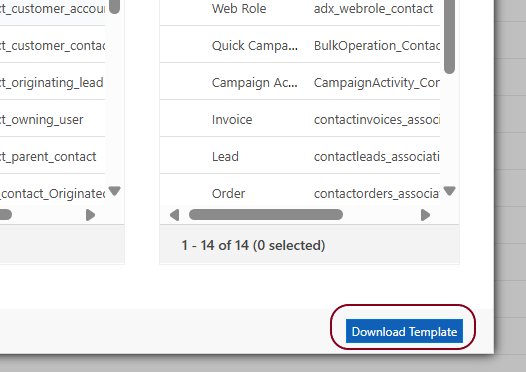

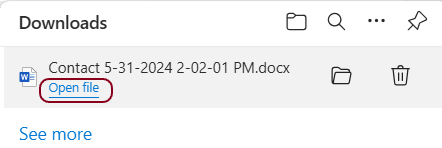
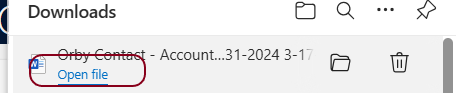
This will download a Word Document to your computer without any content. The file will be in your Downloads folder but it is easier to click on Open file in the top right hand corner of the Dynamics screen.
The document will open in read only mode so click on [ Enable Editing ].

Step 2. Add Content and Merge fields
At this stage, it is a good idea to save the file as a meaningful name. This name will appear in the Dynamics Templates list when we upload it later, so make the name descriptive but not too long.
When we have finished adding text and merge fields to this document, we will upload it back into Dynamics so make a note of where you save it. Also, you can use this document to create more Templates in the future so make sure you store in a folder that can be accessed easily.
The Word document appears blank but there are links in the background that connect with Dynamics 365 so don’t think you have missed anything at this stage.
We can add the static text, images, tables etc now or later. We assume that you know how to do this, so we will look at how to insert merge fields into the document. These fields will link to the currently selected record in Dynamics.
To insert the fields, we need to open the Developer tab.
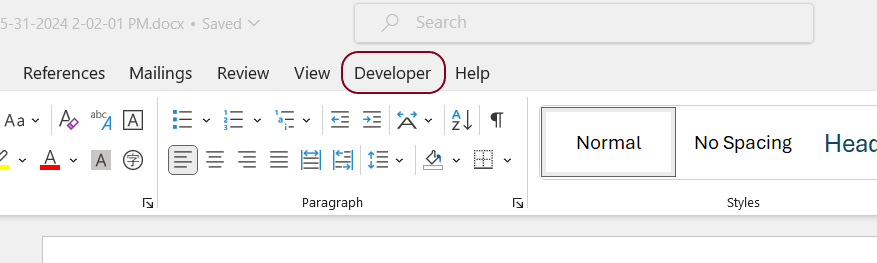
If you cant see this tab, navigate to:
File > Options > Customize Ribbon, and then enable Developer.
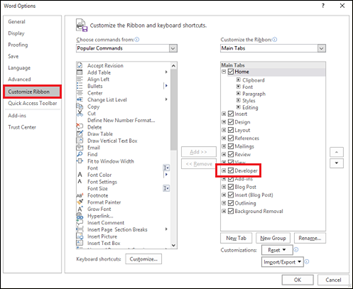
Click [ OK ] to Save.
Adding merge fields (field mapping)
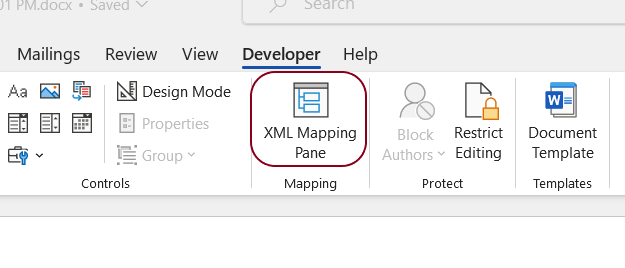
In the Developer tab, you will see the XML Mapping Pane option. This will allow us to insert merge fields into this document.
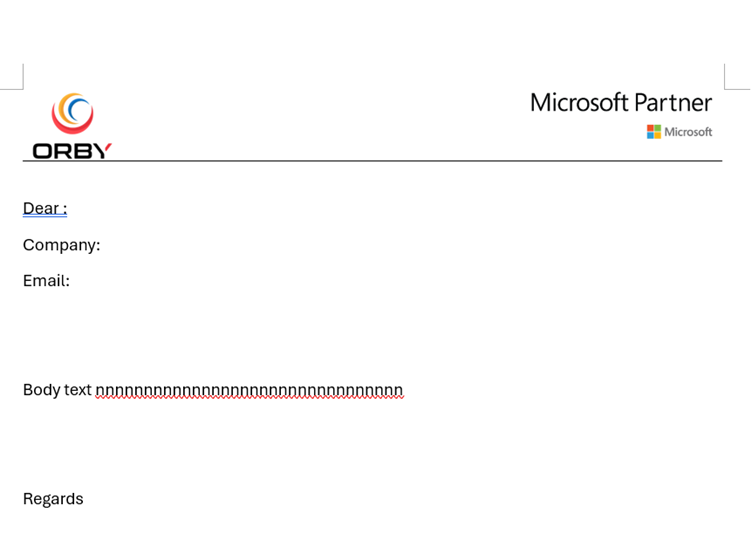
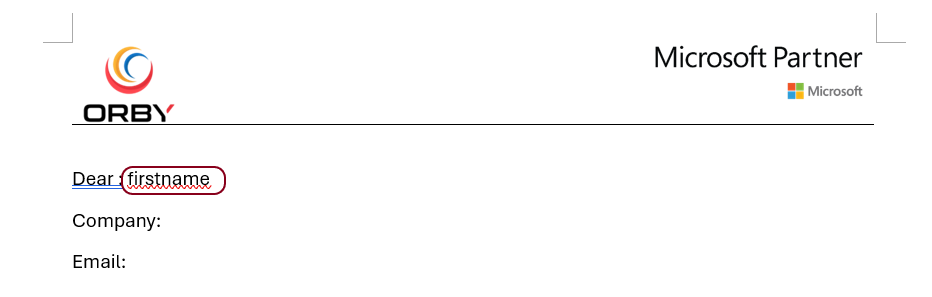
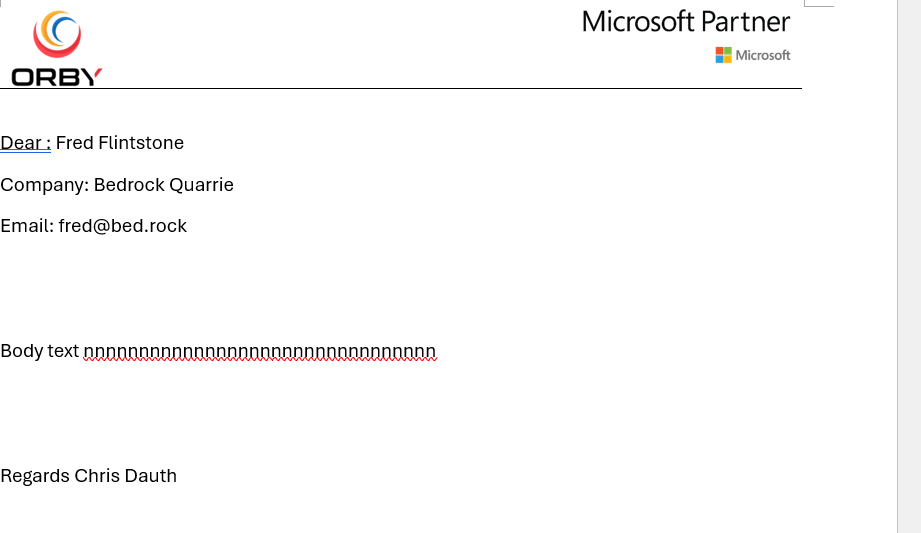
Before we select a field to merge, we need to set the place in Word where we want the merged data to be displayed. In the example below, I added some text and a logo at the top of the page of the blank document. I also added the title of some fields we want to merge. This includes the text Dear :
To the right of Dear :, we want to merge the first and last name of the Contact that we have selected in Dynamics. So place the cursor where you want the first name to start – just to the right of Dear :
Now click onXML Mapping Pane
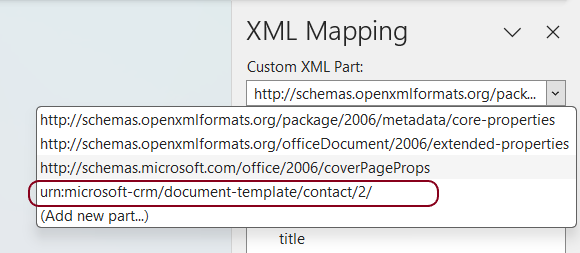
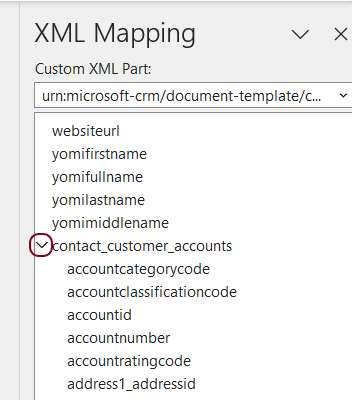
The list of available XML Parts will appear on the right-hand side. From the drop down list, select the option that starts with urn:microsoft-crm
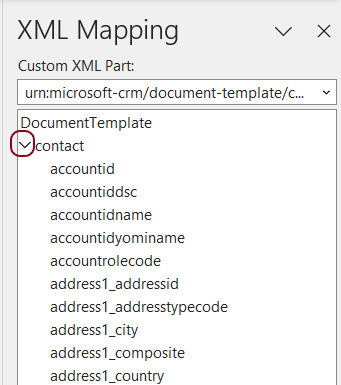
The available Dynamics fields will be listed under v contact . Note, the top of this branch will change depending on the Entity you selected earlier in Stage 1.
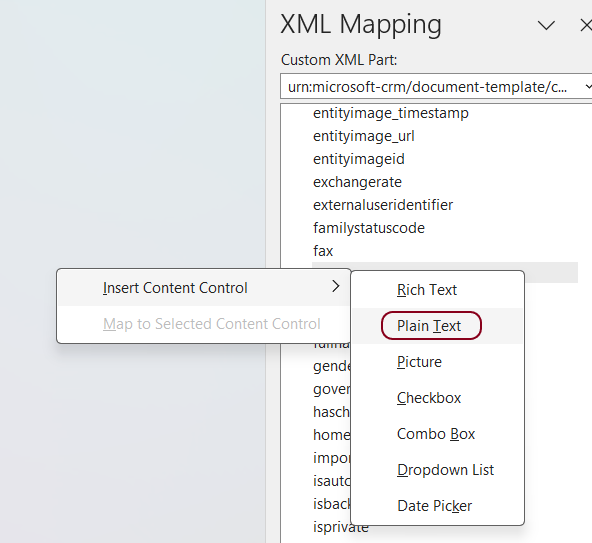
Scroll down and right click on firstname, click on Insert Content Control then Plain Text
The merge field will be added to the document.
In the document add a space and repeat for lastname.
Repeat the process for all the contact fields you want to merge.
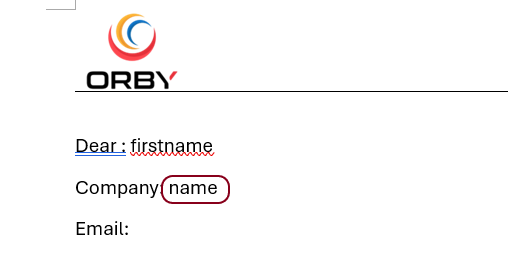
Now we want to add some details of the Company that the contact works for. We can do this because we included and linked the Account entity in Stage 1. In the document, place the cursor to the right of Company:
In the XML Mapping window, scroll down and expand the contact_customer_accounts branch.
Now scroll down and right click on name, Insert Content Control then Plain Text. The merge field name will be added to the document.

Repeat this for all the Company fields you want to merge.
Now we want to add details about the author of the final document, in the sign-off. In Dynamics, this is usually who owns this record. By having a dynamic signoff, the same Template can be used by all users.
Place the cursor to the right of Regards
In the contact branch of the XML Mapping list, scroll down and right click on owneridname,
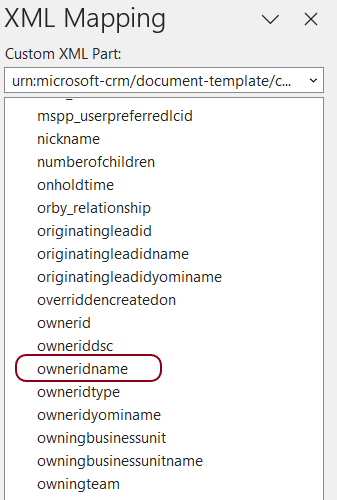
Click Insert Content Control then Plain Text.
![]()
Repeat this for all the Owner fields you want to merge.
When you have finished adding static text and merge fields, save the document.
We have now created a Word Document that can be used as a template to create new Word documents that merge with contacts in Dynamics.
Add a new Word Document template to Dynamics
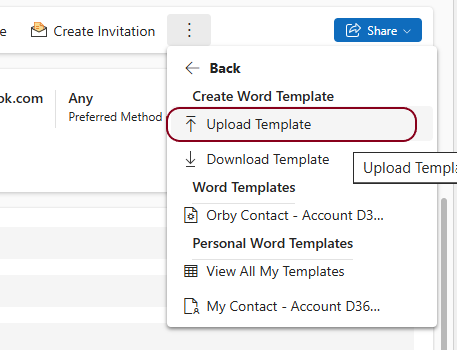
To use this template in Dynamics, we need to add this file into the Templates list in Dynamics. Let’s go back to the Dynamics Administration screen and this time we will select Upload Template.
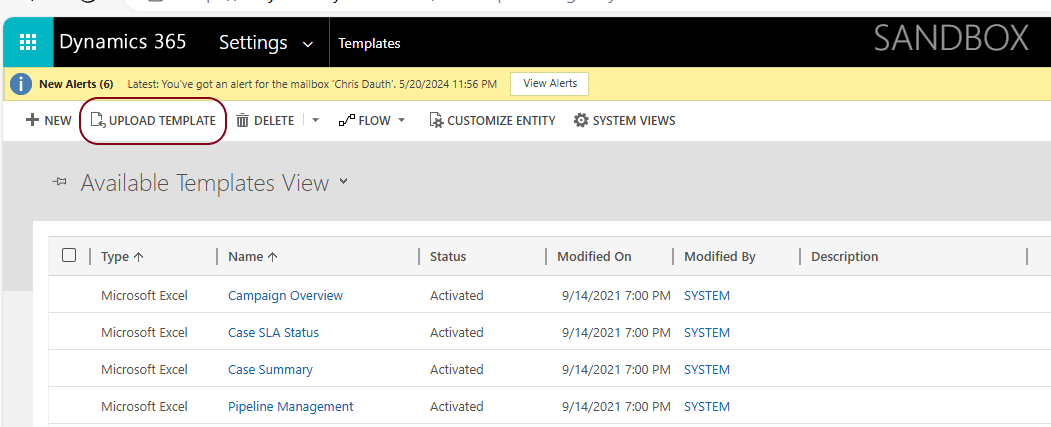
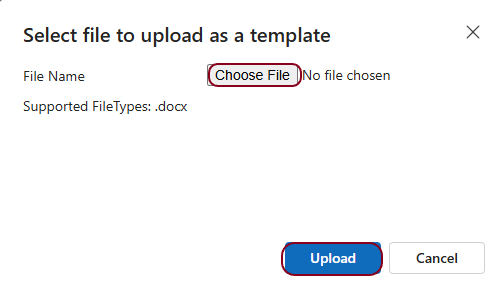
Browse and select the file you just created
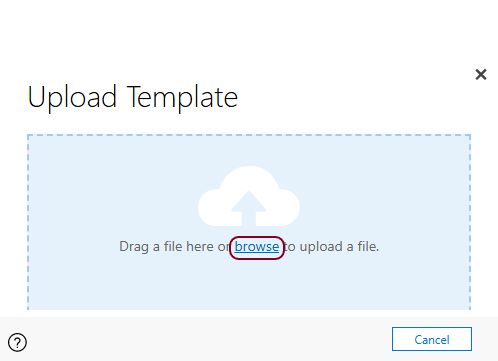
Then Upload

Because of the the ‘.docx’ file extension, the file will be uploaded as a System Word Template
Using the template
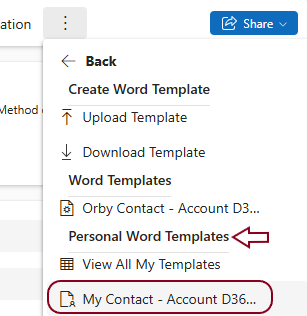
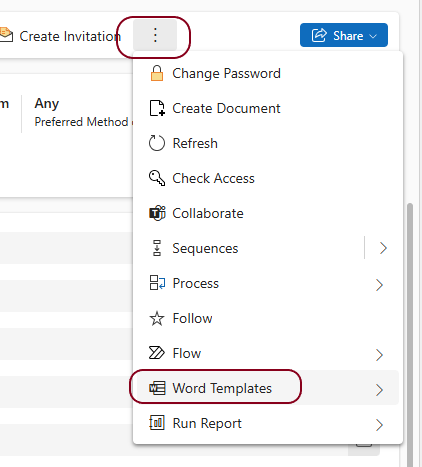
This document has now been added to the Word Templates list and is available to all users. To use the template, open the record (Contact in this example) you want merge with. On the Command Bar, click the 3 dots on the right side. Then select Word Templates
Because this is a System Template, the new template will appear under Word Templates.
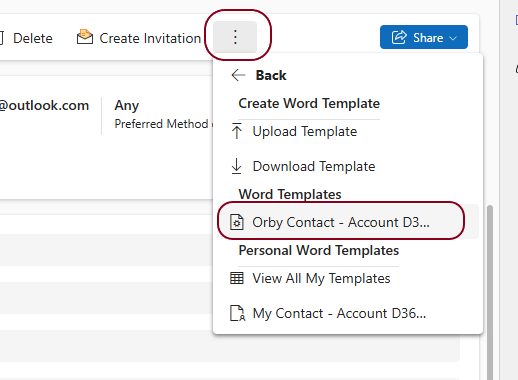
Select the Template and a new file will be downloaded to the Downloads folder on your computer. Browse to this file, or click on Open file when prompted.
The document will open with all merge fields displaying the data from the selected Dynamics record.
Note that this document no longer has dynamic fields so rename and save the file.
You may also want to link this document to the Dynamics record so it easy to find and available to all users. This is covered in a different process.
Creating Personal Templates
You can also create Personal Templates that are only available to you. These templates are stored in the Dynamics system but only visible to you.
The creation of the Word Document is the same as described above, so we will assume we have done this. The Upload process is slightly different as follows:
To add a personal template, on the Command Bar, click the 3 dots on the right side, and select Word Templates. Then click on Upload Template.
Choose the file and Upload it.
The document will be added to the View All My Templates list.